Meta AI Photo to Video: A First-Test Checklist
For a Meta AI photo-to-video first test, first confirm that the video option is available in your account and region, then use one image you have permission to animate, request one modest motion, and judge the complete output against a written approval rule. Meta’s public material changes quickly: its July 2026 Muse announcement described Muse Video as a preview coming to creators and Meta AI, so a search result or an older tutorial is not proof that the same image-to-video control is available to every reader today.
Last updated: September 28, 2026 · about 9 min read
Disclosure: ClipTrend publishes this independent workflow guide. It is not affiliated with Meta, and it does not promise access to a Meta feature, output quality, price, or use right.
Start by confirming what “Meta AI photo to video” means today
The phrase can refer to Meta research, an announced preview, a limited rollout, or a control visible in a particular Meta app. Those are not interchangeable. Meta’s Muse Image and Muse Video announcement says Muse Image launched while Muse Video was being previewed and was coming soon to creators and Meta AI. Its earlier Movie Gen research page demonstrates personalized video from a photo, but a research demonstration is not a guaranteed consumer workflow.
Before you upload anything, open the live product screen you intend to use and make a dated note of only what you can actually see:
- whether a video or animation control is available;
- whether it accepts an uploaded image, a text instruction, or both;
- the shown duration, export, cost, queue, and watermark conditions;
- the terms and privacy choices relevant to your source image; and
- the result you need to approve or reject.
If there is no photo-to-video control in your account, stop there. Do not substitute a screenshot, a third-party site, or an old tutorial and call it a Meta test. You can still define the brief and use a separate live workflow from ClipTrend’s tools directory when that is the product you have elected to evaluate.
Set one question for the first render
A good first test answers one decision. Examples include: “Can a slow camera push preserve this approved product silhouette?” or “Can this image hold the person’s recognizable features through a subtle head turn?” It does not answer whether a tool can make every kind of video.
Write the approval rule before generating. For a product, it might be that the outline and label area stay stable through the final frame. For a portrait, it might be that identity remains recognizable and the movement stays calm. For a landscape, it might be that the requested motion appears without inventing a new subject.
| Test element | Keep it fixed | Change only after the first review |
|---|---|---|
| Source | One approved, high-resolution image | The image if its crop or clarity is the issue |
| Motion | One short, plain action | The motion when the source is otherwise sound |
| Frame | The intended delivery crop | The crop only when it is the decision being tested |
| Approval rule | A named visible requirement | The rule only if the deliverable changes |
This setup makes a weak result useful. You can identify whether the source, motion request, or output constraint failed instead of collecting unrelated rerolls.
Prepare a source image that can survive movement
Use an image you created, licensed, or have explicit permission to animate. A public portrait, a customer photo, a performer’s clip, or an image found in search is not automatic permission for a synthetic moving version. Keep the original file, permission context, and intended distribution with your project record.
Choose a source with one clear subject, readable edges, stable light, and enough space around the action. Avoid a face crop for a full-body action, an object with small factual text you must preserve, or a crowded scene whose people overlap. Image-to-video models must infer frames that are not in the still; the more critical information is hidden or ambiguous, the harder the review becomes.
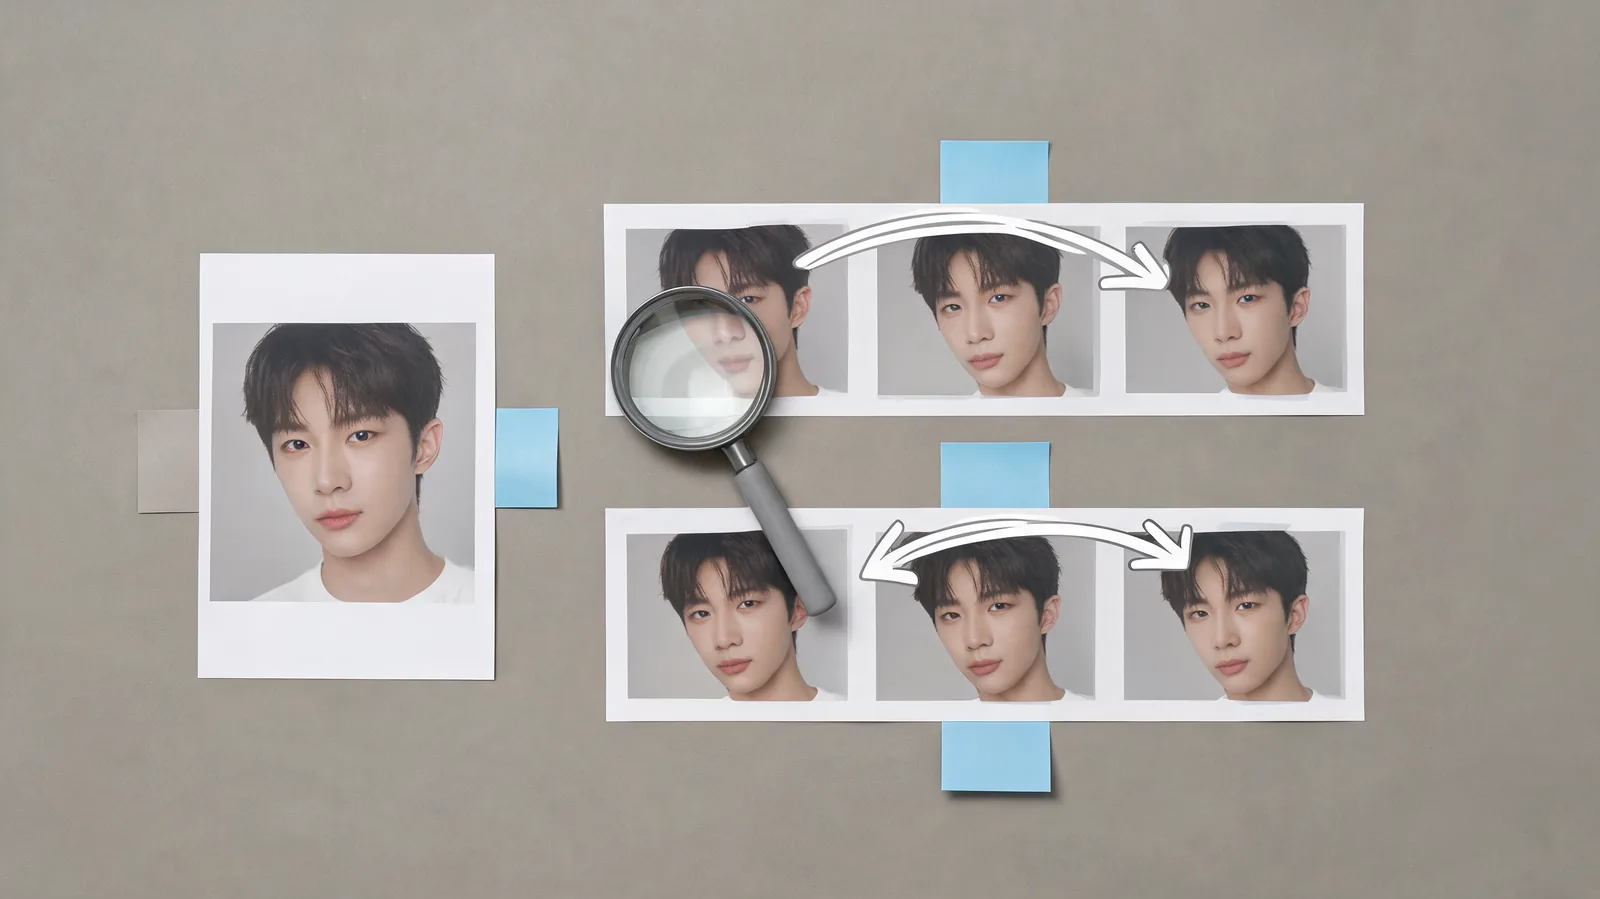
This illustration represents a review method, not a claim about a Meta interface or a promised result.
Run a small, controlled test
When the current screen permits the workflow, keep the first prompt plain. Describe the one visible movement, a stable camera, and what should not change. For example: “The subject makes a small turn toward the window; keep the background and clothing stable; no new objects.” Do not combine a dance, a camera orbit, weather change, costume change, and product reveal in the same first prompt.
Then review the entire result at normal speed and pause at the beginning, middle, and end. A strong cover frame cannot prove that the output is ready for use.
Check these points:
- Subject continuity. Does the person, product, or scene remain recognizable rather than drifting into a different version?
- Motion fit. Did the requested movement happen without an unrelated gesture, camera jump, or extra object?
- Edges and contact. Look at hands, feet, product boundaries, shadows, and places where the subject meets the floor or background.
- Critical details. Treat text, logos, prices, medical claims, and fine product details as items to verify independently, not as details to assume a generated frame preserves.
- Use context. Confirm that the shown export, watermark, sharing, and rights conditions fit the real job on the day you plan to publish.
Record the image filename, exact prompt, visible settings, date, and the reason for approval or rejection. That modest log is more valuable than an unsupported quality score because another person can reproduce the comparison.
Choose a next step without over-reading one clip
Approve the first output only when it meets the rule you set. If identity is stable but the crop fails, change the crop or source—not the whole concept. If the source is clear but the model adds unwanted movement, reduce the motion request. If a required detail cannot survive generation, use a conventional edit, a still, or a different production method rather than forcing more renders.
This is also where a separate product evaluation can be useful. ClipTrend’s AI dance generator is a different photo-to-dance workflow; it is not a substitute for confirming Meta’s live access or controls. Use a separate controlled test if you decide to compare tools, and do not represent a concept clip as a filmed product test or real event.
A relevant video, with an important limitation
The video below demonstrates a claimed Meta AI image-to-video path, but it was published on October 21, 2025. Watch it as historical orientation only; it does not confirm today’s account availability, terms, price, watermark, or controls.
Keep rights, disclosure, and provenance in the review
Generated motion can create a stronger impression than the original still. Do not use it to imply a real event, endorsement, product performance, or a person’s action without a factual basis and permission. If a platform or audience could mistake the clip for camera footage, use a clear contextual disclosure and check the destination’s current requirements.
Technical provenance can help a team keep records, but it is not consent or accuracy proof. The C2PA specifications explain how provenance information can travel with media; they do not grant rights to an image or validate the claim in a generated frame.
FAQ
Can Meta AI turn my photo into a video?
Meta has published research and product announcements that describe image-based personalized video, but access and controls can be limited or change. Confirm the live screen in your account and region before planning a workflow around it.
What photo should I use for a first test?
Use one image you have permission to animate, with a clear subject, readable edges, steady light, and a crop that supports the one motion you intend to test.
How do I compare two photo-to-video attempts fairly?
Keep the source image, target crop, motion brief, and approval rule fixed. Change one variable at a time and review the full clip rather than choosing from thumbnails.
Can a generated video prove a real product claim?
No. Treat it as creative output. Verify product facts, labels, performance claims, permissions, and distribution terms separately before publication.
Sources
- Meta AI, Introducing Muse Image and Muse Video, July 2026
- Meta AI, Movie Gen research
- C2PA, technical specifications
- YouTube, Meta ai Image To Video Generator Free | How To Use Meta.ai, checked September 28, 2026