
Create a slow push-in video
Choose a clear image
For Push In AI, choose a sharp photo with a clear subject and some room around it. A medium or wide composition gives the camera space to move closer before the frame becomes tight. The uploaded image sets the scene, the lighting, and the person or object in your video. A portrait can make the result feel intimate; a product photo can draw attention to a specific detail; a landscape can create an inviting opening shot. Layers in the foreground and background can make the movement easier to see. Use an image you have permission to edit and share, and check that important details are visible before you begin. The preset works from one starting image, so there is no reference clip to find or upload.
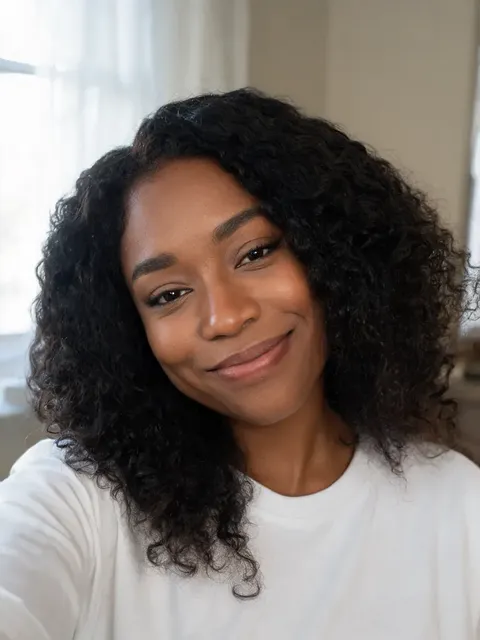
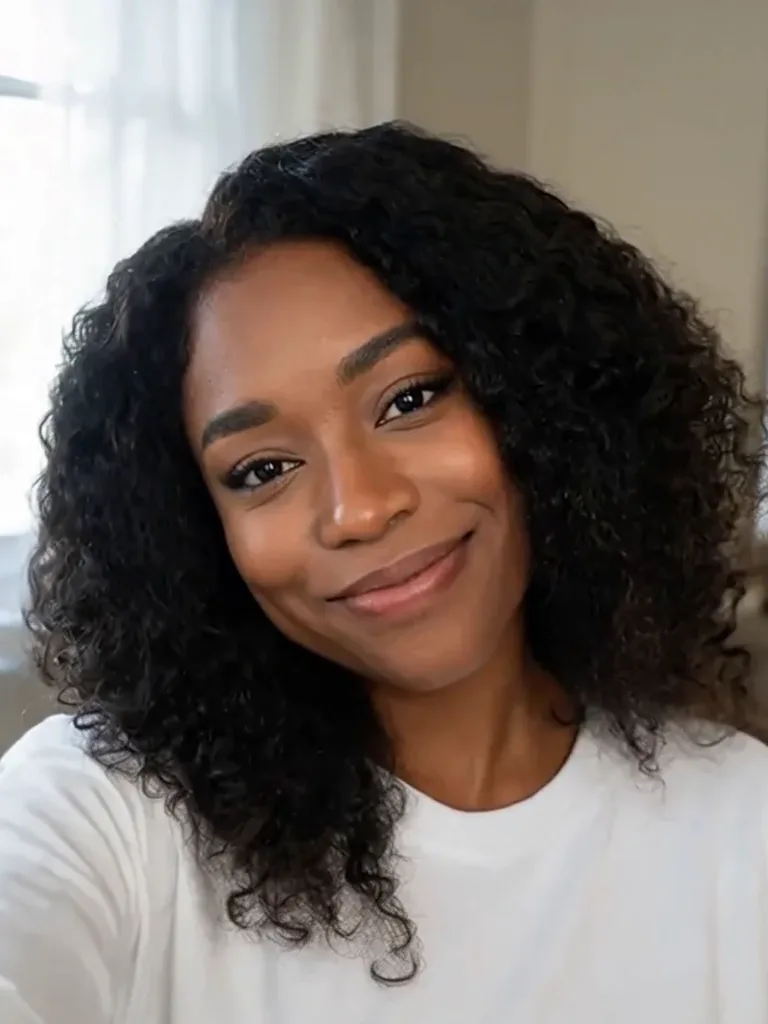
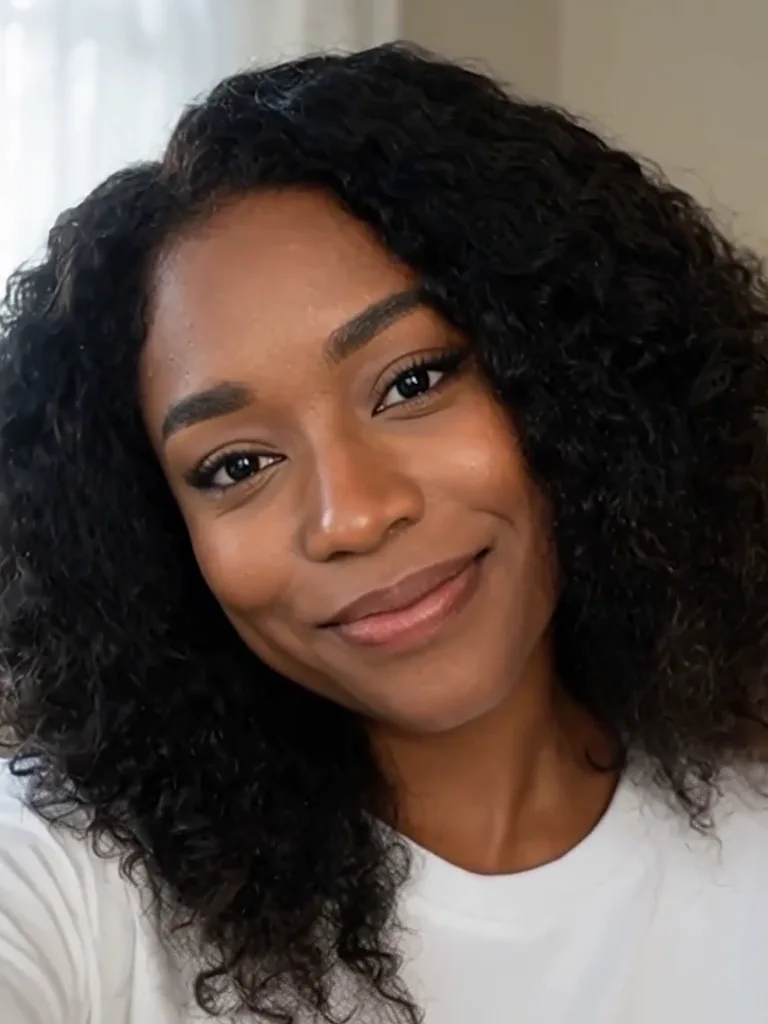
Bring the camera closer
Push In AI requests a steady forward camera move while keeping the subject and setting recognizable. Think of the shot as a gradual approach, rather than a fast zoom or a cut to a new scene. The starting image guides the composition; the generated frames create the transition from the original view to a closer one. A still image does not contain every hidden angle or detail, so the result is generated and can vary. Faces, hands, product labels, backgrounds and small objects may change. For the clearest movement, choose a well-lit image that is not already cropped too tightly. A single obvious subject usually gives the camera a stronger visual destination than a crowded scene.
Review your video
After Push In AI finishes, play the entire clip and look for a smooth move from the opening frame through the final close-up. Check that the subject stays recognizable, that the camera travels in the direction you expected, and that the background does not shift in a distracting way. If the photo includes a face, hands, text or product details, inspect those areas closely: generated video may alter fine features. You can find the finished result in your creations and download it when it is ready. Each new generation uses credits, and a different result is not guaranteed. Use a wider or clearer starting image if the composition is too tight, and keep important claims or exact text for a separate editing step. Push In AI can be useful when a still photograph needs a short opening shot for a personal story, a portfolio, or a social post. Consider where the clip will appear before selecting the photo: a portrait frame suits a vertical story, while a landscape frame may fit a wider edit. Keep enough space around the subject for the forward move, and make sure the image itself is sharp at the size you intend to use. If the result changes an important feature or the motion is distracting, choose a different source image and review the credit cost before making another video.
Choose your photo
Start with one photo you have permission to use.
One photo
A clear subject
When to use it
Try portraits, products or landscapes.
What it produces
A five-second push-in video.
- ✓Clear subject
- ✓Good light
- ✓Photo you may use
RPG Character
Describe an original fantasy adventurer and create a full-body RPG character illustration.
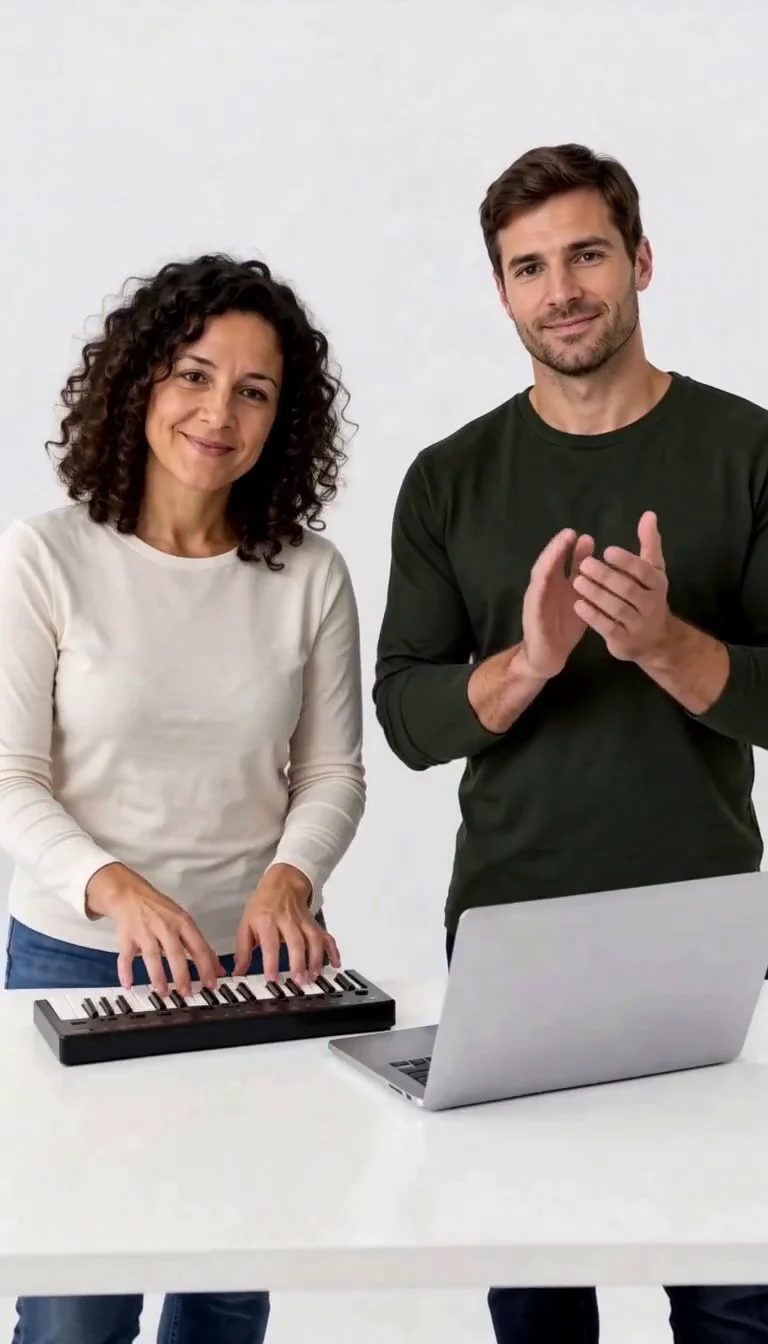
Keyboard Duo
Put two adults in a keyboard-and-clapping studio sketch.
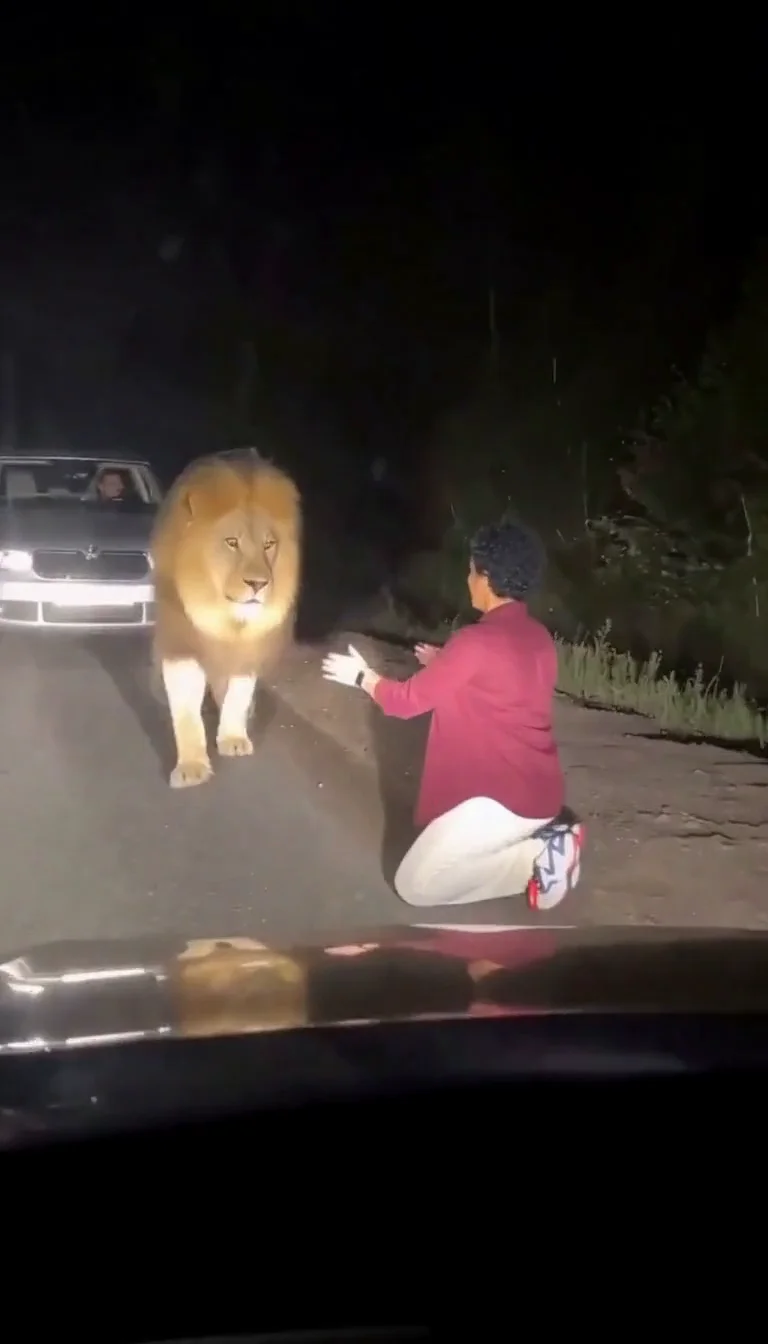
Lion Friend
Meet a calm lion on a nighttime road, stroke its mane and share a fictional embrace.
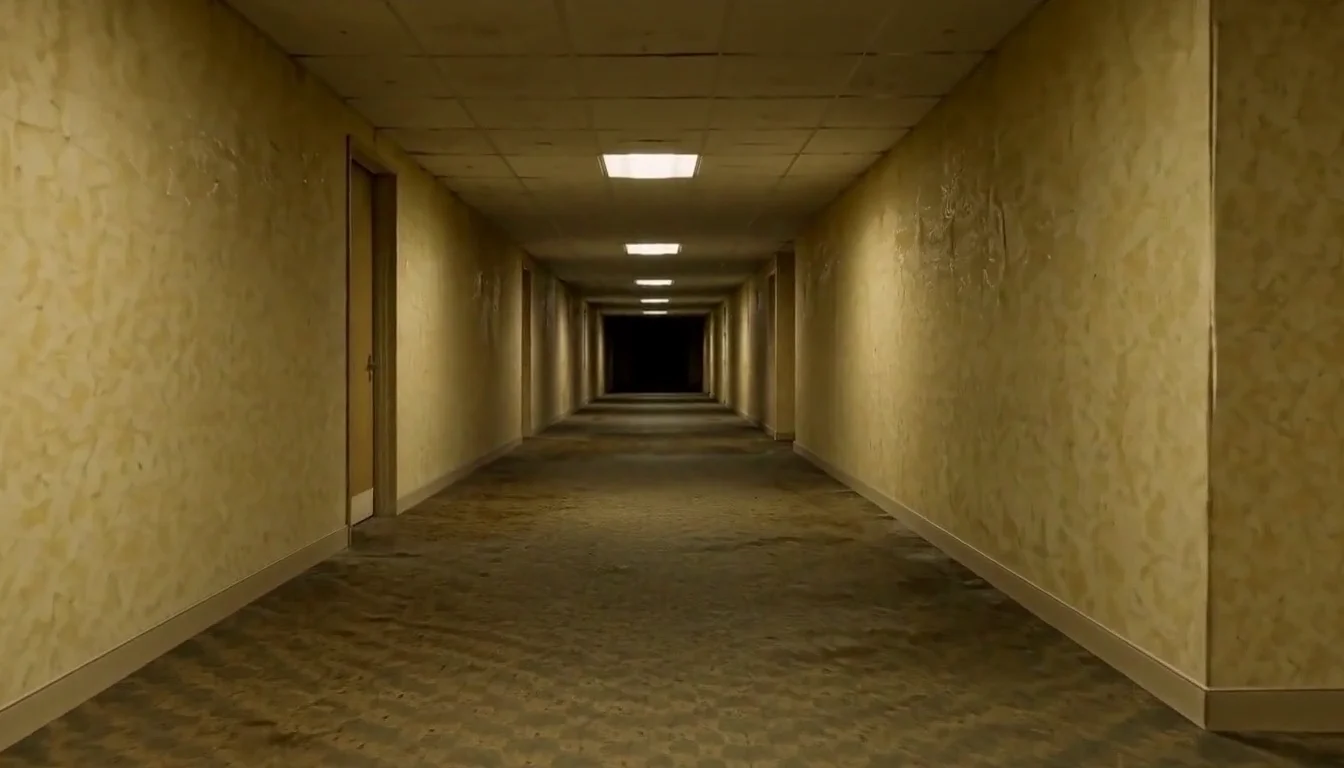
AI Backrooms
Animate your empty corridor with a slow camera push and flickering fluorescent lights.
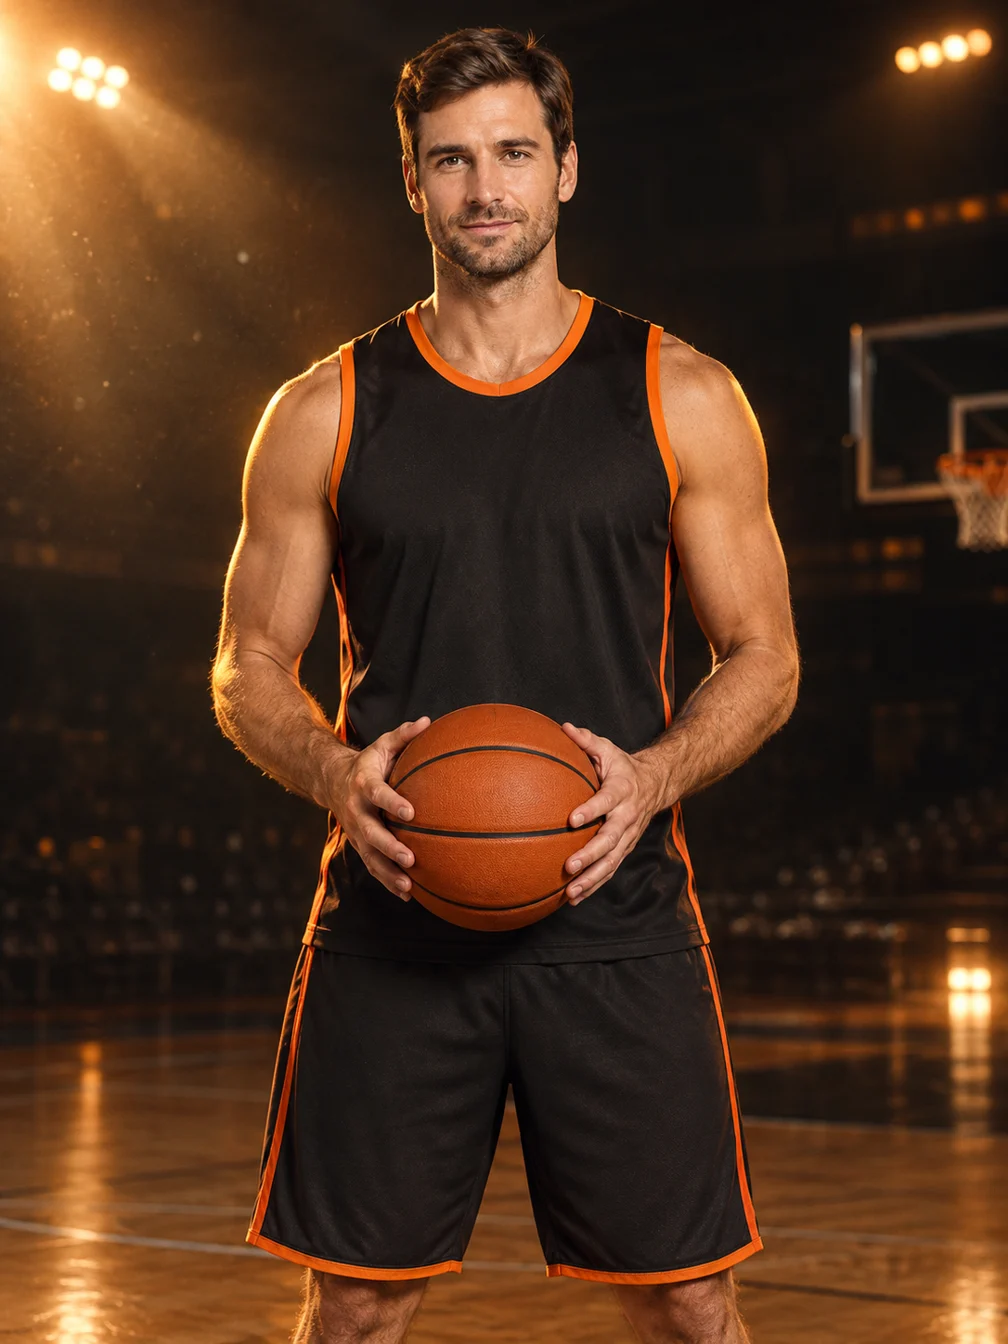
Basketball Poster
Turn your portrait into a basketball poster in arena, retro-card or neon-court style.
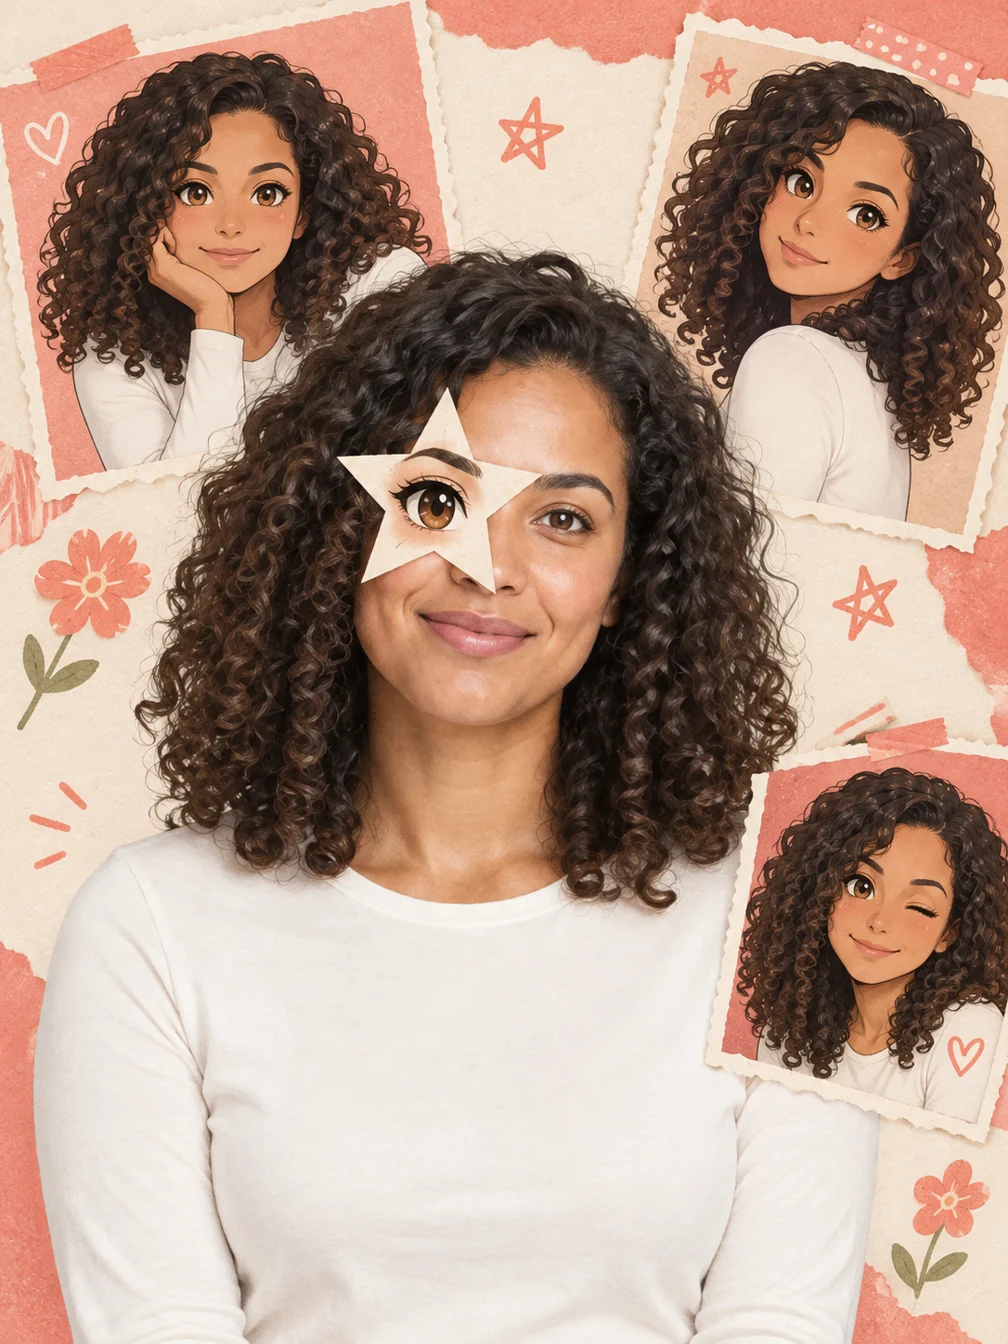
Anime Eye
Add one illustrated eye cutout and matching original anime-twin panels to your selfie.
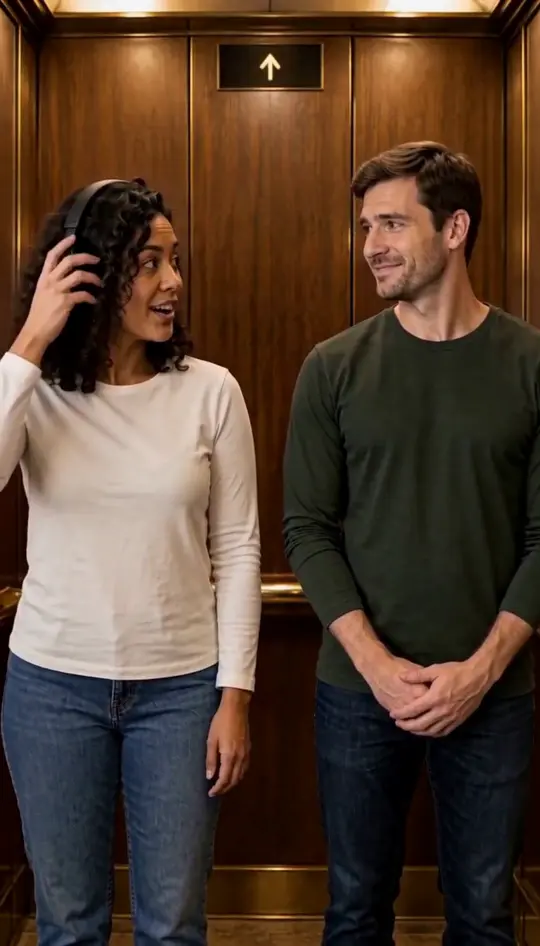
I Love the Smiths
Put two portraits into the elevator scene.
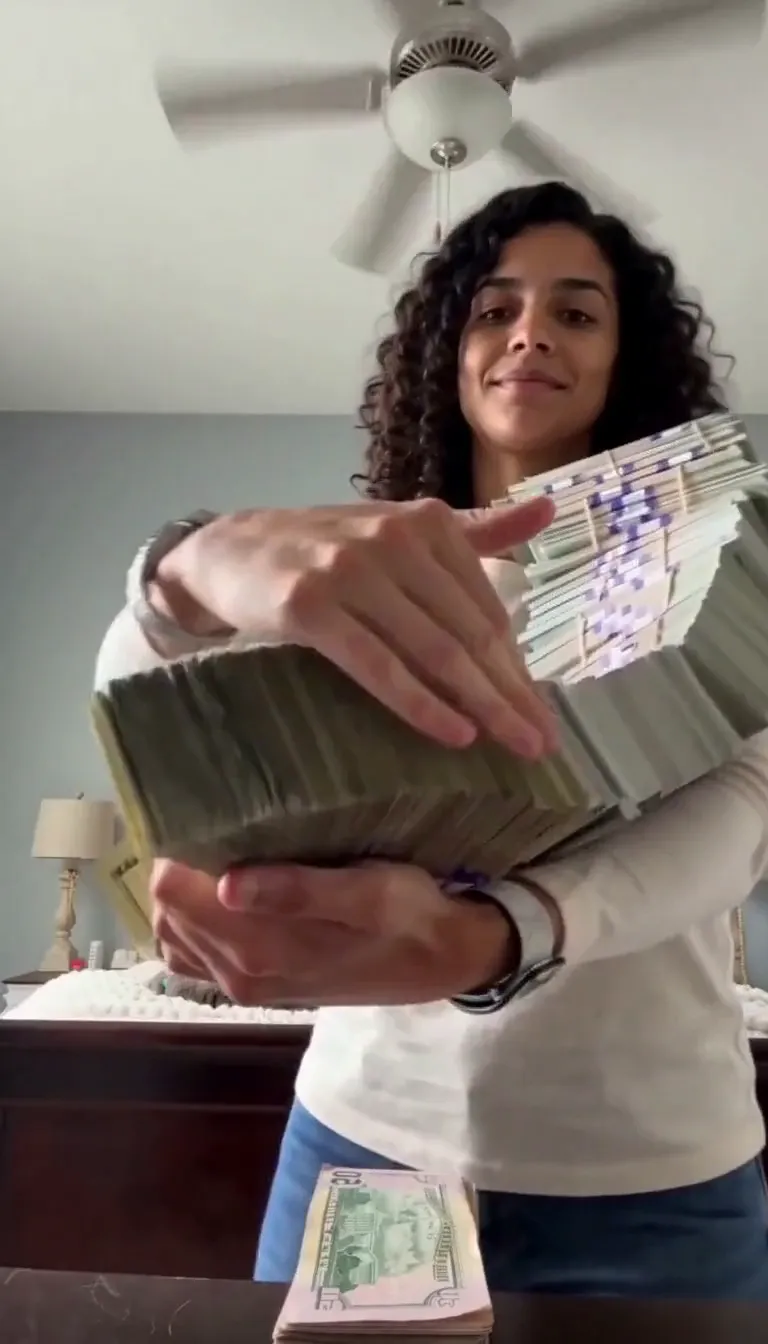
Money Flex
Put your portrait into a cash-fanning video.
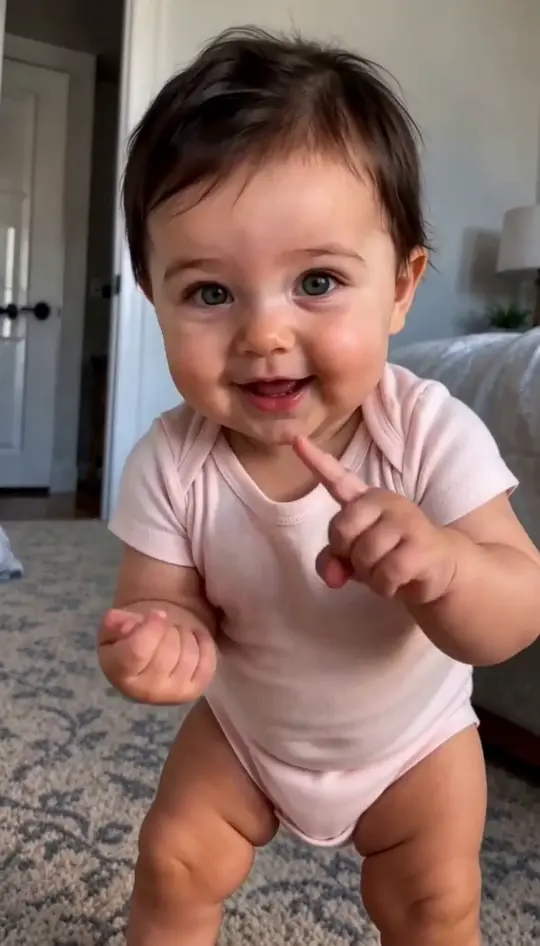
Baby Dancing
Turn a baby photo into a playful dance.
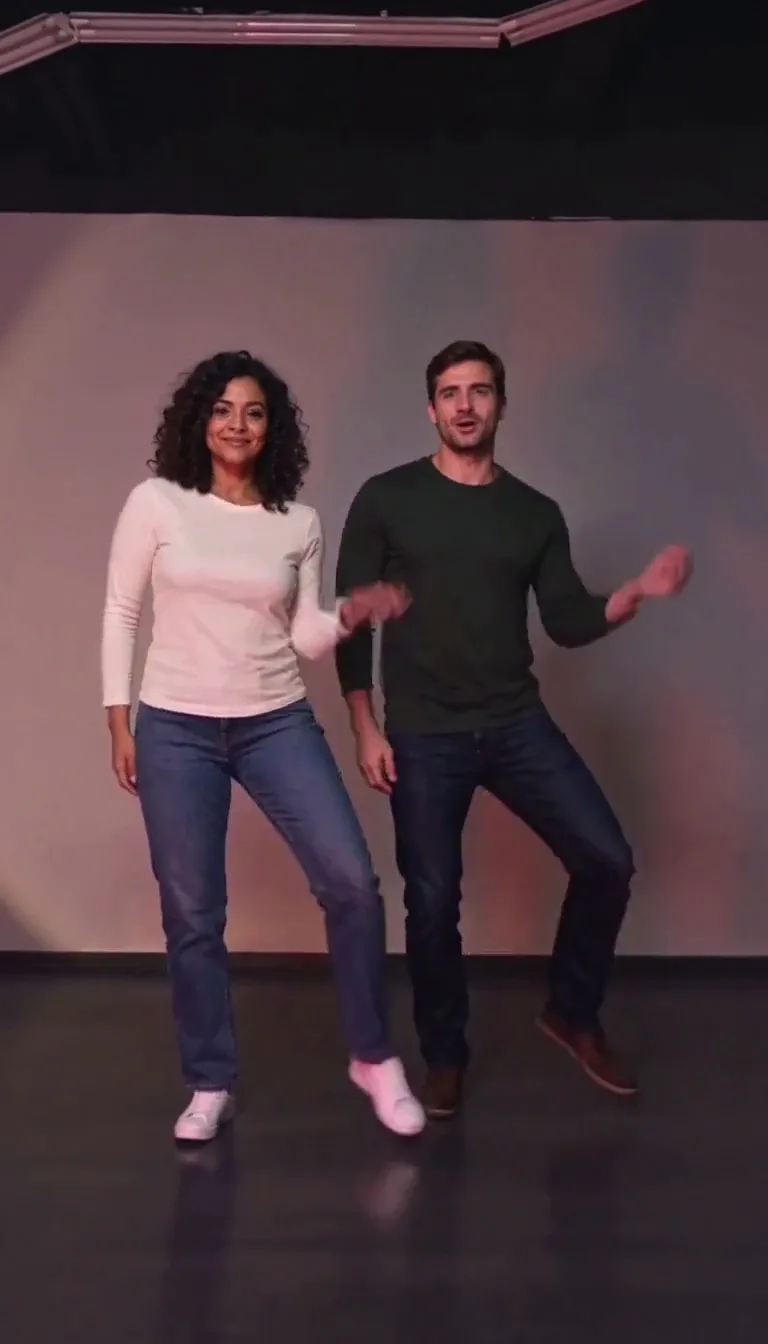
Trouble AI
Two portraits become a reference-guided duet dance.
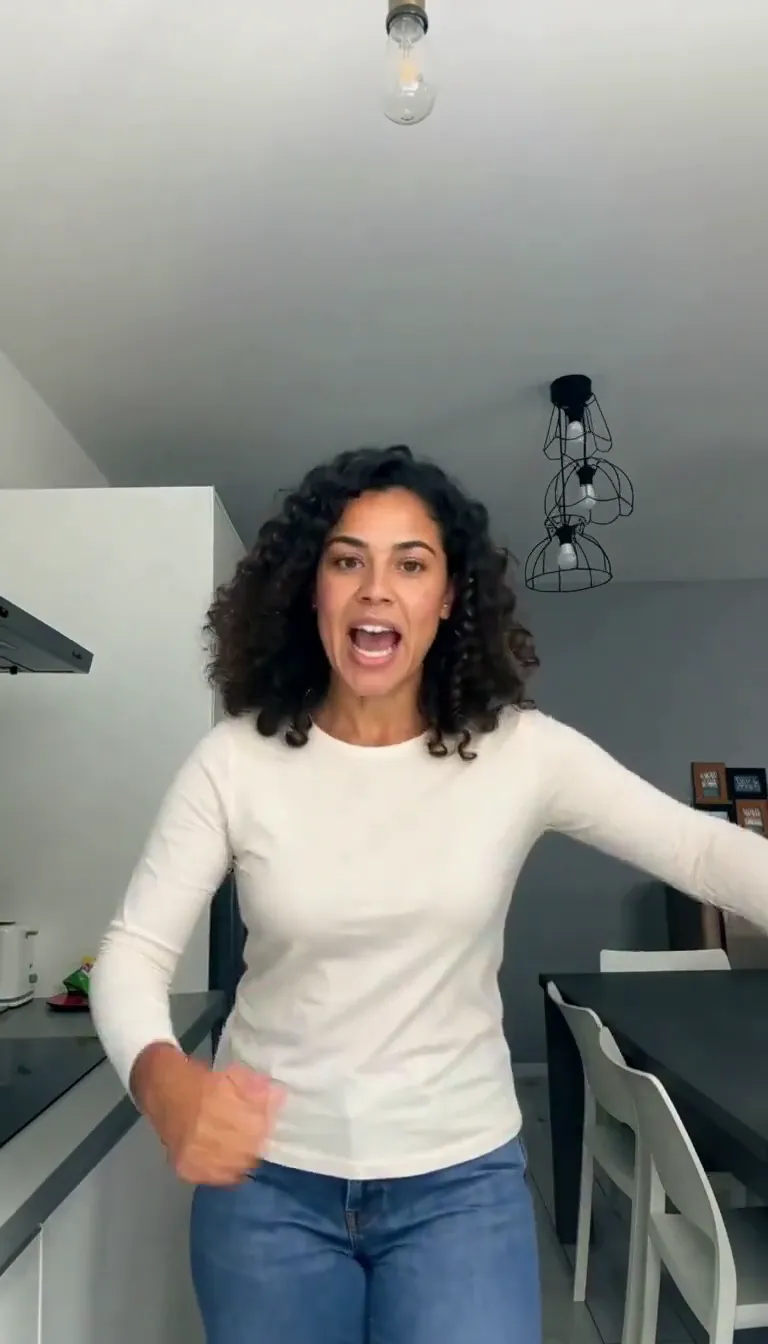
Bad Times AI
Put your portrait in the kitchen argument meme.
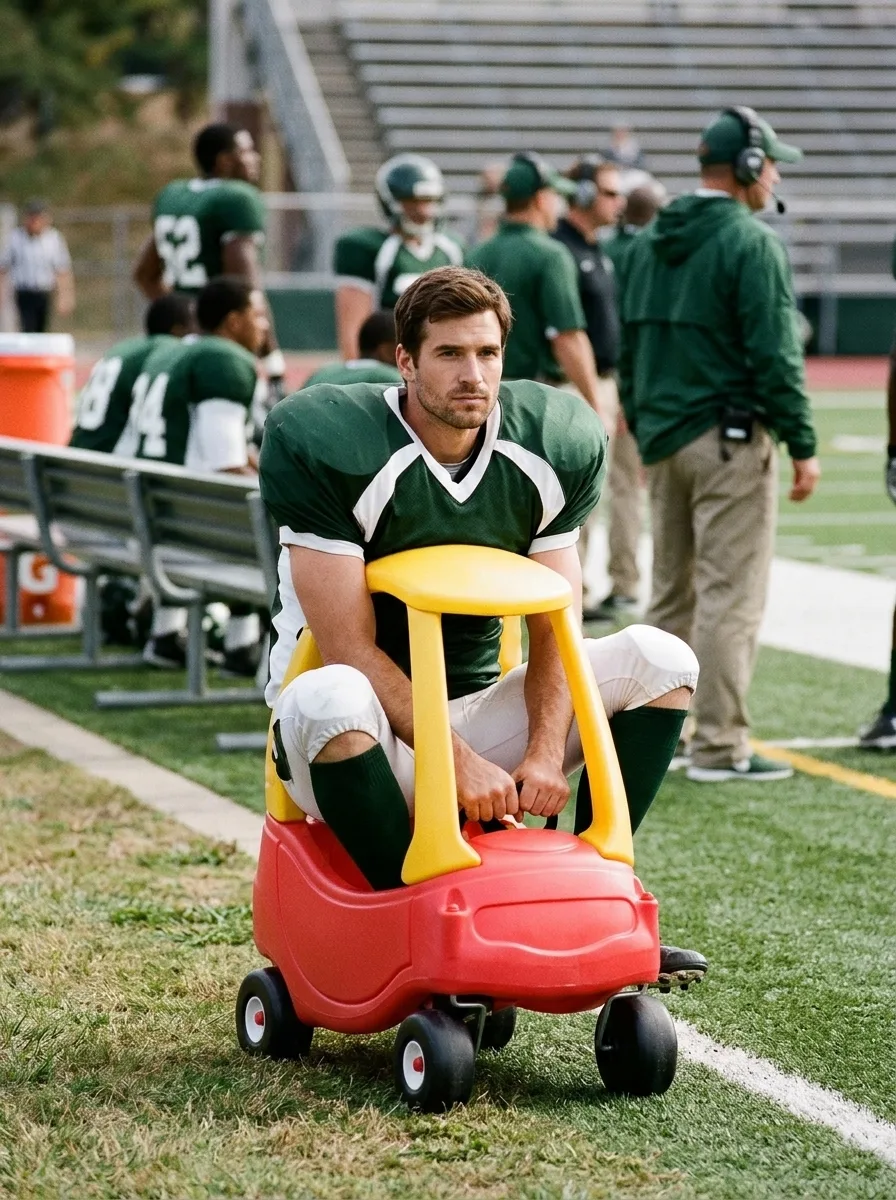
I'm Onnat Toy Car AI
See yourself in a tiny toy car beside the field.
Frequently asked questions
What is Push In AI?⌄
It turns a photo into a short generated video with a slow forward camera move.
Where can I use a push-in shot?⌄
A gentle push-in can introduce a portrait, add motion to a product image, or create a short transition in a social video. Review the result at its intended size before sharing.
What kind of photo works best?⌄
Push In AI works best with a clear subject, good light and some space around the subject. A wider image gives the camera room to move toward the focal point.
Does the photo determine the video shape?⌄
The preset uses the uploaded frame to guide the composition. Start with a portrait or landscape photo that suits where you plan to share the clip.
Is a push-in the same as a zoom?⌄
Both make a subject appear larger. A push-in describes moving the camera toward the subject, while a zoom changes the lens framing. Generated depth and movement can vary.
Do I need a reference video?⌄
No. Upload one photo; the preset supplies the camera direction.
How long is the video?⌄
The preset requests a five-second video.
How much does it cost?⌄
One video costs 50 credits, shown before generation.
Can I use a product or landscape photo?⌄
Yes. Push In AI can start with a photo of a person, product or landscape. Choose a clear focal point so the forward movement has somewhere to lead the viewer. For a product, leave enough room around the item and check labels and identifying details after generation; small lettering can change.
How can I prepare the result for sharing?⌄
Play the whole video on the device and in the format where you plan to share it. Check the opening and final framing, the movement of the subject and background, and any details that matter to your story. Download the result from your creations, then add captions, music or precise text in your preferred editor if needed.
Will my subject remain identical?⌄
The photo guides the result, but faces, motion and small details can change. Review the finished clip.