Easemate AI Photo to Video: A First-Test Checklist
To first-test Easemate AI photo to video, use one image you are allowed to animate, request one modest movement, and review the finished clip before changing the image, prompt, and format all at once. The aim is not to prove that every model or plan will work for every job. It is to find out whether one controlled photo-to-video setup is usable for your intended post.
Last updated: September 25, 2026 · about 8 min read
Disclosure: ClipTrend published this independent workflow guide. EaseMate is a third-party service; its models, credits, limits, exports, and terms may change. Check the live product page and your account before relying on a feature or paying for a run.
What this first test should answer
A useful first test answers one practical question: can this permitted still become a short clip without changing the thing that matters to the job? For a portrait, that may be the person’s recognizable appearance. For a product, it may be shape, label, color, or setting. For an illustration, it may be the intended style and subject.
EaseMate’s current Image to Video Generator describes an image upload, an optional prompt, and output choices for short-form uses. That is enough to define a test, but it is not a promise about a particular underlying model, price, turnaround, resolution, or commercial right. Treat the completed export—not a marketing thumbnail—as the evidence for your own decision.
Start with a written accept-or-reject rule. For example: “The bottle and its label must remain legible enough for an internal concept review,” or “The adult who supplied this portrait must remain recognizable and approve the result before any sharing.” A rule this small keeps the first result interpretable.
Prepare a source image you can actually review
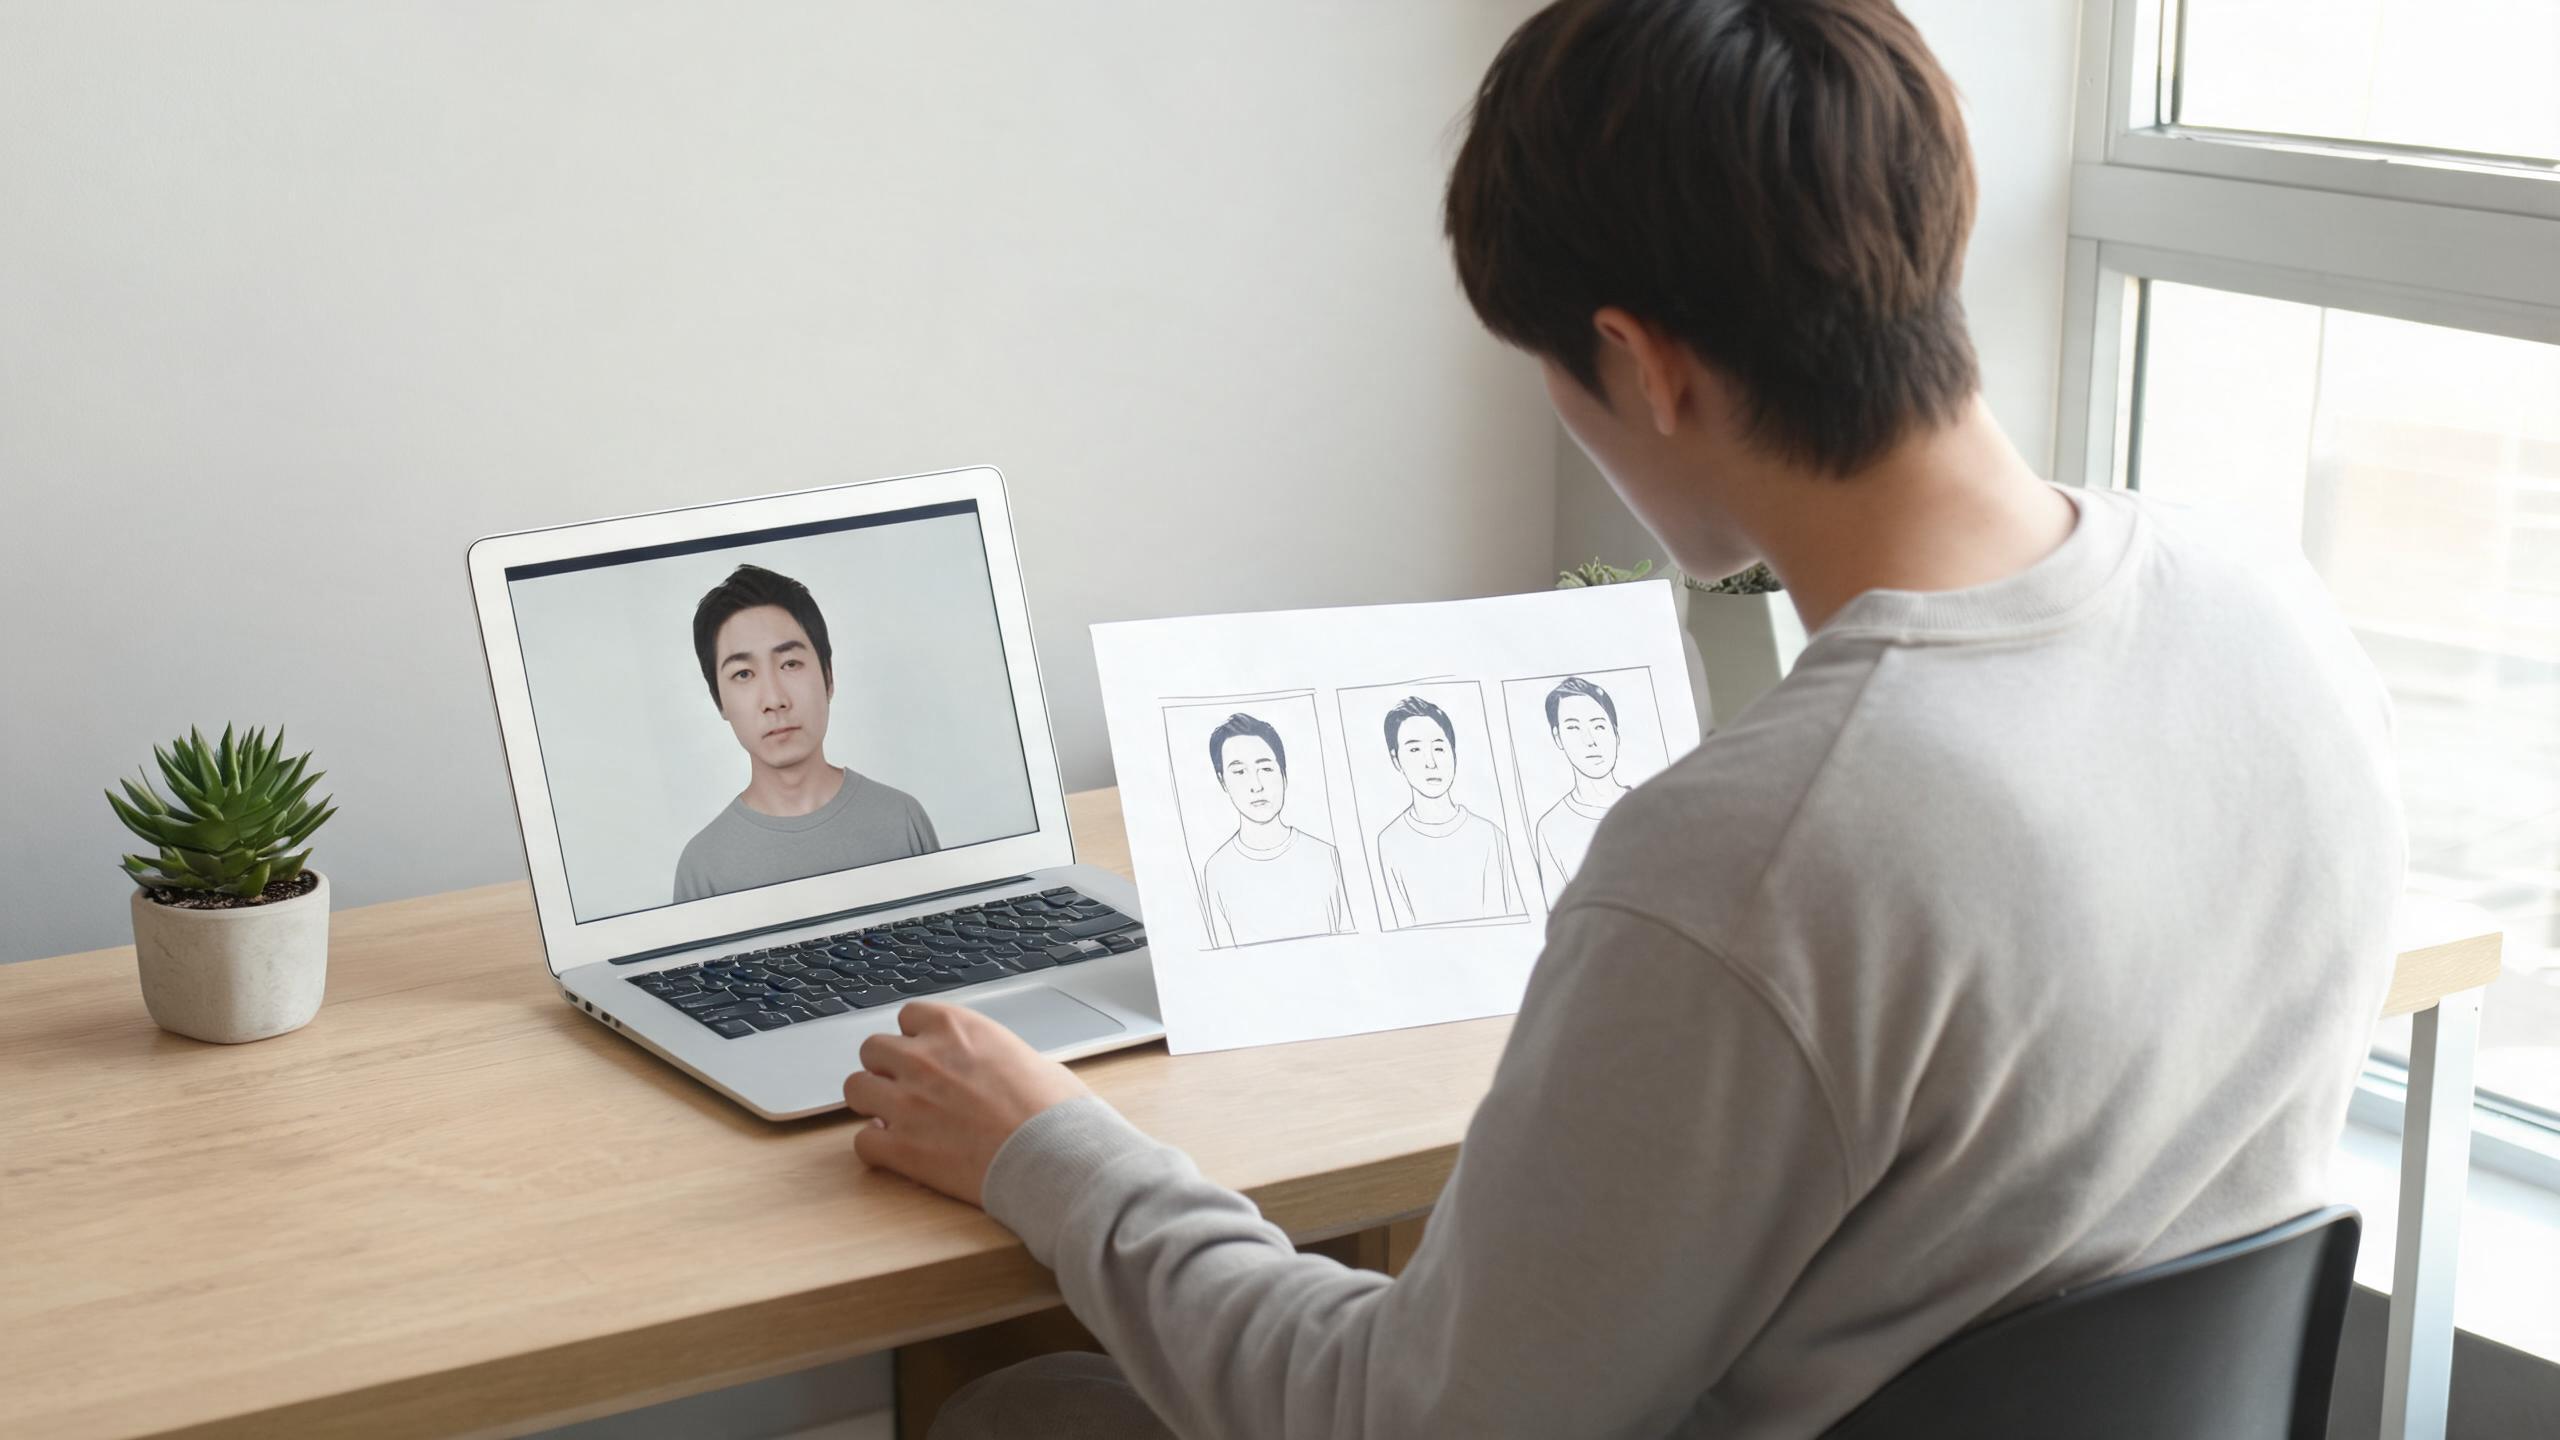
Use one source, not a collage of nearly identical files. Keep the original filename and, where applicable, a note showing why you may animate it. A public image, an old client asset, or someone else’s social post is not automatically permission to create and distribute a synthetic video.
Choose an image with a clear subject, usable lighting, and enough visible edge detail to expose drift. A tight face crop can hide problems in hands, clothing, and framing; a distant crowded scene makes it difficult to tell whether the model changed the right thing. If exact text, a regulated label, or a person’s likeness is essential, state that in the acceptance rule rather than assuming a generated frame will preserve it.
Before uploading, make a tiny record:
| Keep | Why it matters |
|---|---|
| Source-file version | Lets you compare a later retry with the same baseline |
| Permission or owner note | Separates creative testing from rights assumptions |
| Intended placement | Reveals whether the needed crop is vertical, square, or landscape |
| One protected detail | Gives the review a specific focus, such as face, logo, or product outline |
Do not load the first test with a group photo, a busy background, an extreme pose, and a request for a dramatic camera orbit. If the result fails, that combination gives you no useful clue about what to fix.
Ask for one motion that fits the still
Write a short motion brief that describes a single visible change. “Gentle head turn and slow camera push-in” is a testable brief for a portrait. “Slow forward camera move; light steam rises” is a testable brief for a food still. It is easier to diagnose than a paragraph asking for a new location, a dance, an outfit change, weather, fast cuts, and an exact brand message.
If the current EaseMate interface exposes model, aspect-ratio, duration, audio, or quality choices, record the values you select. If it does not expose one of them, do not invent it in your production notes. The first run should use options you can explain later, not a claim that an option exists for every account.
ClipTrend’s live Image to Video workflow offers a separate way to test a still image with a motion prompt. It is useful as a like-for-like comparison only when you hold the source, motion goal, target crop, and review rule steady. Switching the image and creative brief at the same time produces two demonstrations, not a fair learning loop.
Review the finished video in three passes
Watch the entire clip once at normal speed. Then inspect an early, middle, and ending frame. Finally, look at the intended crop on a phone or in the placement where it will appear. A polished opening frame can conceal drift later in the sequence.
| Check | Proceed when | Stop or retry when |
|---|---|---|
| Subject continuity | The key person, object, or illustration remains recognizable | Identity, shape, product detail, or setting changes in a meaningful way |
| Motion fit | The requested movement is readable and restrained | New actions, shaky motion, or a distracting camera move appear |
| Edges and occlusions | Hands, hair, packaging edges, and frame borders stay coherent | Objects merge, warp, disappear, or reveal unintended details |
| Crop and export | The actual file works in the chosen placement | The subject is cut off or compression hides a material problem |
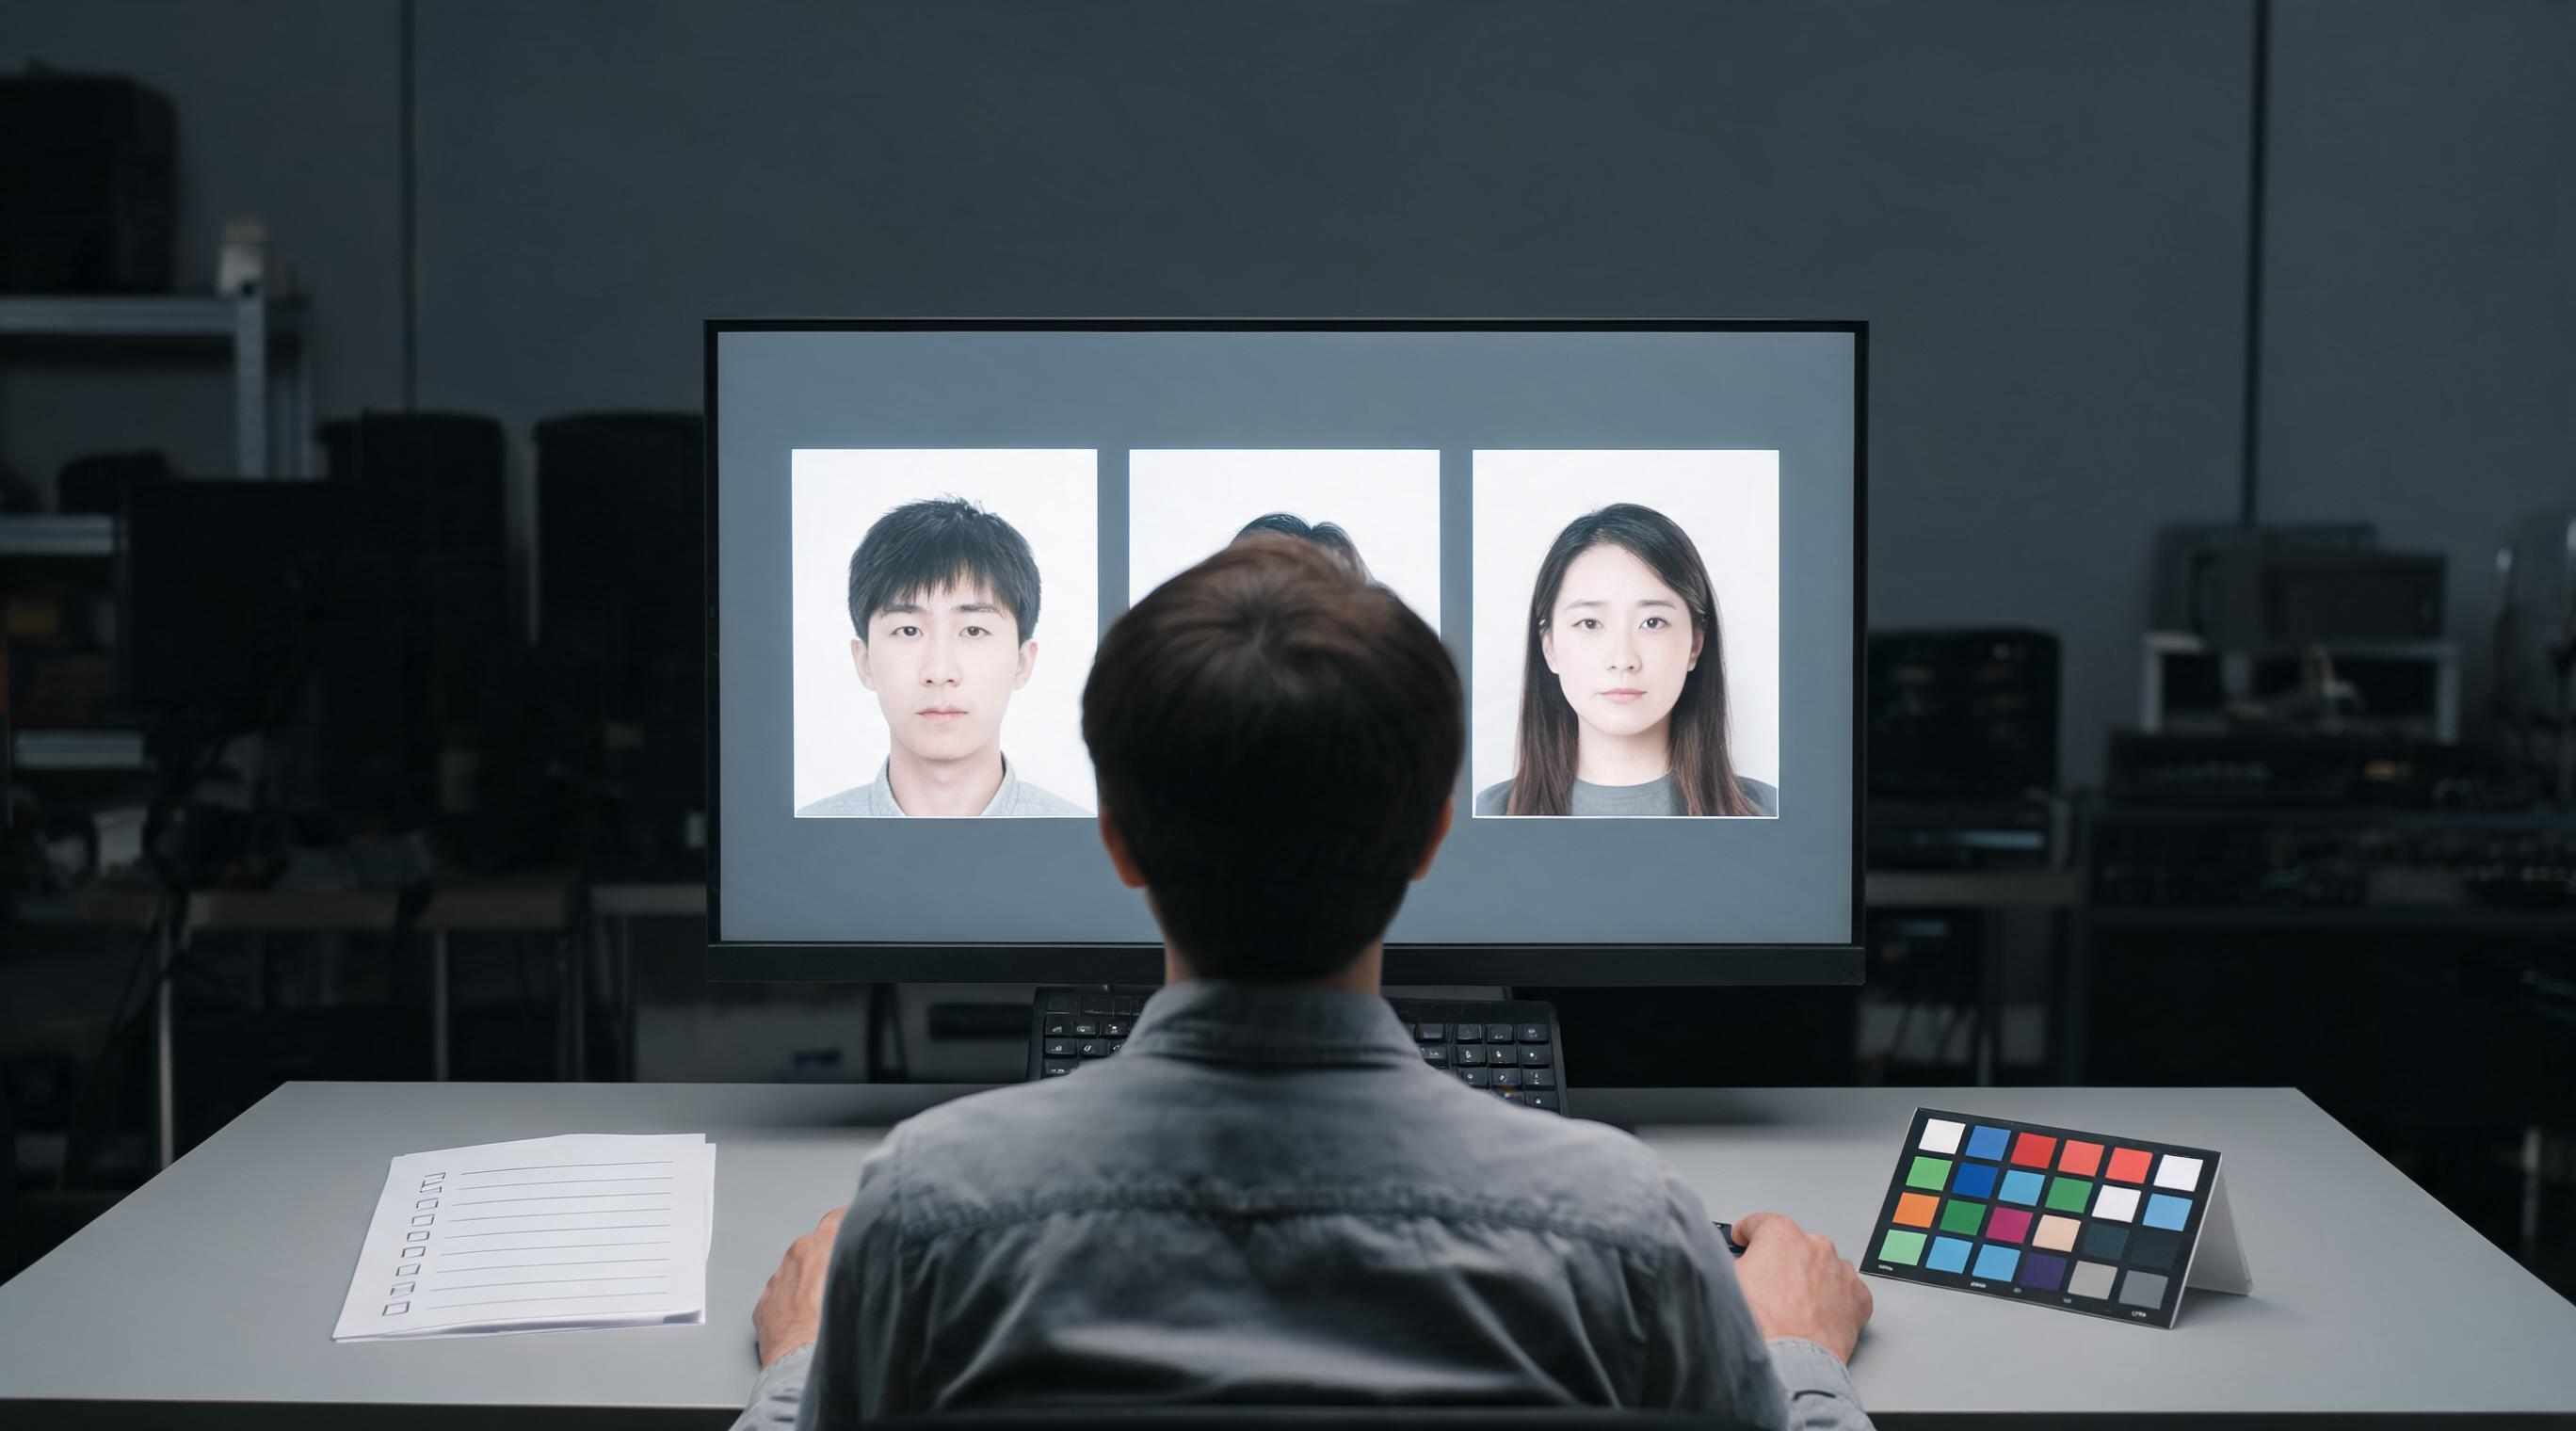
The check is not a synthetic “quality score.” It is a release decision for one use. A visual that is acceptable as a private concept may be unsuitable for a product listing, a client deliverable, or a public post that viewers could mistake for a real recording.
Change one variable for the second run
If the first output is not usable, change one factor. Keep the source but simplify the prompt; or keep the prompt but use a cleaner, better-lit source. Record what changed. This simple discipline prevents the common failure mode of making five unrelated attempts and being unable to say why one looked better.
If the first output passes, make one confirmation run only if it answers a real question, such as whether the final vertical crop still works. Do not scale to a batch merely because one preview looked exciting. Re-review each completed export; generated motion can vary between runs.
For broader baseline preparation, see ClipTrend’s photo-to-video free-test guide and its first-frame checklist. Both are general workflow references, not claims about EaseMate’s current settings or terms.
A relevant tutorial, with limits
The following independent EaseMate walkthrough is relevant to a first look at the broader platform. It is not a ClipTrend demonstration and does not establish that a feature, credit allowance, or workflow step is currently available to every EaseMate user. Verify the live interface yourself.
DataForSEO verified this video as embeddable with 25,329 views on September 25, 2026. It is included for context, not as proof of product claims.
Share the result with accurate context
If a finished clip makes a real person appear to do something they did not do, shows a realistic event that did not happen, or could otherwise be mistaken for camera footage, decide on the destination’s disclosure process before posting. YouTube’s altered or synthetic content guidance is one current example: it asks creators to disclose realistic, meaningfully altered or synthetic content during upload. That policy does not replace consent, source rights, or a destination-specific review.
Keep the source, brief, settings note, completed export, and approval decision together. If you cannot state what was generated and why you are allowed to share it, the safest first-test result is to stop rather than refine a questionable clip.
FAQ
What is the best photo for an EaseMate AI photo-to-video first test?
Use one permitted image with a clear main subject, readable edges, and ordinary lighting. Pick a source that makes it easy to spot changes in the person, product, or scene you need to preserve.
Should I use a detailed prompt on the first run?
No. Start with one modest motion and a single acceptance rule. A complex prompt makes it much harder to understand what caused a good or bad result.
Is a good preview enough to publish?
No. Review the completed export at normal speed and at the crop where it will appear. Confirm rights, permissions, and any disclosure requirement separately.
Does this guide confirm EaseMate pricing or commercial rights?
No. Plans, credits, downloads, and terms can change. Check EaseMate’s live product and account information before making a buying or publishing decision.
Sources
- EaseMate AI, Image to Video Generator, checked September 25, 2026
- ClipTrend, Image to Video, checked September 25, 2026
- YouTube Help, Disclosing use of altered or synthetic content, checked September 25, 2026
- YouTube, How to Use EaseMate AI (2026), metadata verified September 25, 2026