Best First Frame for Image-to-Video AI: A Practical Checklist
The best first frame for image-to-video AI is not necessarily the prettiest still. It is the image that gives the model a clear subject, readable edges, room for motion, and one obvious visual idea to preserve. A strong first frame reduces drift before you write a prompt. Use an AI video generator after you have chosen a source image that can survive the movement you want.
Last updated: July 16, 2026 - about 10 min read
Image-to-video starts with a constraint: the first frame tells the model what the clip already is. That makes the still more important than a long list of style adjectives. If the subject is tiny, the background is chaotic, and the prompt asks for a fast orbit, the model has to invent too much. If the subject is clear and the motion is modest, even a simple prompt can produce a more usable result.
Decide what needs to stay stable
Before choosing an image, write down the one thing that cannot drift. It may be a product's silhouette, a person's face, a character costume, a food dish, a room layout, or a particular color treatment. That protected detail should be large enough and clear enough in the first frame for you to inspect it without zooming aggressively.
Then decide what is allowed to move. A light shift, steam, hair movement, a hand entering frame, a slow push-in, or a small turn is a manageable first test. If the motion requires the camera to reveal parts of the scene that the still does not contain, choose a different source or reduce the movement.
The first-frame readiness table
Use this table before you upload. It turns a vague feeling that an image is "good" into checks that affect the stability of a generated clip.
| First-frame check | Why it matters | Good sign | Improve it when |
|---|---|---|---|
| Subject separation | The model needs to know what is foreground | Product or person stands apart from the background | Colors and edges blend into the scene |
| Motion headroom | Movement needs visual space | There is room in front of or around the subject | A crop pins the subject against an edge |
| Detail readability | Small critical details can melt during motion | Key face, product, or costume features are clear | Labels, hands, hair, or seams are tiny or obscured |
| Lighting logic | Stable light helps preserve shape and texture | One understandable light direction | Heavy shadows hide half the subject |
| Camera intention | The still should support the move you request | A push-in, pan, or reveal has somewhere to go | The requested move exposes missing scene information |
| Crop for destination | A clip must survive the final format | The important subject sits safely in frame | A vertical or horizontal crop will cut off the point |
The table does not require a studio image. A phone photo can be an excellent first frame when it has a readable subject and a simple visual plan.
Match the frame to the motion
Different motions need different starting images. A slow push-in works when the subject is already centered and has useful detail to reveal. A pan works when the frame includes a clear direction and some environment to travel across. A small turn or action works when the body or object has enough visible structure for the model to understand the movement.
Avoid asking an image to reveal what it never showed. A tightly cropped bottle cannot reliably become a wide orbit through a full room. A portrait cropped at the forehead and chin is a weak source for a full-body dance. A product against a busy shelf may not hold together when the camera moves quickly.
When in doubt, choose the more restrained motion. A short, stable clip with one clear action is more useful than an ambitious sequence that breaks the subject halfway through.
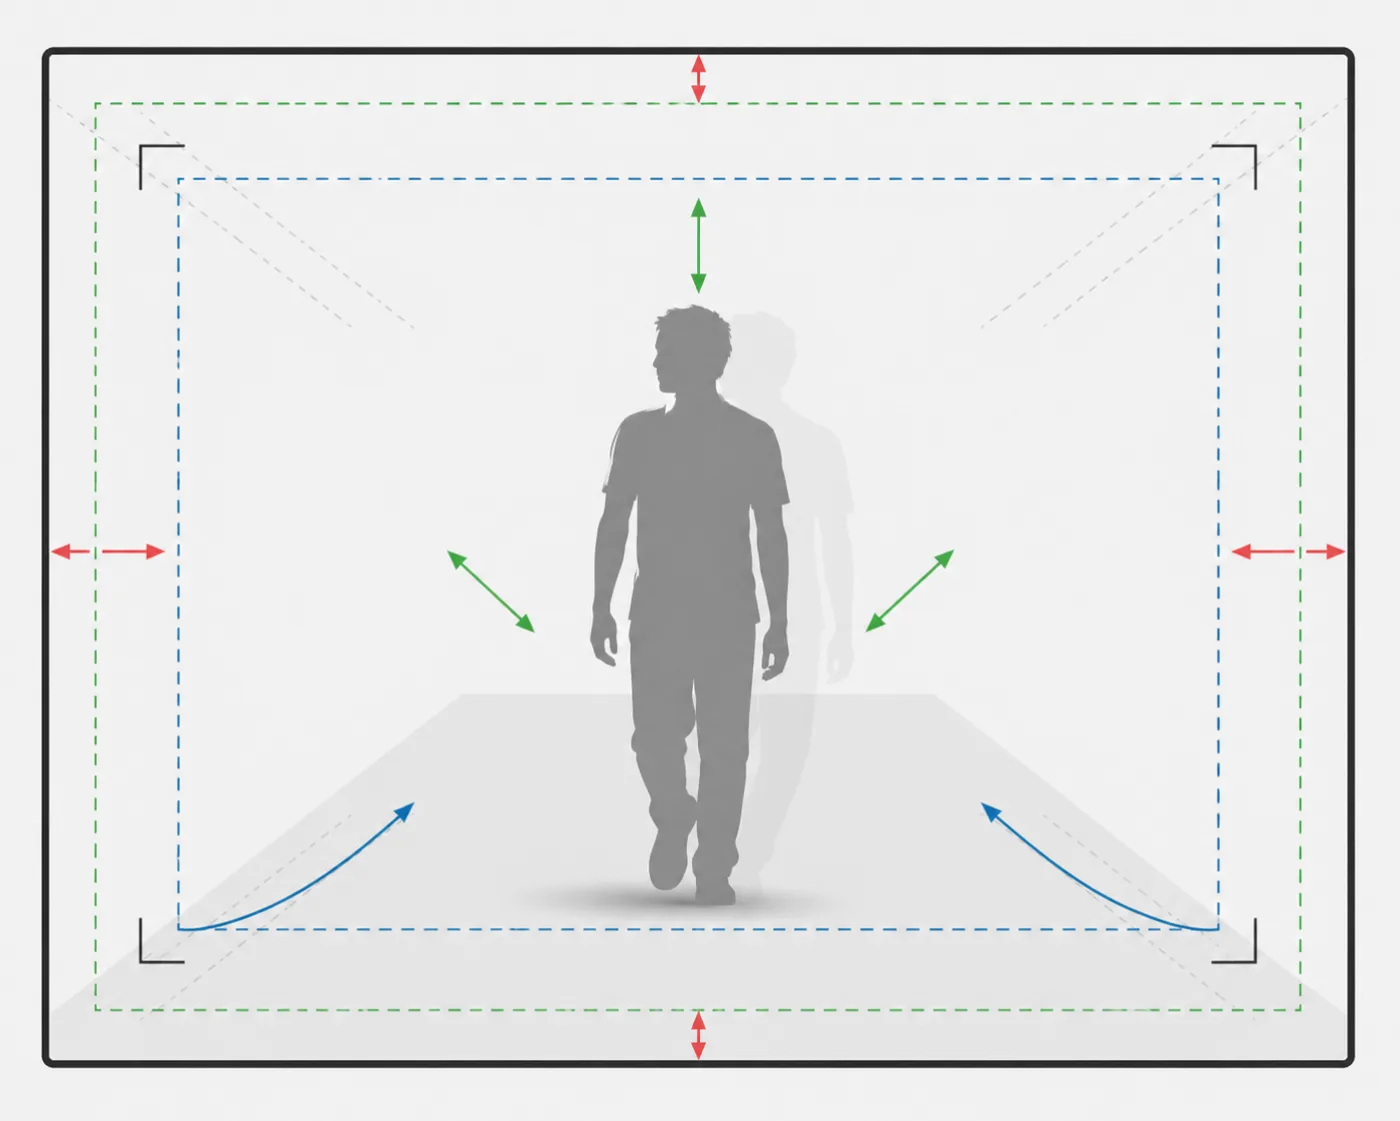
The best first frame leaves room for the motion while keeping the important subject readable at the center of the decision.
Prepare a source image without over-editing it
You can improve a first frame with simple adjustments: crop so the subject is clear, remove unrelated clutter, correct an extremely dark exposure, and choose a version with visible edges. Do not over-smooth the image or erase every natural texture. A clean but believable still gives the model more useful information than a heavily filtered one.
For products, keep the object large enough to read and avoid relying on tiny packaging text. For portraits, use a face with visible features and avoid hands or hair covering the areas you want to preserve. For food, make the dish the main subject and leave room for steam, a light move, or a utensil action. For interiors, choose lines and surfaces that make a slow camera movement understandable.
If you need exact text, prices, logos, or legal copy, add them later in a normal editor. The generated video should carry the motion, not be the only location where verified information exists.
A controlled first-frame test
Run one short test before you create variations. Use the selected image and one prompt: preserve the subject, name one motion, and protect the details that matter. For example: "Keep the uploaded product centered with the same shape and lighting. Use a slow camera push-in while soft light moves across the surface. Keep the cap and product edges stable. End on a clean hero frame."
Then inspect the output at normal viewing size and zoom in where the source had important details. Does the subject stay recognizable? Does the motion match the plan? Does the camera move expose a missing background? Is there a clean frame for the final message?
If the result is weak, change one thing. Use a closer crop, reduce the motion, simplify the prompt, or choose an image with more separation. Do not change all four at once. That turns the second attempt into another unanswerable experiment.
First-frame choices by use case
Product motion
Use a product image with clear silhouette, stable lighting, and enough negative space for a small push or reveal. Keep any exact label claim outside the generation step. Product edges, caps, handles, and material detail should be visible before you animate them.
Portrait animation
Choose a portrait where the face is large and unobstructed, the shoulders are visible if you want body movement, and the background is simple. Start with a small head movement, subtle hair motion, or a gentle camera drift. Fast gestures and complex hands are harder to preserve.
Social-template clip
Choose the crop before you generate. For vertical video, keep the main subject away from the edges and leave room for later captions. Use AI video templates when a known format gives you a better structural starting point than a blank prompt.
Cinematic scene or concept
When exact identity is less important, you can choose a more atmospheric still. Even then, give the model one focal point and one camera intention. A beautiful but visually flat scene may need a new composition before it needs a more elaborate prompt.
Common first-frame mistakes
Choosing a detail image for a wide move
A close crop may look premium as a still and fail as a video because the requested camera move requires surroundings the frame does not show. Match the crop to the planned movement.
Hiding the main subject in a busy background
If you cannot identify the subject instantly, the model may not either. Simplify the scene or crop closer before you generate.
Ignoring the destination crop
A horizontal first frame may put the product in a place that disappears in a vertical edit. Test the safe area early, especially for ads and short-form posts.
Treating a long prompt as a substitute for a clear image
Prompts can direct motion, but they cannot reliably reconstruct details absent from the source. Improve the still first, then keep the motion instruction short and specific.
FAQ
What makes a good first frame for image-to-video AI?
A good first frame has one clear subject, readable edges, stable lighting, room for the intended motion, and a crop that fits the final channel. It should show the thing you need the model to preserve.
Should I use a portrait or landscape image?
Use the format that supports the final placement. A vertical social clip needs a vertical-safe composition; a product-page loop may work better from a horizontal frame. The important part is keeping the subject in a safe area.
Can I fix a bad first frame with a better prompt?
Sometimes a simpler prompt helps, but a prompt cannot reliably recover hidden edges, tiny details, or missing scene context. Improve the source image before adding more instructions.
How many images should I test?
Start with one strong source image and one controlled motion test. If it is weak, compare one alternative crop or source image while keeping the prompt the same. That tells you which part of the workflow needs improvement.
Build the clip on a frame that can hold it
The best first frame for image-to-video AI makes the intended motion easy to understand before the clip exists. Choose a readable subject, leave room for movement, protect the details that matter, and test one motion at a time. When the source is ready, begin the next controlled render with an AI video generator.