Canva Photo to Video AI: A First-Test Checklist
Canva's Image to Video tool can animate an approved still with a prompt, but the useful first test is deliberately small: one licensed image, one modest motion, and one review question. That makes it easier to tell whether the output fits your real job before you build an edit around it. Canva's current Image to Video guide is the source of truth for its live controls, eligibility, and terms; those can change after this article is published.
Last updated: September 23, 2026 · about 8 min read
Start with the decision, not the effect
Search results for “Canva photo to video AI” often make the workflow sound automatic: choose a photo, add motion, export. That can be a good starting point, but it is not a production test plan. The question is not whether a clip moves. It is whether the particular image, motion, crop, and output conditions work for the place you intend to use it.
Choose one outcome before opening any generator. For example:
- Can an approved product photo hold its silhouette through a gentle push-in?
- Can a permitted portrait gain a small, natural movement without changing the person’s distinctive features?
- Can a still match the first moment of a short social sequence after its vertical crop?
Avoid using the first pass to test a person dancing, a camera orbit, a new background, changing weather, and tiny package text all together. A busy request can produce a dramatic result without answering any of those individual decisions.
Prepare the right first image
Use an image you created, licensed, or are clearly authorised to animate. A public image of a person or product is not, by itself, permission to create and publish a moving synthetic version. For client material, keep the approval and intended use with the source file.
The most useful test image has one clear subject, readable edges, steady lighting, and enough room around the intended motion. If a label, logo, or face must remain exact, flag that as a review risk rather than assuming any generative process will preserve it perfectly. Our first-frame image-to-video guide explains why the still often does more to shape the result than a longer prompt does.
Before you generate, record the current date and check the live product screen for the options that matter to you: the available mode, duration, download conditions, and any plan or commercial-use terms. Do not use a tutorial, a search snippet, or an older pricing screenshot as a purchase promise.
Run one controlled Canva photo-to-video test
Canva describes Image to Video as a way to turn a still into a short, prompted clip. Use that capability as a bounded experiment rather than a claim about a particular account tier.
- Upload the approved source. Keep a copy with its original filename or version identifier. Do not begin from a screen capture that another teammate cannot locate later.
- Set the final crop first. If the job needs a vertical social post, assess the vertical framing before generation. A beautiful horizontal result can be unusable after reframing.
- Ask for one compatible motion. Try “a gentle camera push-in while the object remains still” or “subtle breeze through the leaves.” Keep the request short enough that you can tell whether it happened.
- Save the output with its test note. Include the source version, the exact motion brief, the generation date, and the selected output settings. This is a review record, not an attempt to reverse-engineer a model.
- Watch it through. Review the opening transition, the middle, and the last frame at normal speed. A good thumbnail does not reveal subject drift, a floating edge, a sudden crop, or text-like artifacts.
If you want a separate environment for a comparable test, ClipTrend's image-to-video workflow lets you start from an approved image and a concise motion request. It is a separate product workflow, so compare the live controls and output terms on the day you use either tool.
Use a simple review sheet
This table is not a universal quality score. It gives a reviewer a consistent way to explain why a clip is or is not ready for the intended use.
| Review question | What to inspect | Useful next step if it fails |
|---|---|---|
| Does the subject stay recognisable? | Face, product outline, distinctive shape, and important edges from first to last frame | Retry with a cleaner source or less motion; do not hide the issue with a faster edit |
| Does the movement support the brief? | The requested movement, camera behaviour, and any unexpected new action | Simplify the prompt and test one action only |
| Is the crop usable? | Safe space around the subject in the final placement | Reframe the source before generating another version |
| Can the team use the file? | Current export, account, watermark, media, and rights conditions | Check the live Canva page and the client’s required terms before paying or publishing |
| Is the claim honest? | Whether a viewer could mistake the result for camera-recorded footage | Add an appropriate disclosure and avoid implying a real shoot happened |
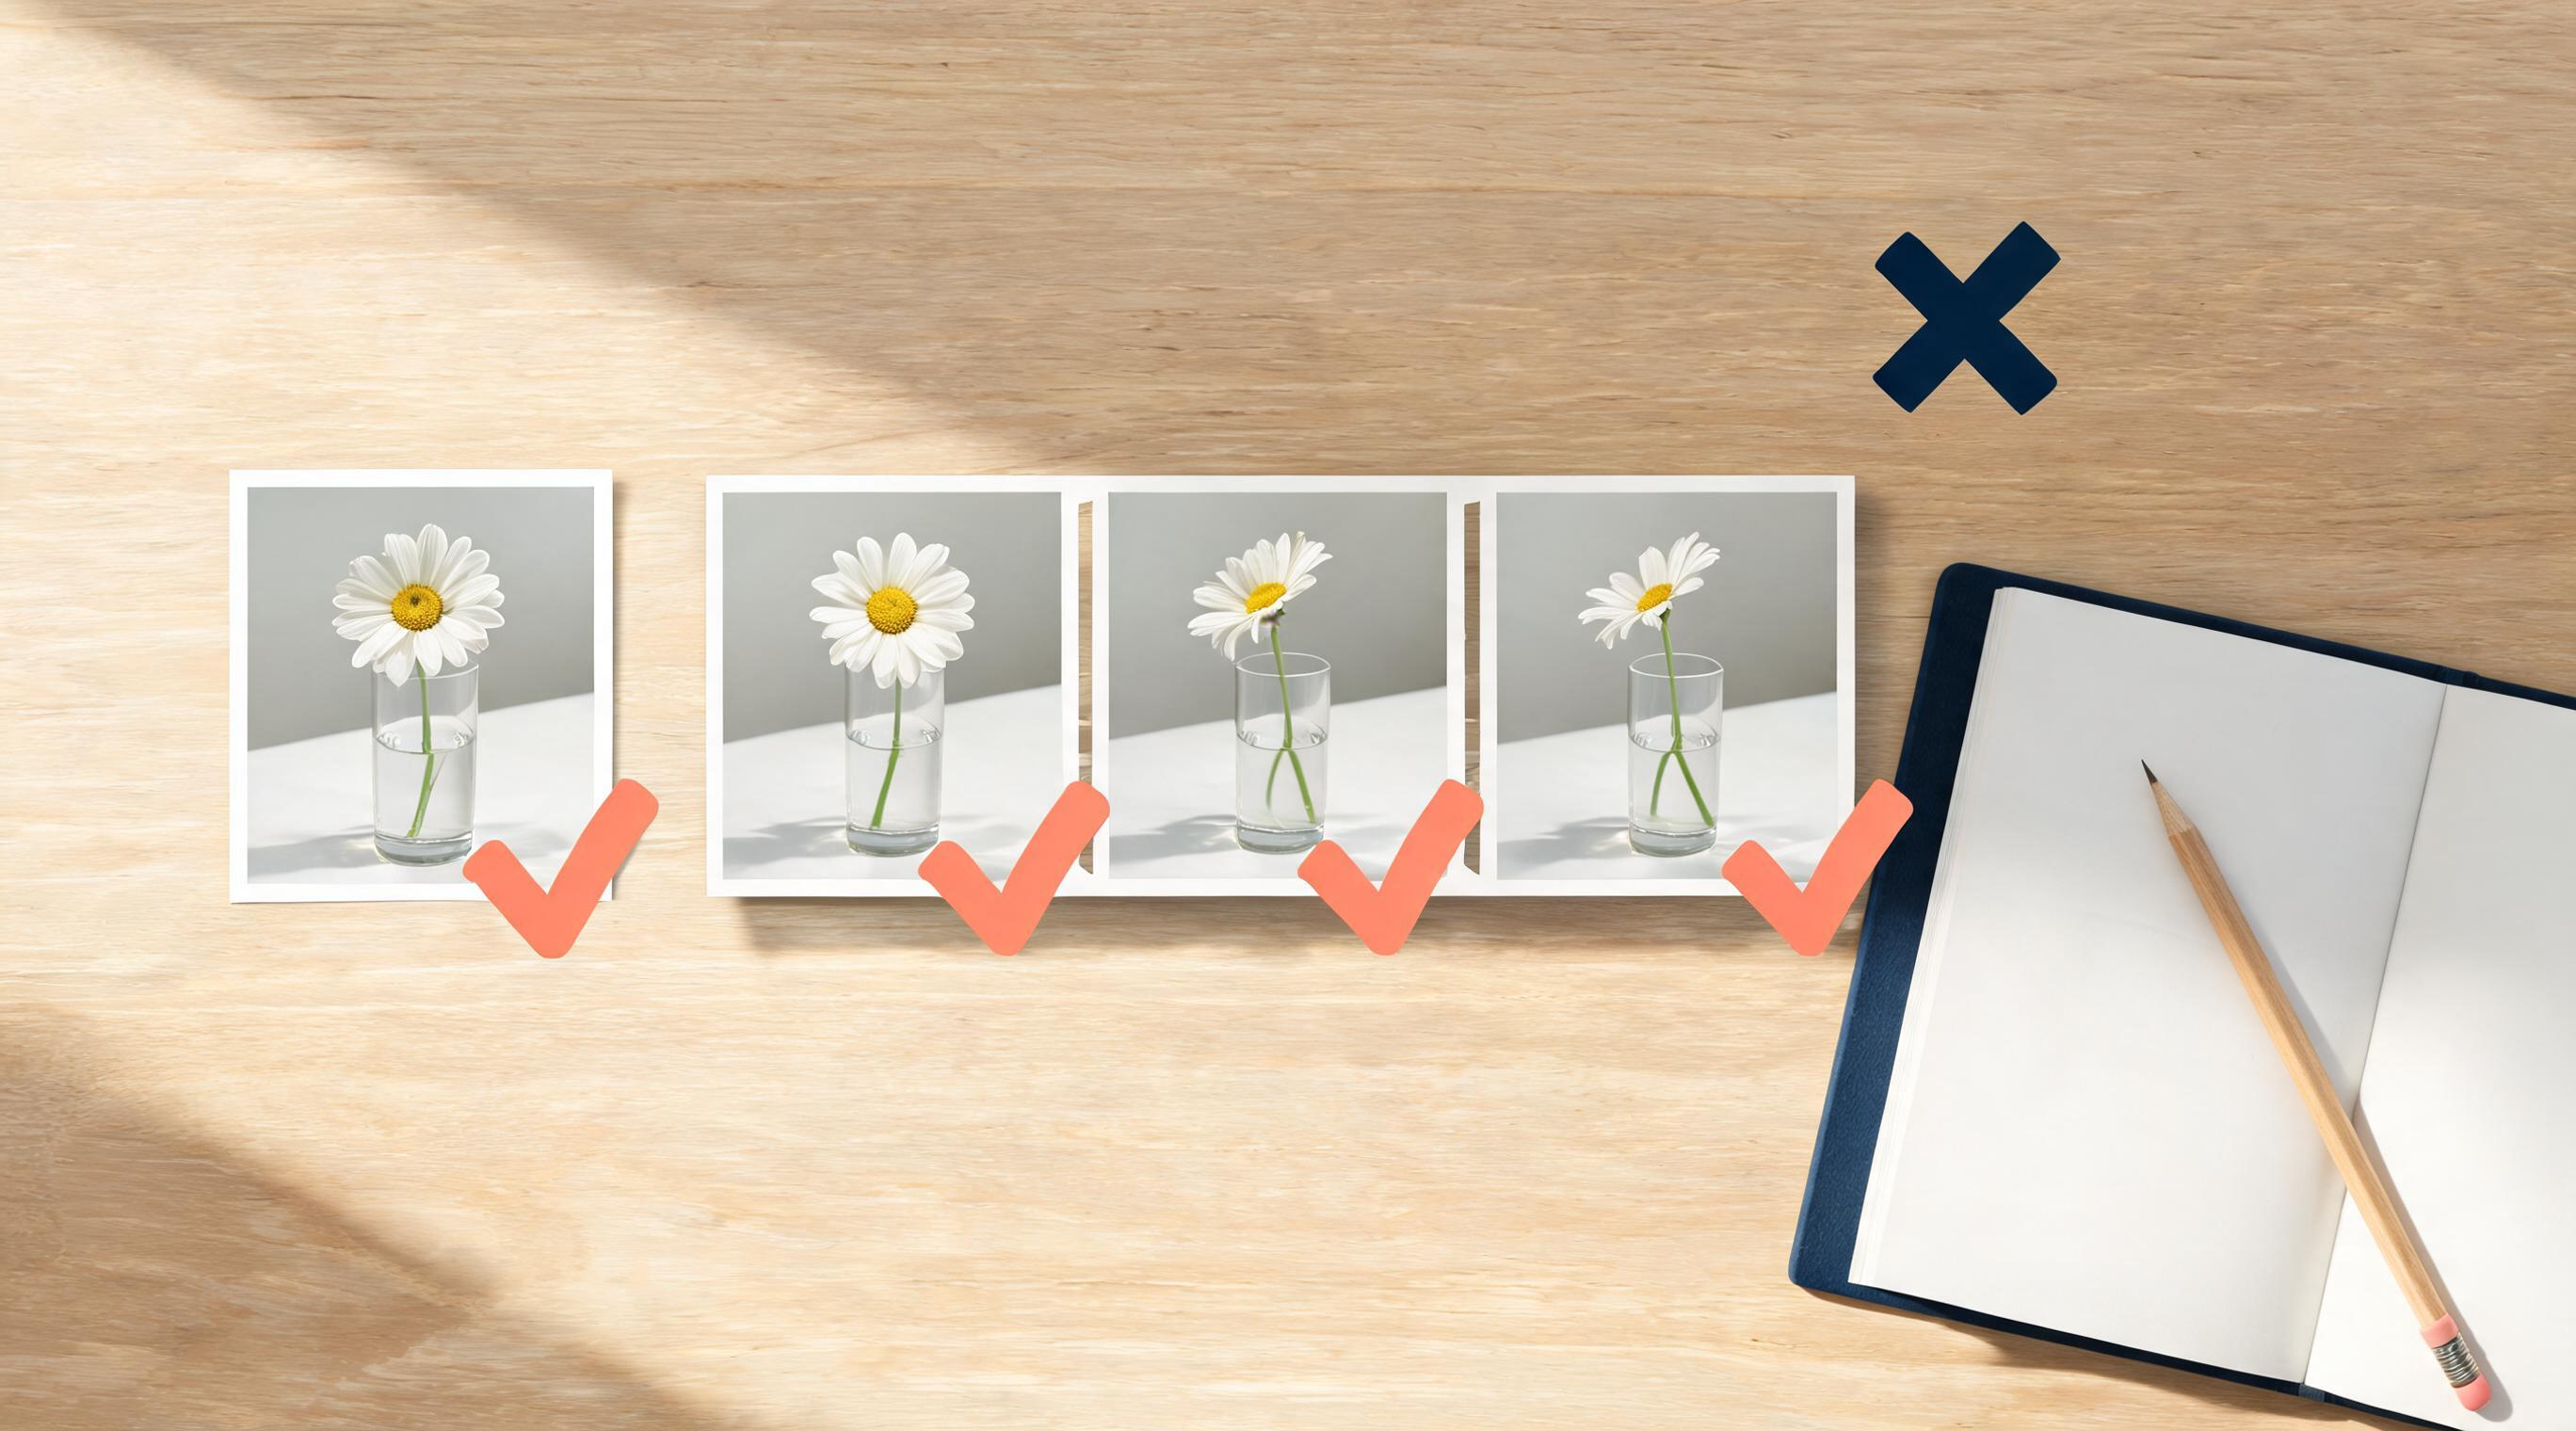
A review note is most useful when the source image and requested motion are held constant.
When to change the source instead of the prompt
Prompt changes cannot always compensate for an unstable still. Change the image first when the subject is already tiny, cropped at an awkward joint, obscured by reflections, or surrounded by visual clutter. A cleaner first frame gives the motion system fewer ambiguous edges to invent.
Likewise, do not treat a strong single result as proof that every source will work. A product on a plain background and a portrait in dappled lighting are different tests. If the next production job is materially different, run another small trial with a representative approved still.
For a no-cost evaluation mindset that applies across tools, see our photo-to-video free-test guide. It covers the distinction between a limited trial and a decision-ready output.
What a first test cannot prove
A successful clip can show that one source and one motion work together. It cannot prove that a plan includes every capability you may need later, that a result has exclusive rights, or that a complex multi-shot project will stay consistent. It also cannot grant permission to animate a person, character, logo, or customer image.
Canva’s own AI Image to Video page and AI video editor page describe current product capabilities. Check those pages and the applicable terms immediately before a client purchase, campaign launch, or commercial distribution. This article is a testing checklist, not legal or licensing advice.
FAQ
Is Canva photo to video AI free?
Canva’s live pages describe its current availability, but access, limits, included media, and commercial-use terms can vary by account and change over time. Check the product and pricing information shown to your account before relying on a result.
What prompt should I use for my first photo-to-video AI test?
Ask for one motion that matches the still: a slow push-in, a small head turn, light steam, or a gentle breeze. Pair it with one review question, such as whether a product’s outline remains stable.
Can I use any photo in Canva Image to Video?
No. Use a photo you have permission to animate and publish for the intended context. A public image, recognisable person, brand asset, or client file may require separate rights or approval.
Why does the generated clip change my original image?
Image-to-video generation synthesises intervening frames rather than preserving every input pixel. Treat important identity, product, crop, and text details as review points; use a cleaner source and a smaller motion request if they drift.
Sources
- Canva, Free Image to Video AI Generator
- Canva, AI Video Editor
- ClipTrend, How to choose a first frame for image-to-video