MiniMax H3 Image to Video: Test an End Frame
MiniMax H3 image to video is worth testing when you need a still image to move and need the clip to finish on a chosen composition. In ClipTrend.ai's Image to Video tool, MiniMax H3 is publicly available with an End Frame control and 480p, 768p, and 2K options. Start with one still, one modest action, and one end image; then compare the full result against both endpoints before changing anything else.
Published September 18, 2026 · about 7 min read
The small test to run first
An end frame is a destination, not a replacement for the prompt. The source image tells the model where the scene begins. The end image tells it where you want the clip to land. Your prompt describes the change between them.
For a first MiniMax H3 test, use an uncomplicated pair:
- Start image: an approved, sharp still with one clear subject.
- End image: the same subject, scene, and aspect ratio, with one deliberate difference: a changed camera position, light direction, object position, or final pose.
- Prompt: one sentence about the movement that bridges those two states.
That setup makes a useful question answerable: did the clip preserve the subject and reach the intended ending? A busy before-and-after pair makes it hard to know whether a miss came from the model, the images, or an overloaded brief.
Set up MiniMax H3 in ClipTrend.ai
- Open Image to Video and upload the start image you are allowed to use.
- In the model picker, choose MiniMax H3.
- Add the end image in the End Frame control.
- Use a short duration for the baseline and keep the offered resolution selection simple. MiniMax H3 is listed with 480p, 768p, and 2K choices; options shown to an account can vary with the selected duration and access level.
- Write a prompt that states the subject, one movement, and the final visual condition. Generate one render before making variants.
MiniMax H3 was made public for this image-to-video workflow on September 16, 2026 after release checks. The product listing describes 480p generation plus longer 768p and 2K options, and identifies End Frame as a supported control. This guide is a practical first-test method, not a claim that every prompt will match an endpoint exactly.
A prompt pattern that leaves room for the transition
Use this pattern:
Keep [subject and key details] consistent. Move [one thing] from [start condition] to [end condition] with [one camera or motion instruction]. Finish on [the visible end-frame condition].
For example, if the start image shows a blue desk lamp pointing down and the end image shows the same lamp turned toward a warmer pool of light, try:
Keep the same cobalt desk lamp and clean studio surface consistent. Slowly pan the lamp head to the right as the camera makes a small forward move. Finish with the lamp illuminating the warm right side of the table.
The prompt does not need to repeat every visual detail already present in both images. It is more helpful to name what must stay stable and the single change viewers should see. Avoid asking for an unrelated new setting, several new props, a dramatic style swap, and a different subject in the same first test.
Choose end images that are compatible, not merely attractive
An end frame works best when it is a plausible continuation of the start. Before rendering, compare the pair at full size.
| Check | Why it matters | Safer first-test choice |
|---|---|---|
| Subject | Identity drift is easier when the subject changes | Same object or person, similar angle |
| Composition | A large jump can create awkward travel | Small camera or position change |
| Lighting | Conflicting light cues can cause flicker | One controlled shift, such as cool to warm |
| Aspect ratio | Cropping changes the intended endpoint | Matching landscape, square, or vertical images |
| Rights | A better prompt does not create permission | Use approved source and reference images |
Do not use a real person's image as a casual test asset. Make sure you have permission for the image and the intended use, especially if a recognizable person, customer, employee, or protected location is involved. For the wider campaign review, use the AI video commercial-use checklist.
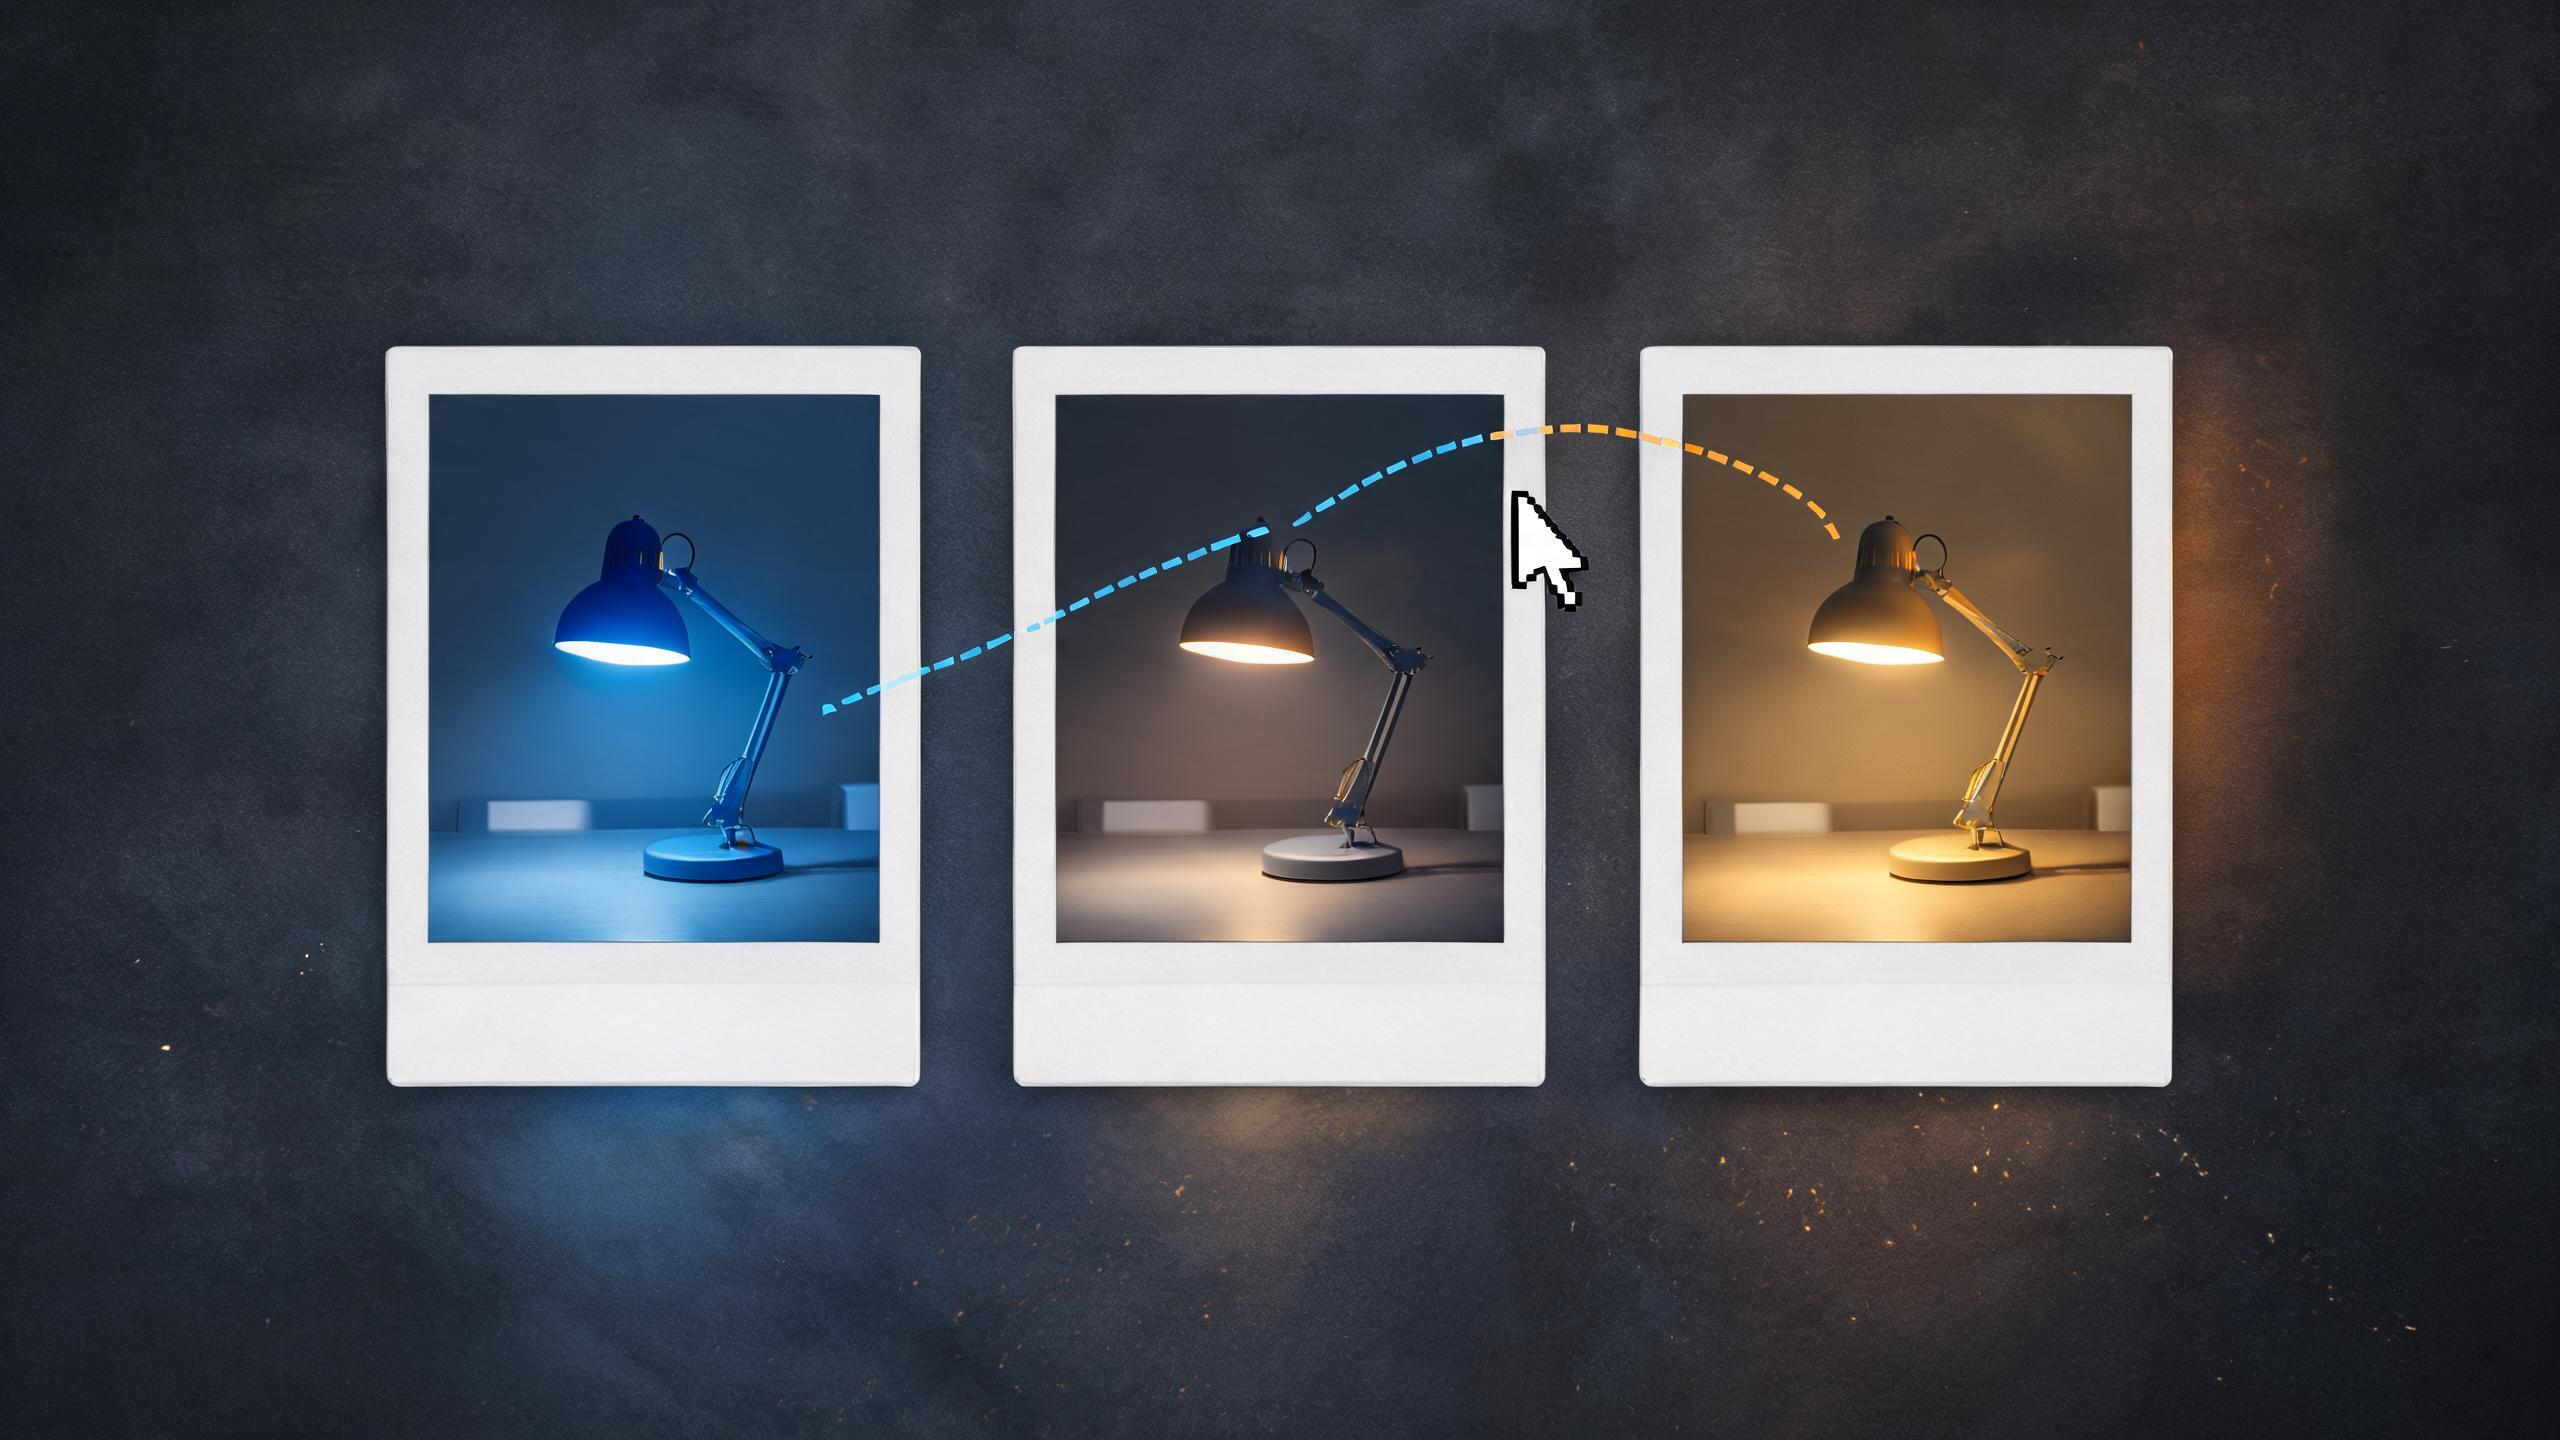
A good end-frame test changes one visible condition while keeping the subject and scene comparable.
Review the whole clip, not just the last frame
It is tempting to stop when the final frame looks close. Instead, review the result from start to finish at the size and orientation where it will be used.
Look for these five things:
- The opening frame still resembles the uploaded start image.
- The main subject does not change shape, identity, label, or essential detail during motion.
- Movement takes a believable route rather than snapping between the two compositions.
- The ending reads as the requested end image without a distracting jump or cropped surprise.
- Any product detail, text, price, safety claim, or brand mark is added and checked in an editor rather than trusted to a generative render.
If the result misses, change only one input for the next test. A practical sequence is: first simplify the prompt, then reduce the visual difference between endpoints, then adjust the requested motion. Keep the same start image while you test the end image; otherwise you cannot tell which change helped.
When an end frame is the wrong tool
Use a single-source image-to-video prompt when you want exploratory motion and do not need to land on a particular composition. Add an end frame when the destination matters: a product turn that ends on a clean pack shot, a transition that needs to meet an editor's next shot, or a small camera move that must finish in a known place.
It is not a guarantee of pixel-for-pixel continuity. Generated video can still introduce motion or detail errors, so keep a conventional edit available for a critical campaign. If the final composition has legal copy, a price, or a specification, add that exact text after the render and verify it separately.
FAQ
What is MiniMax H3 image to video used for?
It turns a source still into a generated video. In ClipTrend.ai, the MiniMax H3 listing includes an End Frame option, which is useful when you want a render to move toward a second, chosen composition.
Should my end frame be the same image as my start frame?
It can be, especially for a restrained loop experiment, but a first test is easier to judge when the end frame shows one small, intentional change. Keep the subject and scene consistent so the transition remains plausible.
Which MiniMax H3 resolution should I choose?
ClipTrend.ai lists 480p, 768p, and 2K choices for MiniMax H3. Start with the option currently offered for your short baseline test, review the motion, then consider a higher-detail or longer option only after the setup works.
Does an end frame make a product video ready to publish?
No. It controls part of the generation brief. You still need to review every frame, verify claims and product details, and add exact publishing copy in an editing workflow.
Related guides
- Image-to-video prompt examples
- Best first frame for image-to-video
- Browse the Image to Video tool
- AI video commercial-use checklist
The first successful end-frame render is not the most elaborate one. It is the one that gives you a clear comparison: a stable beginning, one understandable move, and a finish you can actually inspect.