AI Costume Generator: A First-Test Checklist for a One-Photo Reveal
For a dependable first AI costume-generator test, use a clear photo of one person, describe one costume rather than a whole story, and approve the result only if the person remains recognizable. ClipTrend’s AI Costume Generator takes one photo and an optional costume direction, then creates a short vertical reveal. Treat the output as a playful visual draft: it is not evidence that someone wore the outfit or permission to use another person’s image.
Last updated: September 17, 2026 · about 7 min read
Disclosure: ClipTrend published this guide. Availability and output can change, so check the live tool and its terms before a production use.
Start with the right photo
One uncomplicated photo gives the costume change something stable to preserve. Choose an image you made or are allowed to use, with one person, enough light to see the face, and a face that is not hidden by a hand, sunglasses, hair, or a heavy filter. A front-facing head-and-shoulders photo is usually the easiest first test; a full-body photo can help when the costume needs to read below the waist.
Before uploading, ask three simple questions:
- Do I have permission from the person in the image to make and share this version?
- Can a viewer still identify the person from their real photo?
- Is the source free of tiny must-stay-perfect text, logos, or a crowded background?
The first two questions matter more than a clever prompt. If the answer is not clear, choose a different photo or keep the result private.
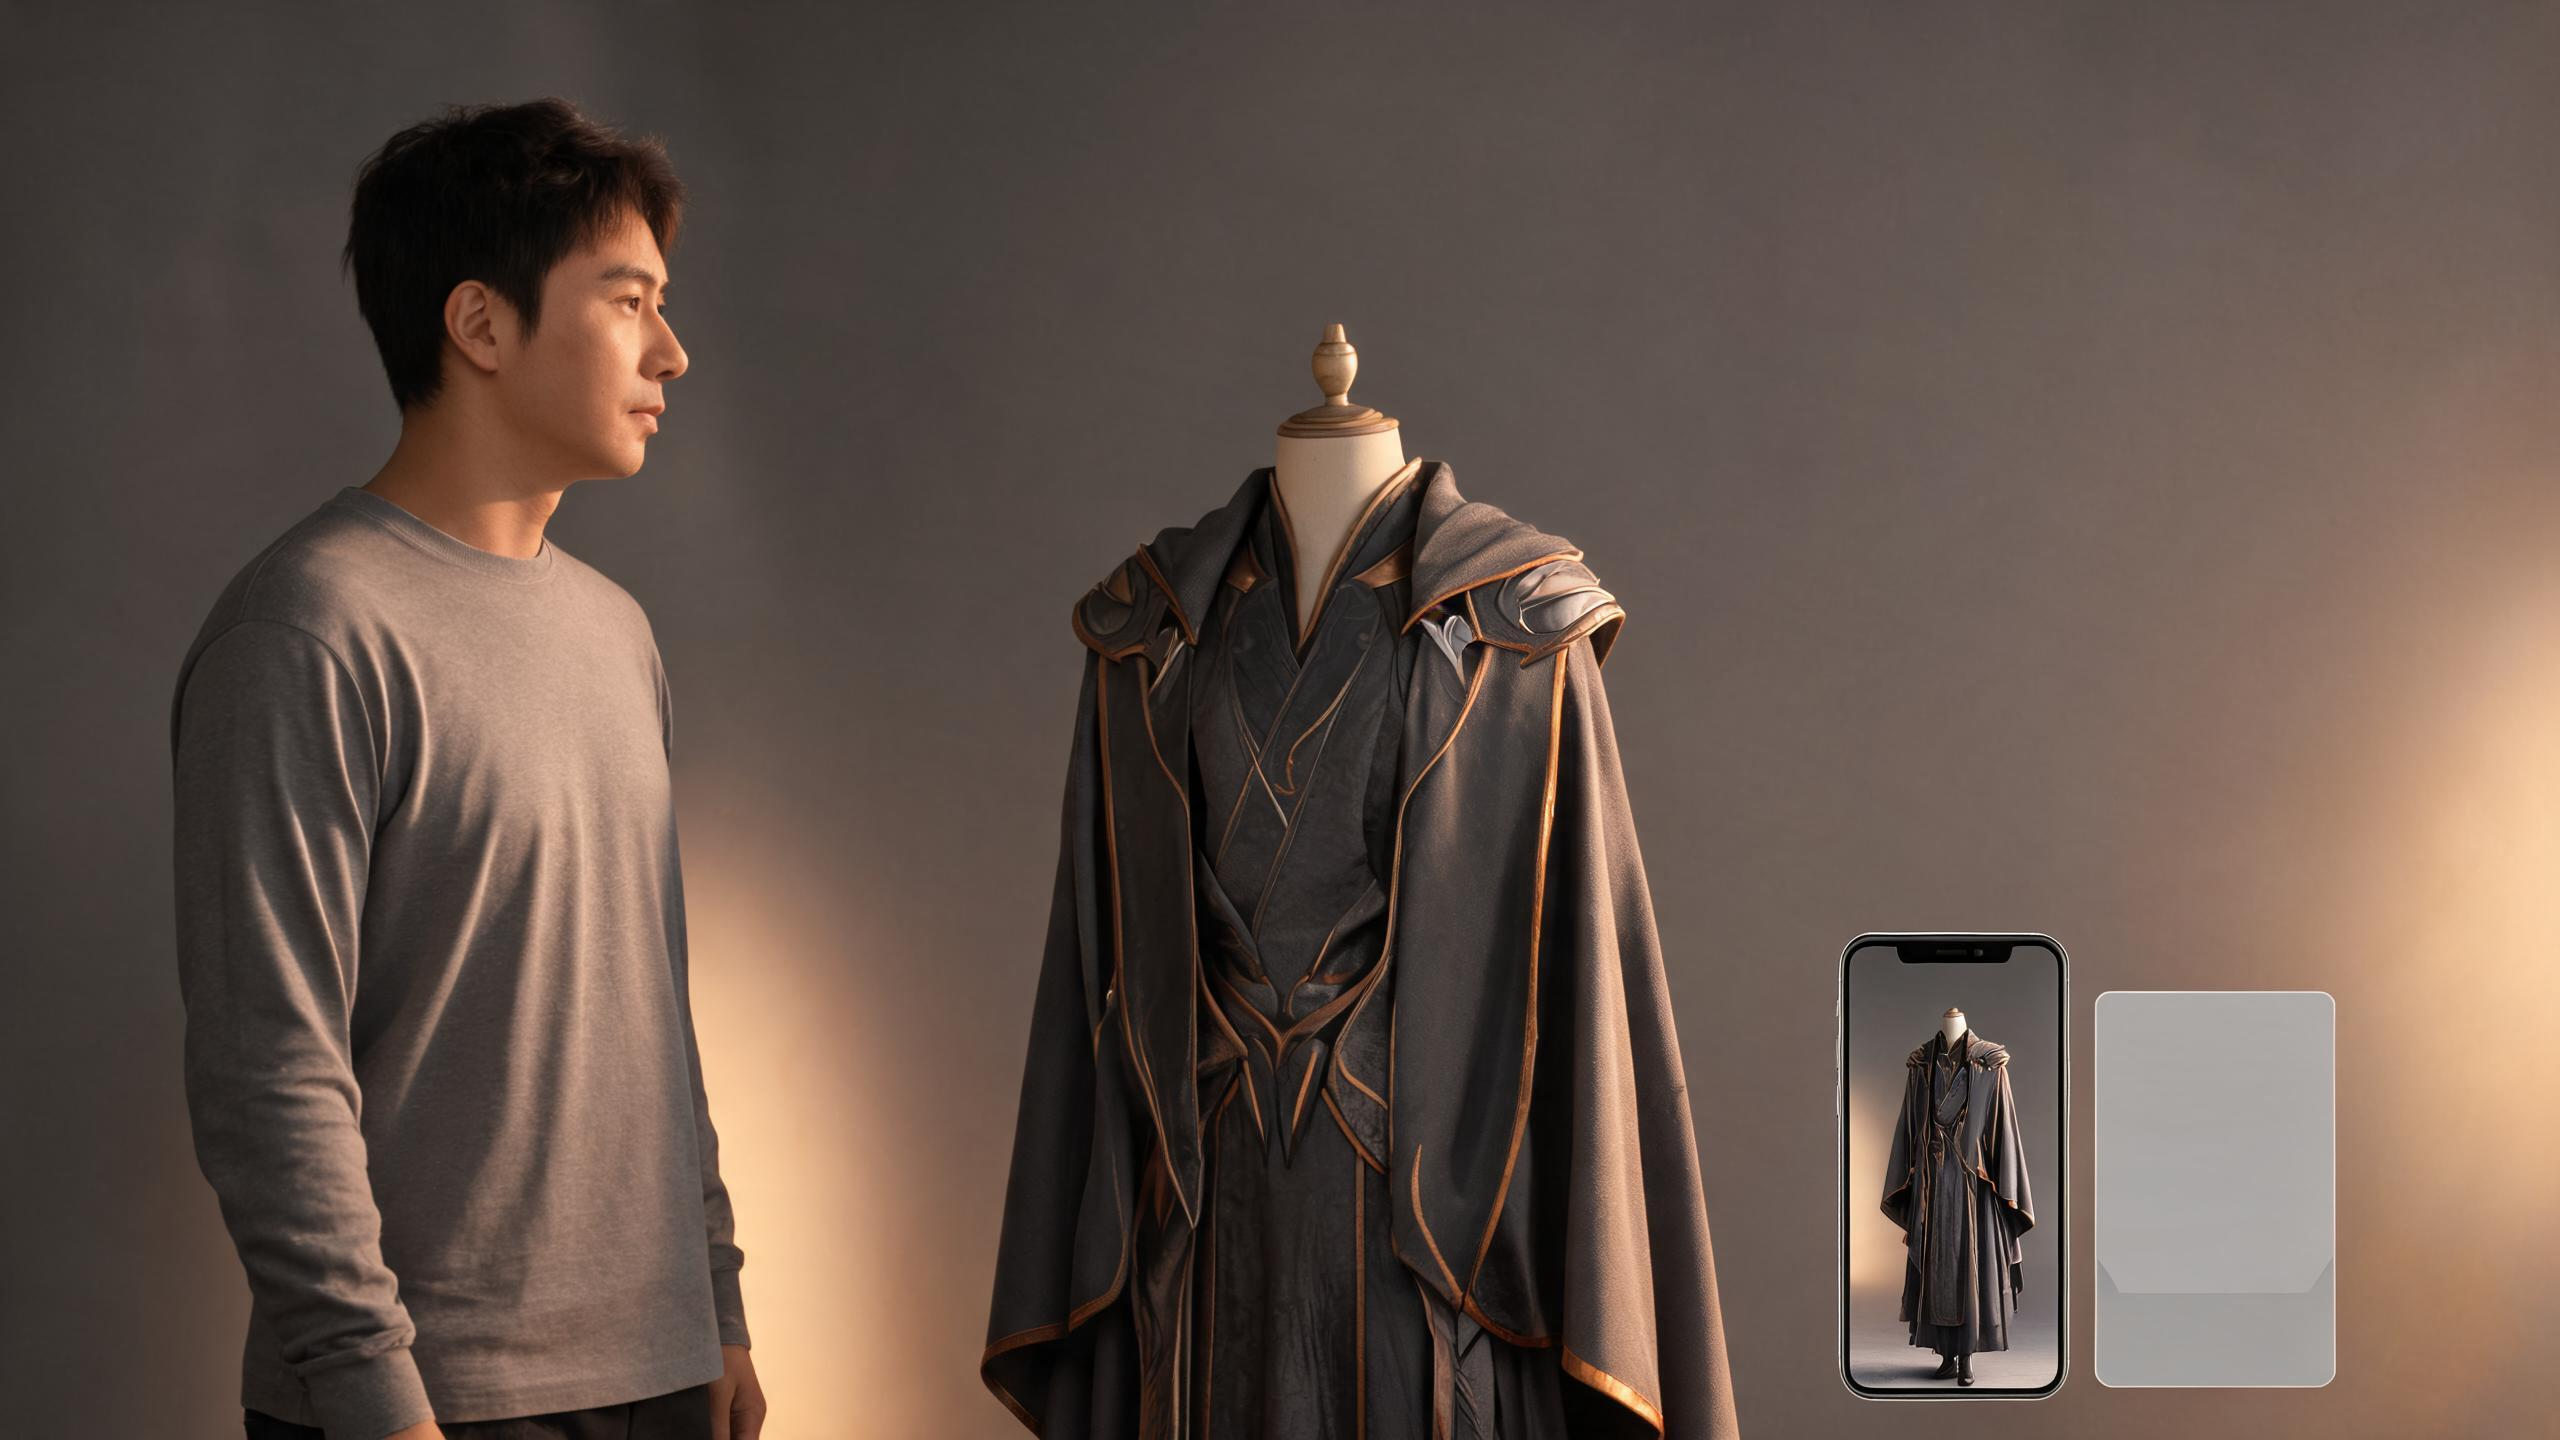
A good first test keeps the input simple enough that you can see what changed.
Write a one-change costume brief
The optional direction is most useful when it names a single look. “Medieval knight in silver armor” gives the workflow a defined wardrobe target. “A knight in a castle during a storm, fighting a dragon, with a crowd, fireworks, and a new face” asks it to solve several unrelated problems at once.
Use this compact pattern:
Costume: [character or era]. Key wardrobe detail: [one material, color, or accessory]. Keep: face, hairstyle, expression, and pose. Avoid: text, extra people, and unrelated scene changes.
For example:
Costume: vintage astronaut. Key wardrobe detail: white suit with a simple helmet. Keep: face, hairstyle, expression, and pose. Avoid: brand marks, readable patches, extra people, and a new setting.
This is not a guarantee that every detail will hold. It makes review easier because you can compare the result with a short, written intent. If you are planning an original cosplay concept rather than a quick reveal, make a visual mood board separately; do not assume an AI result can reproduce protected character logos or exact costume artwork.
Generate a small comparison set
For a first run, make two or three versions from the same permitted photo. Change only one thing between versions: the costume theme, the color detail, or the framing goal. Keep the original nearby while reviewing. A side-by-side comparison exposes face drift, altered hands, or a background change that looks harmless on a moving thumbnail.
| Test pass | Keep constant | Change | What to learn |
|---|---|---|---|
| 1 | Source photo and simple pose | One costume theme | Whether identity remains recognizable |
| 2 | Source photo and theme | One wardrobe detail | Whether the intended detail reads clearly |
| 3 | Best prior version | Nothing | Whether the full reveal stays stable |
Avoid sending a result immediately because the opening frame looks strong. A short clip can change appearance between frames. Watch it at normal speed, then pause at the beginning, the transformation moment, and the final frame.
Use the approval checklist before sharing
The purpose of the review is not to make a synthetic image look more convincing. It is to decide whether the visual is accurate enough to its playful premise and appropriate for its destination.
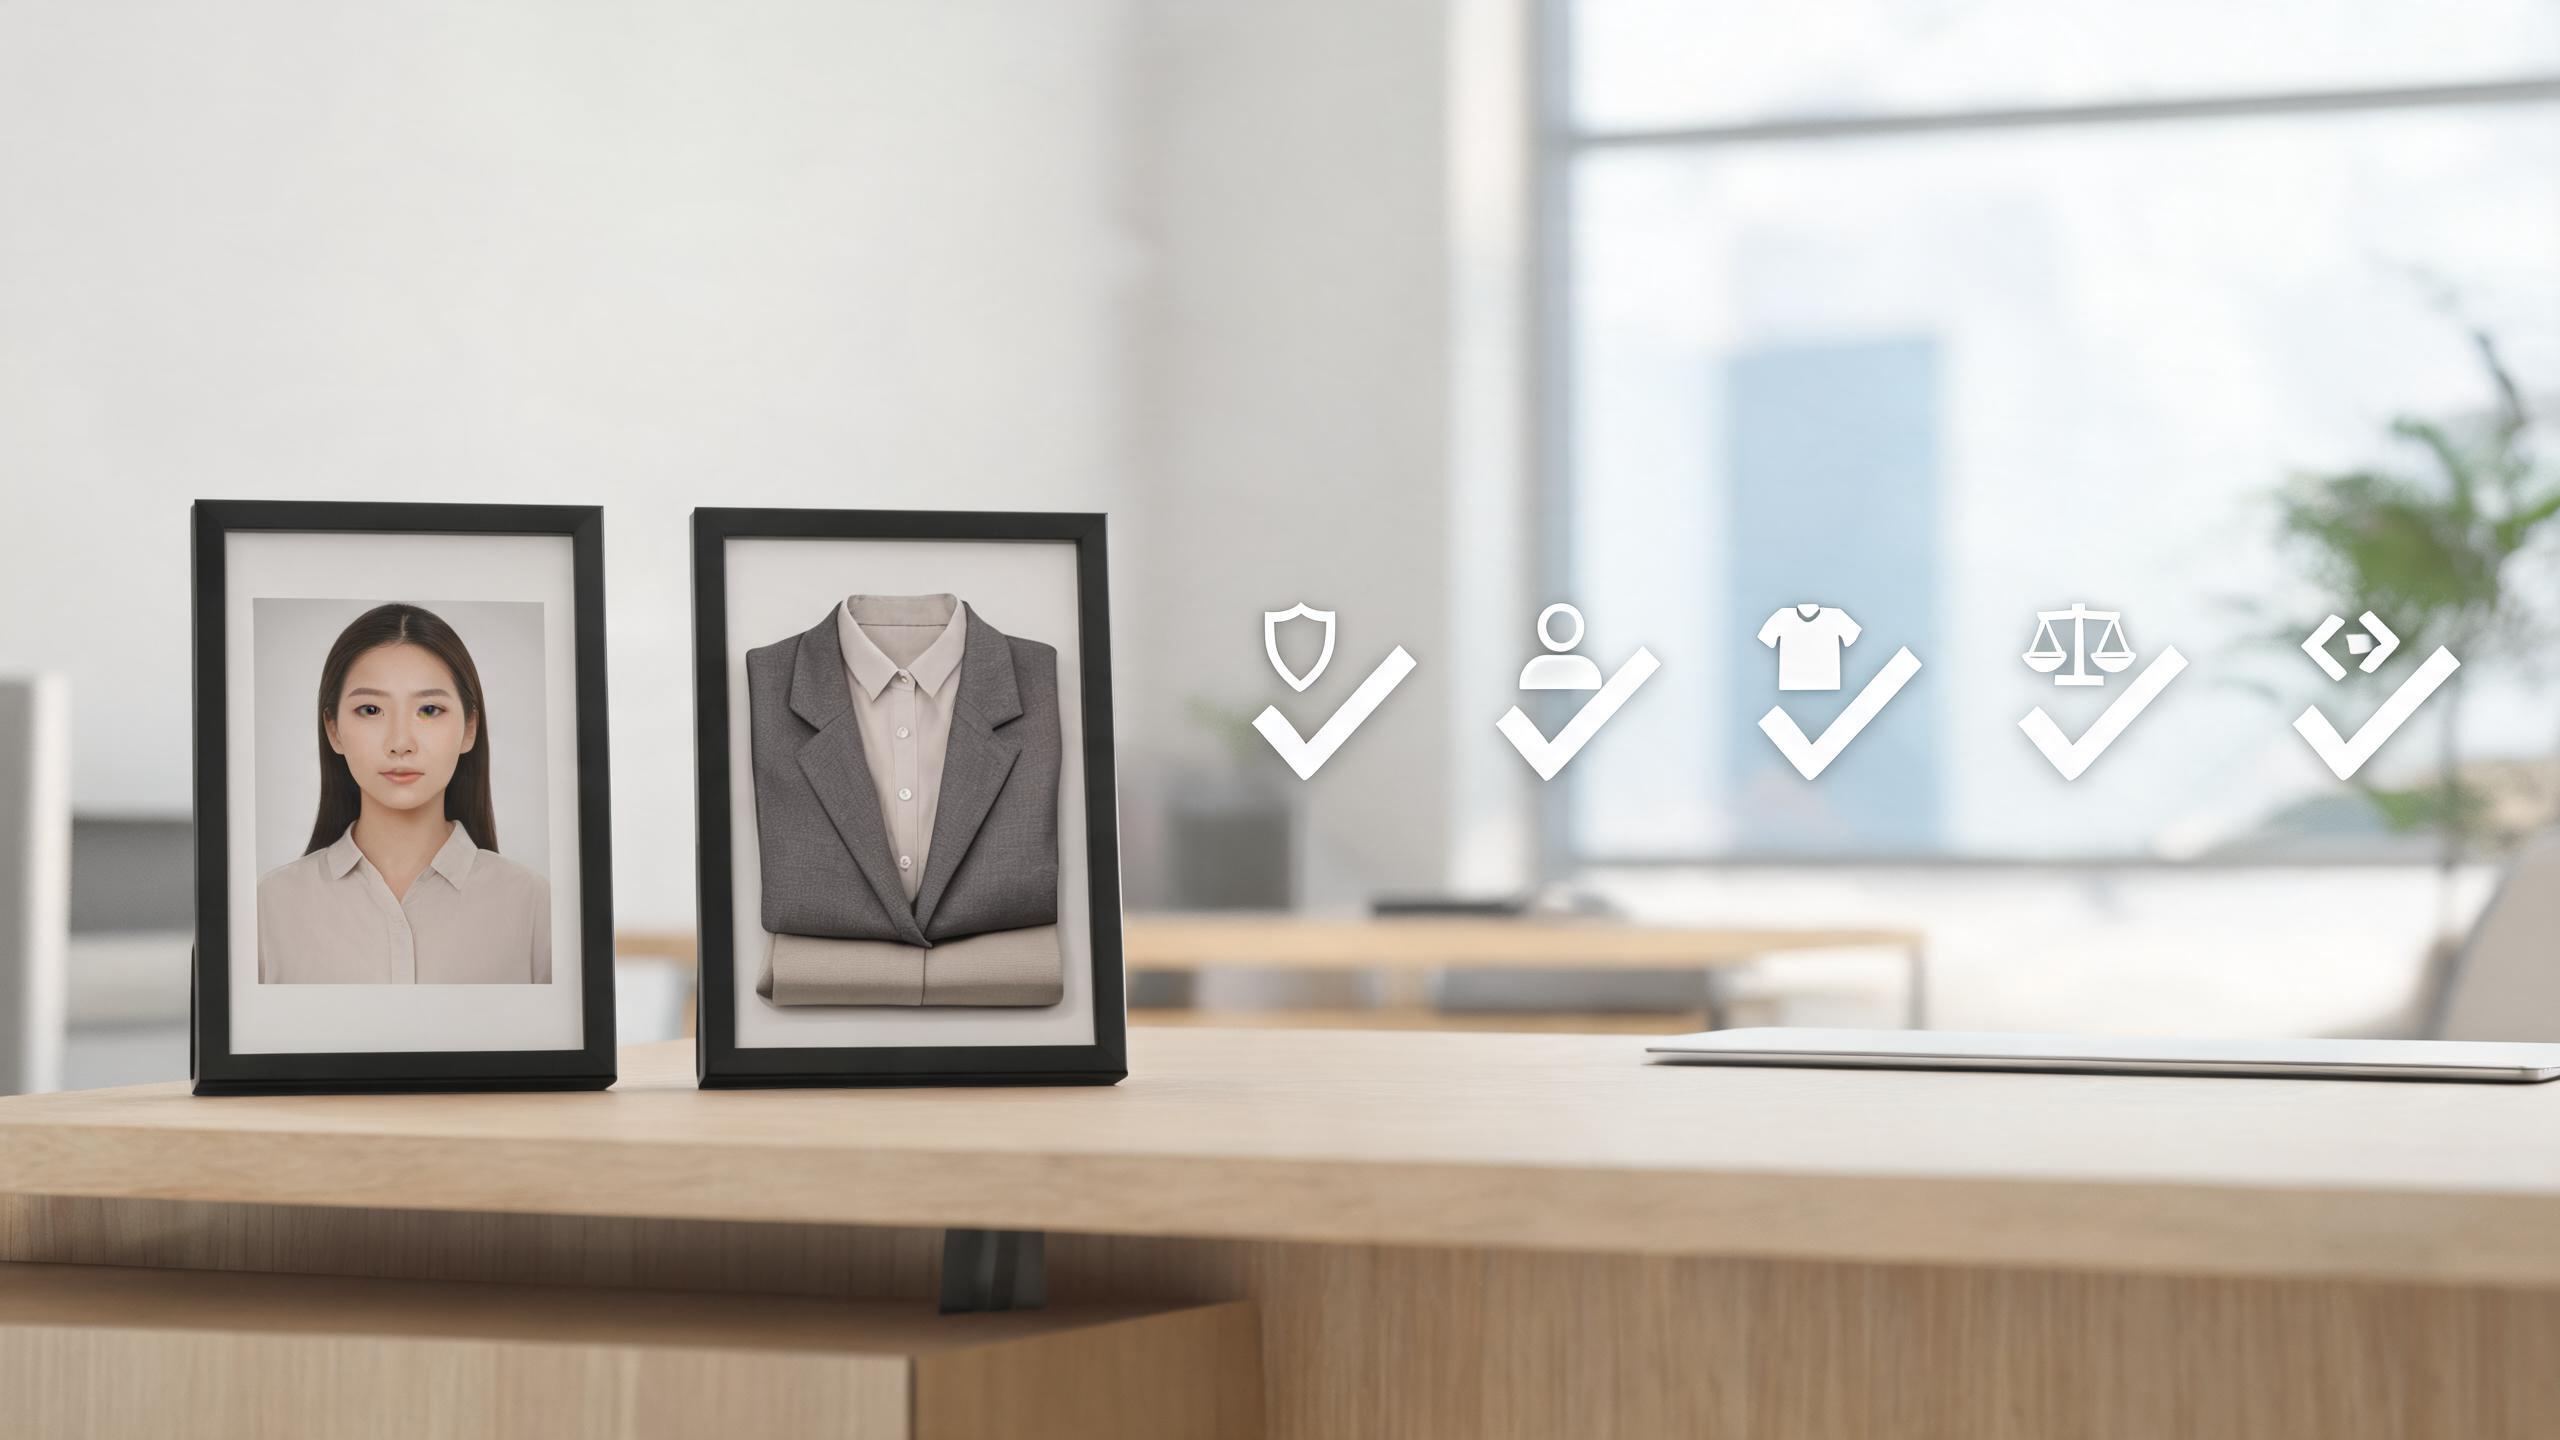
Check the following:
- Permission: You own the source or have the person’s clear permission for this use and destination.
- Identity: The face, hairstyle, expression, and body do not become a different person.
- Costume scope: The intended wardrobe reads as a costume; fabricated labels, insignia, or product claims are absent.
- Frame stability: Hands, edges, jewelry, background objects, and the final frame do not distract or mislead.
- Context: A reasonable viewer will understand this is a generated costume reveal when that distinction matters.
- Publishing fit: Crop, caption space, platform rules, and any audience safeguards are checked before posting.
Reject a clip when the face or body becomes unrecognizable, when it invents a realistic-looking claim, or when it would embarrass or misrepresent the depicted person. A simpler brief and a clearer source are safer fixes than trying to hide problems with fast editing.
Keep factual content outside the generated clip
AI visual output is a poor place for exact writing. Add a party date, ticket information, price, credit line, accessibility text, or disclosure in a reviewed caption or a normal edited end card. This keeps the costume effect focused on its one job and makes corrections possible without rerunning the creative.
If you are creating a broader short-form post, the AI video effects guide explains how to choose a restrained visual treatment, and the AI video templates directory is useful when you need a repeatable format. For a still-image workflow rather than a costume reveal, start with the AI Photo Editor and review its live options.
A practical boundary for real people and characters
Do not use a person’s photo merely because it is public. Ask before creating or sharing a costume version of someone else, especially where the result might be mistaken for a real endorsement, event appearance, or relationship. Do not present a generated costume as documentary footage.
For characters and brands, a costume description can be a creative prompt, but it does not grant rights to use protected logos, marketing assets, or someone else’s original design commercially. The safer first test is an original archetype—space explorer, storybook detective, sea captain, or forest guardian—without brand identifiers.
FAQ
What photo works best for an AI costume generator?
Use a clear, well-lit picture of one person with their face visible. A front-facing portrait is a good first test; use a full-body image only when the whole outfit needs to be visible.
How detailed should my costume prompt be?
Name one costume and one memorable detail, then state what should stay stable. More scene changes and props make it harder to judge whether the costume result worked.
Why did the person stop looking like themselves?
The input may be too small, obstructed, filtered, crowded, or asked to change too many things at once. Start again with a cleaner permitted photo and a simpler costume direction.
Can I post an AI costume reveal?
Only if you have the necessary permission for the source and destination, the result does not misrepresent someone, and you meet the platform’s current rules. Use clear context or disclosure when viewers could mistake it for a real photograph or event.
Sources
- ClipTrend, AI Costume Generator
- ClipTrend, AI video effects: how to choose
- Coalition for Content Provenance and Authenticity, Content Credentials explainer