Free AI Image Generator: Create Images From Text or a Reference
A free AI image generator is most useful when it turns a clear visual brief into a first image you can evaluate—not when it promises a finished campaign asset without review. With ClipTrend, write a text prompt or add an optional reference image, select a supported shape and detail level, then inspect the output before you share it. Open the AI Image Generator to start with a prompt; a reference is optional.
This guide is for a marketer, designer, or creator who needs a practical first render for a product concept, editorial scene, portrait direction, or moodboard. It covers the choices that affect the result, what the tool can and cannot preserve, and a short review pass before publication.
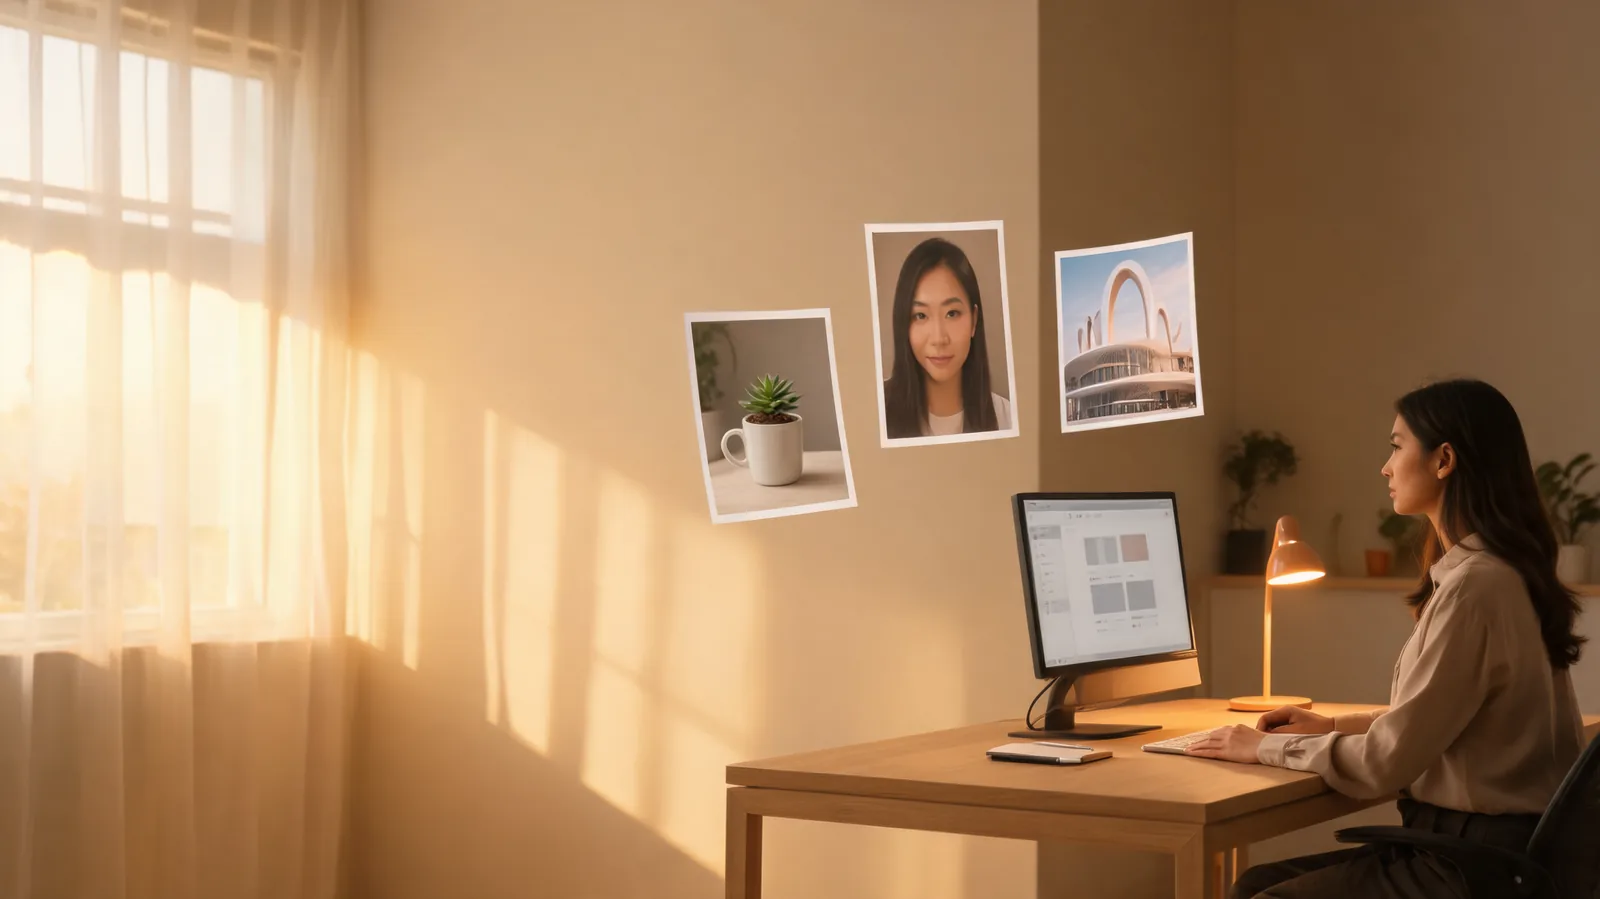
What the generator can do
ClipTrend’s AI Image Generator accepts a written prompt and can also accept a reference image. A prompt-only run is useful when you are exploring a new idea. Add one of your own reference images when a color family, product shape, composition, or styling direction matters.
The workspace presents the controls supported by the selected model rather than pretending every model accepts the same settings. That means available aspect ratios, resolutions, reference-image limits, and other options can change when you change models. Read the displayed settings and credit price before you generate.
The default ClipTrend Standard preset is intended for a quick everyday first render. It supports one optional reference, common landscape, square, and vertical ratios, and 720p, 1K, or 2K choices. A free account can use Standard at 720p when it has enough credits; higher Standard output options and priority processing are paid-account features. Other models have their own displayed controls and prices.
That distinction matters. “Free” describes the available entry workflow, not a promise of unlimited, identical outputs across every model, size, or time of day. Processing time can also vary with demand.
Start with one visual job
Before opening the tool, decide what the image must communicate. A vague request such as “make a cool ad” asks the model to invent the brief. A usable request gives it one primary job:
- show an unbranded product in a believable setting;
- establish a portrait direction for an adult subject;
- explore a mood, material, or lighting idea for a concept board; or
- make a starting visual that an editor will crop, annotate, or rebuild later.
If the image has to convey a real product claim, a price, a legal statement, a map, a construction detail, or a medical fact, generate a concept only. Put verified information back into approved copy or photography. A plausible picture is not evidence.
Write a prompt that can be reviewed
A strong prompt is a compact art direction note. Name the subject first, then give the setting, visible action or arrangement, light, viewpoint, and style. It is more dependable than a long list of adjectives that fight each other.
Use this simple order:
- Subject: what must be in frame?
- Setting: where is it, and what materials or background are visible?
- Composition: wide product scene, close portrait, overhead layout, or vertical cover?
- Light and mood: daylight, soft studio light, night neon, restrained editorial color?
- Constraints: unbranded, no readable copy, leave clean room for a real headline, or keep the object centered.
For example, instead of “premium coffee campaign,” try: “unbranded matte blue drink can on dark volcanic stone at sunset, wide commercial photograph, low camera angle, clean negative space on the left, no readable label text.” This does not guarantee a particular result, but it gives you specific things to approve or reject.
Keep the first prompt deliberately narrow. Change one visible variable in the next run—light, camera angle, crop, or material—rather than changing everything at once. That makes it easier to learn which instruction affected the render. Clear visual direction is more reviewable than a bag of unrelated keywords.
When to add a reference image
Use a reference when you need guidance, not a false guarantee of an exact duplicate. It can help the model follow a product silhouette, a palette, a pose, or a layout. It may not preserve a person’s identity, tiny lettering, jewelry, hands, or every edge precisely.
Only upload an image you own or have permission to use. A client’s approved packshot might be a valid reference for a private concept round; somebody else’s campaign still, celebrity image, or copyrighted character is not a shortcut around rights review. Adobe’s generative AI user guidelines similarly warn against using uploaded material in ways that infringe copyright, trademark, privacy, or publicity rights.
For a product reference, describe which property matters: “keep the general bottle shape and deep green palette; create a new unbranded outdoor setting.” For a portrait reference, be especially cautious. Ask for a styling or lighting direction, avoid claims that the output is a true likeness, and obtain consent before uploading or publishing imagery of a recognizable person.
If a reference seems to make the output worse, remove it and make the written brief more specific. A simple prompt with a stable composition is often a better starting point than an overloaded input.
Choose shape before detail
Aspect ratio is the image shape; resolution is the amount of visible detail. Pick the destination first.
| Destination | Sensible first shape | What to check |
|---|---|---|
| Website hero or video frame | 16:9 | Leave room for real interface or headline copy. |
| Social feed image | 1:1 or 4:5, if supported | Keep the subject readable in a smaller crop. |
| Vertical story or short-video cover | 9:16 | Keep key features away from the top and bottom edges. |
| Editorial article image | Match the article layout | Avoid a crop that cuts through hands or the product. |
Start at the lowest useful detail level for exploratory work. Once the layout is right, choose a supported higher resolution only if the final use needs it. Do not assume a larger file fixes an unclear prompt, incorrect geometry, or malformed text. It usually does not.
A quick first-render workflow
- Open ClipTrend AI Image Generator and write one specific prompt.
- Select the model that fits the job. Standard is a practical first option for an everyday concept; the workspace shows the model-specific alternatives and prices.
- Add a reference only when it gives useful, permitted guidance.
- Choose a supported aspect ratio for the destination and confirm the displayed resolution and credit cost.
- Generate one image, then judge it against the brief before making another.
- Keep the prompt, selected settings, and accepted file together so a teammate can understand the decision later.
This is deliberately a small loop. It avoids producing a pile of near-identical images with no clear approval standard.
Review the output at full size
Generated images can look coherent at a glance while failing at the details that matter in use. Review at the intended crop and at full size. Pay particular attention to:
- hands, teeth, eyewear, jewelry, and other small human details;
- label-like marks, product geometry, joins, reflections, and shadows;
- fake or unreadable text, numbers, prices, and logos;
- abrupt background transitions and strange overlaps;
- whether the image could be mistaken for documentary evidence; and
- whether you have the rights and approvals for the reference and final use.
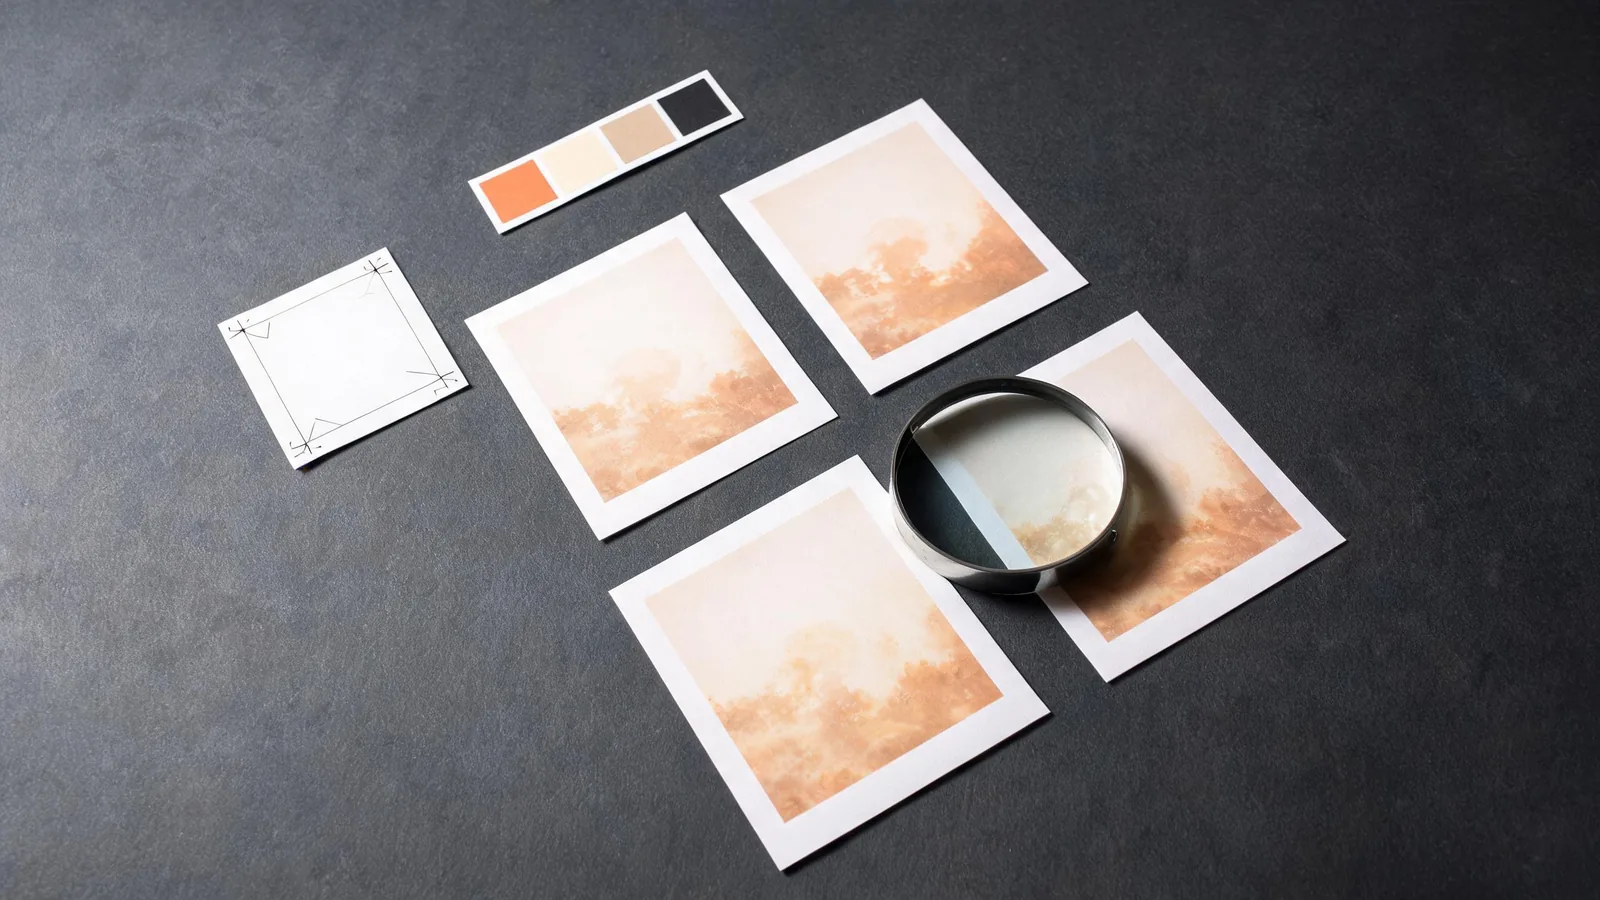
If the output is close, make one targeted revision: “wider composition,” “remove label-like marks,” or “keep the object centered with a plain background.” If the core subject is wrong, rewrite the brief instead of stacking more adjectives on top of it.
Use AI images responsibly in a real workflow
An AI image can be excellent for concepting, social variations, and a creative brief. It still needs an owner. Keep the original reference separately, note the prompt and date, label generated work in your production system when context requires it, and have an appropriate reviewer approve final claims or depictions.
For client work, agree on the use before you generate: internal direction, a draft comp, a public social image, or a paid ad each carry different review needs. Do not use a generated person, product detail, certificate, or event scene to imply something that did not happen.
FAQ
Can I make an image from text without uploading a photo?
Yes. A reference image is optional. Start with a clear written prompt, choose the model and supported settings shown in the workspace, and generate from text.
Does a reference image keep every detail exactly the same?
No. It can guide the result, but generated output can change identity details, text, small objects, and geometry. Treat it as guidance and review every accepted image.
Is the ClipTrend image generator completely unlimited for free?
No. The free entry workflow includes the Standard 720p option when an account has sufficient credits. Higher Standard outputs, priority processing, and other models have their own availability and displayed credit costs.
Can I use the image commercially?
You can use ClipTrend outputs in creative and commercial projects subject to the selected model’s terms and applicable law. You remain responsible for source rights, trademarks, publicity rights, and the final review.
The practical next step
Choose one real visual task, write a prompt that names the subject and composition, and make one first render. If the result is not ready, diagnose one visible issue rather than chasing a perfect image with an ever-longer prompt. Try the AI Image Generator when you have that brief ready.