Add Sound Effects to Video With AI: A First-Test Guide
To add sound effects to a video with AI, start with one short scene, name one or two sounds that a viewer can connect to an action, then review the generated audio separately from the picture. A first test is not a final mix. Treat it as a way to learn whether the visual event, timing, and mood agree before you add dialogue, music, captions, or marketing claims in an editor.
Last updated: September 5, 2026 · about 7 min read
Disclosure: ClipTrend offers video models with audio support, but availability and controls vary by model. This is editorial workflow guidance, not a claim that every prompt or render will produce an exact sound.
Start with a sound event, not “cinematic audio”
The useful unit for a first test is an event that can be heard and seen: a cup meeting a table, rain arriving at a window, a jacket zipper closing, a bicycle passing, or a door easing shut. “Add immersive sound effects” gives the model no clear moment to synchronize. A small, concrete event gives you something to check.
Write four notes before you prompt:
| Prompt note | Example for a coffee clip | Why it matters |
|---|---|---|
| Visual action | A ceramic cup is placed on a wood table | Tells you what the sound should follow |
| Audible event | One soft ceramic tap at contact | Limits competing sounds |
| Background bed | Quiet room tone, no music | Keeps the event intelligible |
| Review condition | Reject if the tap lands before or after contact | Makes the result testable |
That structure is especially useful when you are animating a still. The action needs enough visual change for an audio cue to make sense. A completely motionless product image may not give a generated sound anywhere honest to land.
Choose a short, quiet first scene
Use a four- to eight-second test where the sound event is visible once. Keep the frame uncluttered, use one main subject, and leave out spoken lines for the first pass. Dialogue, music, multiple impacts, and fast camera movement can all make it harder to tell whether an audio problem came from the prompt, the video, or your monitoring setup.
Good first-test scenes include:
- A package set down on a clean counter.
- Rain beginning on a window while a room stays still.
- A notebook opening on a desk.
- Shoes crossing dry leaves in a single step.
- A fictional vehicle passing through a wide exterior.
Avoid using an AI-generated sound as proof of a real product mechanism, a recorded location, a person’s words, or a documented event. If a factual sound matters—an accessibility instruction, an alarm, a machine’s performance, or testimony—use verified source audio and a normal edit.
Use a prompt that separates picture, sound, and protection
For models that expose an audio-capable video setting, a clear prompt can be short:
A close view of an unbranded ceramic cup being placed once on a wooden table in a quiet morning kitchen. One soft ceramic tap exactly as the cup touches the table, followed by subtle room tone. Keep the cup shape, handle, table surface, and lighting stable. No speech, music, extra objects, or repeated impacts.
This is not a magic formula. It is a compact brief with five parts:
- Subject and location: enough context for the event to make visual sense.
- One visible action: the moment that anchors the effect.
- One audible result: an ordinary description, not a stack of adjectives.
- Sound limits: say when silence, no speech, or no music is important.
- Protected details: identify the product shape, face, label area, or background that should not drift.
If the scene needs more than one sound, run separate tests. First test the cup tap. Then test a short pour. Only combine them after each has a believable visual cue. A montage can be built in an editor; a vague single generation is difficult to debug.
Generate, then review the audio with the picture
Open an audio-capable video option in the ClipTrend image-to-video tool or text-to-video tool, confirm the model’s current settings, and make a short run. Do not rely on the waveform, a thumbnail, or a silent preview. Listen on headphones and speakers if the clip is intended for public viewing.
Watch it through three times:
- Normal playback: Is the clip understandable without you hunting for the sound?
- Action sync: Pause at the contact, reveal, or movement. Does the sound occur at the same storytelling moment?
- Picture safety: Did the model introduce an unexplained second action just to justify the sound, alter a protected object, or make the event look more dramatic than it is?
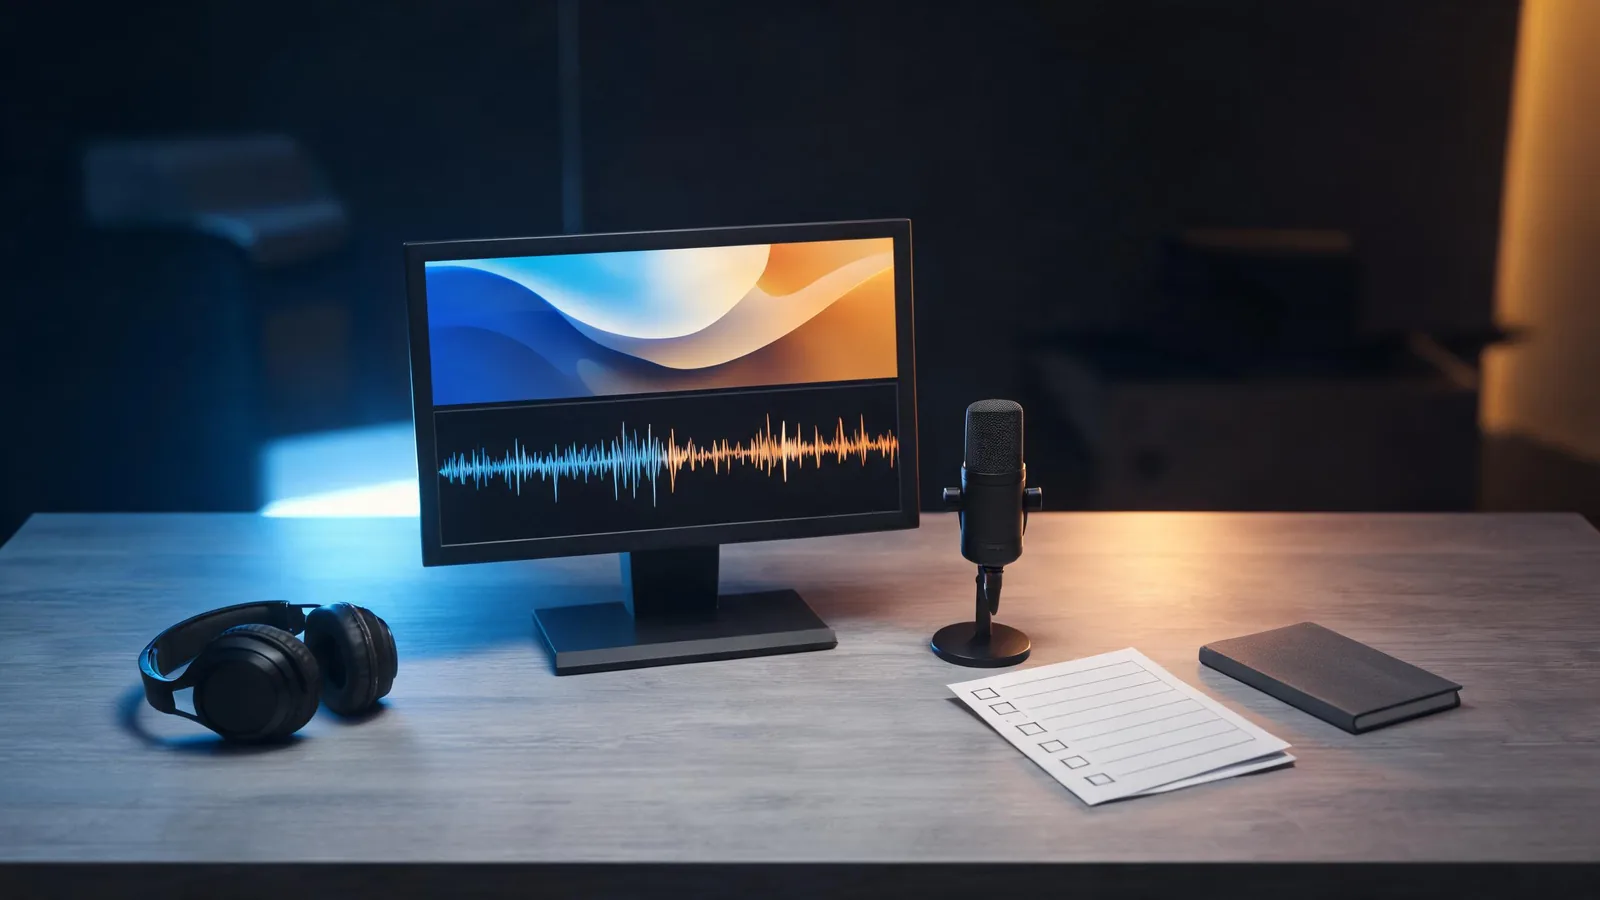
Review sync and clarity at normal speed before a sound effect earns a place in the edit.
If a result is close but not reliable, simplify rather than piling on directions. Remove the camera move, shorten the action, or make the background quieter. If the rendered sound cannot be trusted, keep the visual and add a licensed or recorded effect in a dedicated audio track instead.
Finish the mix outside the generation when precision matters
Generated audio can supply a mood or a rough diegetic cue. It should not replace an edit when you need repeatable levels, captions, dialogue clarity, licensed music, or frame-accurate timing. Adobe’s Essential Sound guidance describes the familiar editorial split between dialogue, music, sound effects, and ambience; that is a useful review model even if you use another editor.
Keep those roles separate in your final timeline:
| Layer | Best responsibility | Practical check |
|---|---|---|
| Generated video audio | A simple atmosphere or one visible effect | Does it support the action without inventing a claim? |
| Dialogue or voiceover | Approved, understandable spoken information | Are words accurate, permitted, and captioned where needed? |
| Music | Licensed or original emotional bed | Is it cleared for the destination and low enough for speech? |
| Final mix | Levels, fades, accessibility, and delivery | Can a viewer understand the important event on a phone speaker? |
This separation helps when a late change arrives. You can replace an end card, lower music, or swap a precise sound without rerendering an otherwise usable visual.
A compact approval checklist
Before you export or post, ask:
- Is the intended sound connected to a visible action?
- Does it happen once, at the intended moment, without an extra unexplained event?
- Is there unwanted speech, music, a recognizable brand sound, or a misleading implication?
- Are the source image, prompt, generated version, and final edit covered by the permissions you need?
- Does the final mix still work with captions, voiceover, and small phone speakers?
For a visual-first starting point, see the AI video effects guide. For a broader quality and rights review before sharing a generated clip, use the brand-safe AI video guide.
FAQ
Can AI add sound effects to an existing video?
Some video workflows can generate or add audio alongside a new render, but exact controls differ by model and product. For a precise effect on a locked edit, a dedicated audio editor is usually the more controllable choice.
How do I make AI sound effects line up with a video?
Give the model one visible event and one matching sound, use a short scene, and review the contact or movement frame by frame. If timing remains inconsistent, add the effect in a timeline where you can place it exactly.
Should I add music in the same AI prompt as sound effects?
Not for a first test. Test the key event against a quiet background first. Add approved music and final level control in the edit once you know the visual cue works.
What should I do if the generated audio implies something untrue?
Reject it or replace it. Do not use generated sound to imply a real event, product result, quote, or recording that you cannot substantiate.
Sources
- ClipTrend, image-to-video tool
- ClipTrend, AI video effects guide
- Adobe, Edit audio with the Essential Sound panel in Premiere