Halloween Poster: Make a Party Invite With Your Photo
To make a Halloween poster, open ClipTrend.ai's Halloween Poster page, enter your party title, date and time, and place, then choose a style. Add a photo if you want to appear in costume, or leave it empty for an illustrated invitation. Select Generate Image, proofread the result, and download it. The output is a vertical 2:3 image suited to sharing and small prints; short text helps, but correct spelling still needs a human check.
As of October 14, 2026 · By the ClipTrend.ai Editorial Team
Disclosure: ClipTrend.ai provides the poster tool described here. The cover is an editorial illustration. The product examples discussed below are the feature page's own demos, rather than new outputs made for this guide.
1. Decide where the poster will be used
A group-chat invitation, a desk flyer, and a large wall poster have different requirements. Start with the destination so you know how much information to include and how closely to inspect the finished image. For a private group chat, a recognizable host and a short venue name may be enough. A public notice needs a location that unfamiliar guests can understand.
The tool makes a 2:3 image at the 1K size. Think of it as a tall invitation or small flyer. It is not a promise of sharp lettering on a large printed banner. If a print shop needs a larger file, editable typography, or a particular production format, discuss those requirements before ordering.
Keep private and public versions separate when necessary. A picture forwarded beyond your guest list should not expose a home address you meant to share privately. You can put a venue name on the poster and send the full directions directly to confirmed guests.
2. Write the three lines before choosing the artwork
The form has Party title, Date and time, and Place or extra line. Draft them in a note first, where you can check names, dates, and abbreviations without being distracted by the artwork. This is a poster with a few essential details, not a full event information page.
Here is one fictional party example to show how the fields fit together. Replace every detail with your own confirmed information:
| Field | Character limit | Example text |
|---|---|---|
| Party title | 40 | Morgan's Midnight Masquerade |
| Date and time | 60 | Oct 31, 2026 · 7–10 PM |
| Place or extra line | 60 | Cedar Room · Costumes welcome |
These limits are ceilings, not targets. A short name leaves more room for large lettering than a title stuffed with adjectives, host names, and a dress code. Keep the date and time together; use the third line for the destination before adding any optional note.
Write the month in words when guests may read numeric dates differently. Specify AM or PM, and add a time zone for an online gathering with guests in different regions. If your event is on a different date from Halloween, show that actual date rather than relying on the decoration to explain it.
Double quotation marks and special symbols can be removed from the input. Use plain wording instead of decorative punctuation that carries essential meaning. Check the rendered text even when the words you typed were correct.
3. Choose the style that matches the party
Four styles are available: Haunted house, Retro horror, Cute pumpkin, and Neon night. They change the artwork, palette, and lettering direction. Choose the atmosphere guests should expect, rather than the thumbnail you happen to like most.
- Haunted house: moonlit mansion imagery, bats, glowing pumpkins, and orange-purple fog. A starting point for a spooky evening gathering.
- Retro horror: worn-paper texture, red and black, a forest, and a full moon. A fit for a horror-film night or vintage costume theme.
- Cute pumpkin: smiling pumpkins, friendly ghosts, candy, and rounded lettering. Useful for a gentle daytime or family invitation.
- Neon night: glowing purple, green, and orange against a dark city setting. Suitable for a dance party or late-night event.
The style does not set the event rules. If a family party has no jump scares, say so in the accompanying message. If a neon event is adults only, state that clearly rather than expecting the palette to convey it.
For theme and wording choices beyond this single example, the Halloween party poster ideas guide matches eight event concepts to these four presets. Choose the concept before generating so you are comparing artwork against a clear intention.
4. Decide whether a portrait adds anything
A photo is optional. Leave Your photo (optional) empty for an illustrated poster without people. That can work well for office, school, or community invitations where the event matters more than a particular host.
For a personal party, a familiar face can make the invitation feel specific. Use a clear, front-facing portrait of yourself, or someone who agreed to appear in the result and to its intended sharing. Permission to take a photo is not automatically permission to turn it into public event artwork. The photo-source permission checklist offers questions to settle before uploading.
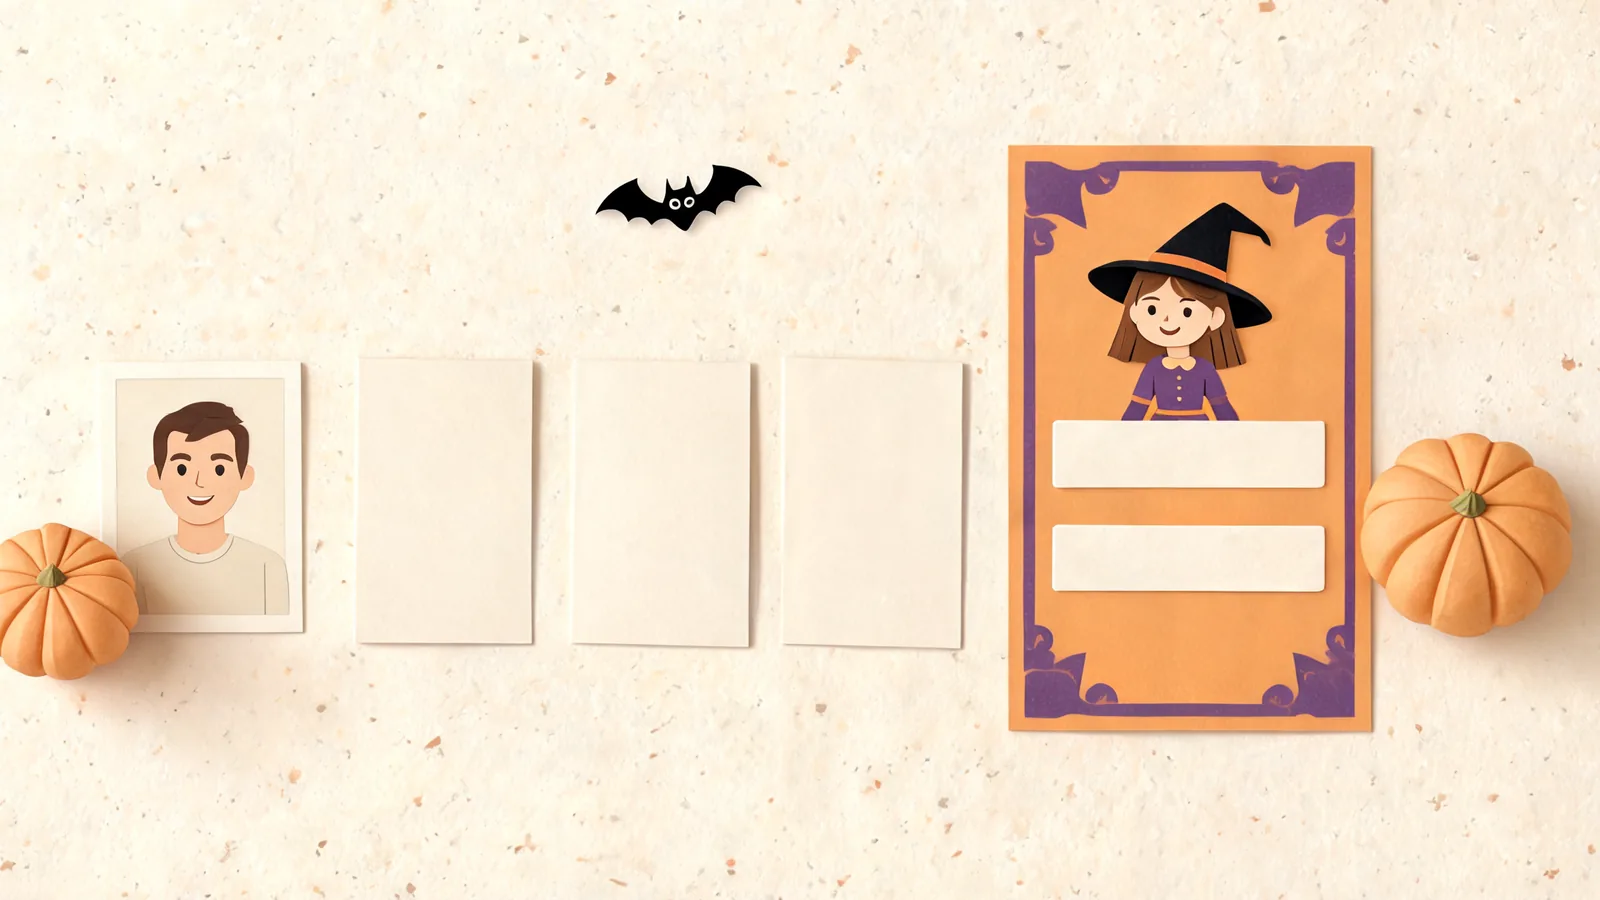
With a photo, the costume choices are Witch, Vampire, Skeleton, Ghost, Pirate, and Pumpkin. Pick the costume separately from the poster style. A witch can belong on a haunted-house design, for example, while a pumpkin outfit can suit a friendly invitation.
Expect a creative portrayal, then inspect it. Check the face, hair, expression, and costume for anything the person would find inaccurate or uncomfortable. A portrait reference does not guarantee perfect identity preservation. If using a person's image creates an unnecessary approval step, the photo-free version is a practical alternative.
5. Use the page's demo to set expectations
The feature page shows a retro-horror example made from one selfie and three text lines, with the person portrayed as a vampire. It also shows a photo-free pumpkin invitation and a skeleton-host neon example. These demonstrate the difference between an illustrated event poster and one built around a portrait.
Look at the relationship between the headline, central art, and lower detail lines. Your words need to survive that layout when the image is reduced on a phone. The demo is a useful reference for the format; it does not establish that every portrait or long venue name will render equally well.
Check the live information beside Generate Image before you submit. This guide does not promise a fixed completion time. Your first result still needs review before it becomes an invitation you send to guests.
6. Generate, then proofread the actual image
Once the text, style, and optional portrait are ready, select Generate Image. When the result appears, compare it with your original note line by line. Do not approve it just because the picture looks attractive.
Read the title aloud. Check every letter in a person's name, the venue name, and the date. Confirm that the time has not lost a digit or an AM/PM label. A small mistake in a decorative headline may be obvious; a wrong arrival time hidden near the bottom is easier to miss and more disruptive.
Then inspect the image at the size guests will see it. If they need to zoom to read the location, shorten the line before trying another generation. Avoid placing the entire schedule into the third field. The tool generates text as part of the image; the three input fields are not individual text layers you can drag around afterward.
If a result has a spelling error, shorten or simplify the affected wording and generate again. Review the next image from the beginning, because the corrected line does not guarantee every other detail remained correct. Keep only a version you would be comfortable sending without an explanation.
7. Download and test the invitation in its destination
Download the approved image and open the saved file. For a group chat, send it to yourself first and look at the preview. Does the event name remain readable? Is the date visible without opening the full image? Does the destination appear in the uncropped version?
Send the essential details as text alongside the picture, too. Guests should be able to copy the address or time, and the invitation should still make sense if someone cannot read the image. Add the RSVP method, costume expectations, access details, or food information in that message rather than cramming everything onto the poster.
Jotform's Halloween invitation wording guide emphasizes the date, time, location, and costume expectations. With this three-line format, reserve the image for the essentials and use your message for the rest.
For printing, begin with one small test instead of a full batch. A 4 × 6 inch card shares the poster's 2:3 shape, but inspect the real print before assuming the text will be crisp. Adobe's print-resolution guidance explains why pixel dimensions and print size determine usable detail. Enlarging a file does not recover missing fine lettering.
Before you send it
- Confirm the event name, date, time, and venue against the host's final details.
- Read all three lines in the saved file, including small punctuation and digits.
- Check the portrait with the depicted person if you included one.
- Test the phone preview or one small print for legibility and cropping.
- Put RSVP information and any private directions in the accompanying message.
FAQ
Can I make a Halloween poster without uploading a photo?
Yes. Leave the optional photo field empty. The tool makes an illustrated poster without people, using the same three text fields and four style choices. You can use that version for an event where a host portrait is unnecessary.
How much text can I put on the poster?
The title allows up to 40 characters, and the date/time and place/extra lines allow up to 60 each. Shorter wording is usually easier to read. Put longer directions, RSVP details, and the full schedule in a separate message.
What should I do if the generated lettering is wrong?
Compare the image with your original text, simplify the affected line, and generate another version. Proofread all three lines again before downloading or sending it. Text rendering can make mistakes even with short inputs.
Is the download suitable for a large wall poster?
The output is a vertical 2:3 image at the 1K size, intended for sharing and small prints. A large wall print may look soft. Test the actual file at your chosen size and ask the printer about its requirements before ordering.
Make your party invitation
Prepare three short, confirmed lines and choose whether the host should appear. Then make your Halloween poster, check the downloaded image, and share it with the details guests need. You can explore more photo and video tools from ClipTrend.ai.