Halloween Costume Ideas 2026: 12 Looks to Preview on Your Photo
The most useful Halloween costume ideas start with your event and the clothes you already have. Try a witch or vampire if you own dark layers, a scarecrow if you have plaid, or a ghost if you prefer pale clothing. For a more elaborate look, consider a werewolf, mummy, skeleton, or fallen angel. You can preview your choices on ClipTrend.ai before deciding which pieces to buy or make. Below are 12 directions, with the clothing and preparation each needs.
As of October 14, 2026 · By the ClipTrend.ai Editorial Team
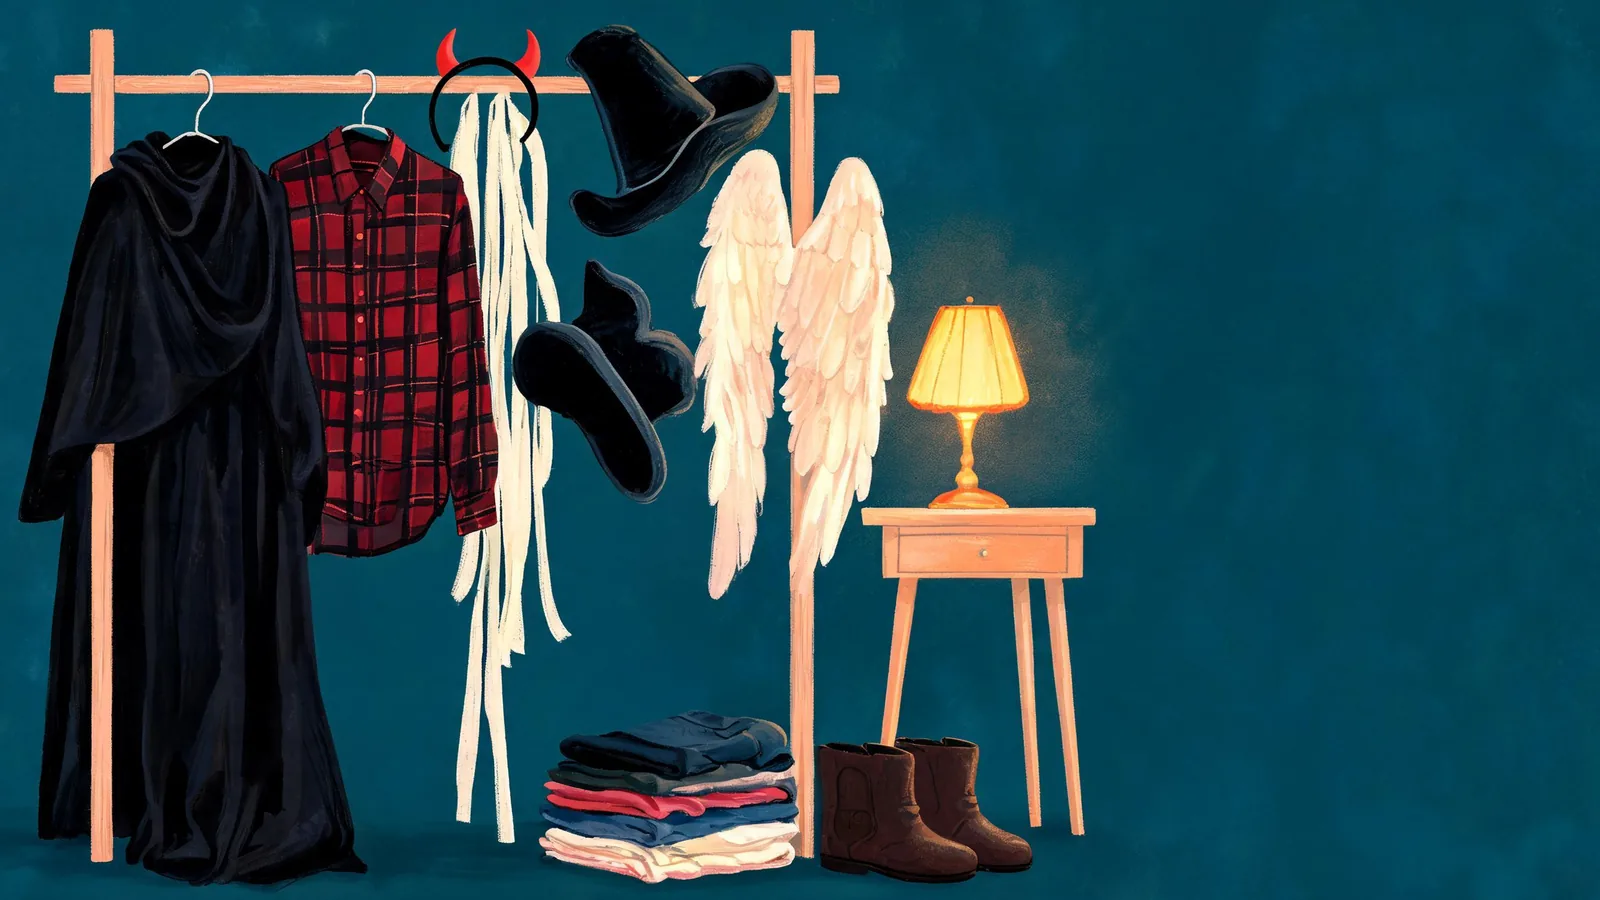
Disclosure: ClipTrend.ai offers the preview tool linked here. The cover is an editorial illustration. These are wardrobe suggestions and descriptions of existing presets, not costumes we personally assembled or new previews we generated.
Choose for the evening you actually have planned
A seated dinner, outdoor gathering, and crowded dance floor make different demands on an outfit. Start with your shoes and base layers, then choose one recognizable feature: a witch hat, vampire collar, pirate sash, or scarecrow patches. The costume should still work when you put down a prop or remove an outer layer.
Use the following preparation levels as planning judgments, not fixed time estimates. A familiar piece of clothing may take little work; detailed makeup, wings, or a constructed accessory requires more preparation. Your experience and what you already own change the effort.
| Starting point | Looks to consider | Main preparation question |
|---|---|---|
| Dark everyday clothes | Witch, vampire, devil | Which single accessory makes the theme clear? |
| Plaid or relaxed layers | Scarecrow, werewolf | Will you use fabric details or character makeup? |
| Pale clothing | Ghost, mummy, fallen angel | Can the extra layers stay secure and manageable? |
| A strong makeup focus | Skeleton, Day of the Dead | Do you have time to practice the design? |
| A shared theme | Couple looks | Can both people choose clothes they enjoy wearing? |
The Halloween Costume studio has 12 solo presets and 12 paired presets, plus costume-photo uploads and descriptions. A preview can help you choose a palette or silhouette. It cannot establish size, fabric quality, or the comfort of the real outfit.
1. Witch: dark layers with one defining hat
Wardrobe: A dark dress, skirt, or trousers; a shawl or coat; comfortable boots; and a pointed hat. Purple, rust, or forest green can add color without changing the character.
Preparation: Concentrate on the hat and the outline of the layers. If you want makeup, choose a direction you can maintain through the evening. A broom is optional; the outfit should remain recognizable when you set it down.
This is a useful starting point when you already own most of the clothes. The page's witch preset includes a tall hat, purple shawl, broom, and cauldron. Preview the witch direction, then decide which details belong in your real version.
2. Vampire: a collar or cape over ordinary clothes
Wardrobe: A dark shirt or dress, a structured jacket or cape, and a contrasting collar. Burgundy or a pale shirt front can break up an otherwise black outfit.
Preparation: Work out whether the cape will stay comfortable while you sit or move. Dramatic styling can come from hair, a brooch, or a dark lip color; you do not need every familiar vampire accessory.
A restrained vampire look fits a dinner differently from a theatrical castle costume. The studio's preset leans toward a high-collared cape and candlelit hall. Preview a vampire look to judge the collar and color before sourcing pieces.
3. Werewolf: decide how much creature detail you want
Wardrobe: A plaid shirt or dark outer layer, textured trim, and sturdy everyday shoes. Your outfit can suggest a transformation without becoming a full fur suit.
Preparation: Choose between a mostly human costume with a few details and a more elaborate creature look. Ears, fur accents, and makeup each add a different kind of work. Keep the parts you can remove separate from your base clothes.
The werewolf preset uses fur, pointed ears, and amber eyes under a full moon. Those are digital character details, not a shopping list of guaranteed wearable products. Preview the werewolf theme and identify the few elements you actually want to reproduce.
4. Day of the Dead: a look with cultural context
Wardrobe: An embroidered or patterned outfit, a flower crown, and accessories chosen with care. The visual focus can be the flowers and face design rather than an elaborate silhouette.
Preparation: Allow room to plan the makeup instead of improvising a detailed pattern at the last moment. Learn about the meaning behind the imagery. The Smithsonian Latino Museum's learning toolkit describe a tradition centered on remembrance and honoring ancestors, with its own significance beyond Halloween.
The feature page's existing demo shows sugar-skull makeup and a marigold crown. Preview the Day of the Dead preset for its visual direction, and keep the cultural context in mind when choosing the event and caption.
5. Mummy: build the impression over a stable base
Wardrobe: Cream or beige base clothes, fabric strips attached to those clothes, and a few muted accessories. Using a base outfit gives you something wearable even if you simplify the wrapping.
Preparation: Plan the strip placement before putting everything on. Loose trailing fabric can make an outfit awkward. Keep your face visible and decide how you will remove an outer layer when needed.
The mummy preset uses linen-style bandages, gold jewelry, and an uncovered face. A generated wrap can be more elaborate than the version you would want to wear all night. Preview the mummy look, then translate its texture into a manageable costume.
6. Fallen angel: let wings and layering define the look
Wardrobe: A pale or dark outfit, feather-style wings, and an optional halo or contrasting accessory. Choose a color direction that works with clothes already in your wardrobe.
Preparation: Wings need more planning than a headband. Consider chairs, doorways, and where you will keep them if you take them off. The outfit should have a clear shape without the wings too.
On the current page, the preset labeled Fallen angel shows white feathered wings and a faint halo. For a darker interpretation, you can use a costume reference or a description. Preview the angel silhouette before deciding how large the real accessories should be.
7. Scarecrow: make use of plaid and patches
Wardrobe: A plaid shirt, overalls or relaxed trousers, a straw-style hat, and contrasting fabric patches. Start with pieces that already fit rather than constructing an entire outfit from scratch.
Preparation: A few patches and simple stitched-looking face details can make the theme clear. Choose where the patches will show when a jacket covers your shirt. You can suggest straw through color and texture without carrying loose material everywhere.
This direction works well for a casual gathering when you want comfortable layers. The page's preset includes a straw hat, plaid shirt, and overalls. Preview a scarecrow outfit and compare warm versus muted colors.
8. Pirate: choose the everyday pieces first
Wardrobe: A loose shirt, dark trousers or a skirt, a belt or sash, and a hat. A coat is an optional layer rather than the starting requirement.
Preparation: Coordinate the belt, hat, and footwear before adding props. A pirate look can stay readable without a sword or eye patch. If you expect to move around a lot, make sure the sash and coat do not get in the way.
The studio's pirate preset is a captain with a tricorn on a ghost ship. That is a theatrical option; your real version can be simpler. Preview the pirate theme to decide whether you prefer the full coat or a lighter outfit.
9. Ghost: pale layers instead of a covered face
Wardrobe: Pale clothes, a light outer layer, and optional vintage-style details. A faded shirt, long skirt, or soft scarf can suggest an old-fashioned ghost without a sheet over your head.
Preparation: Keep the theme in the color and texture so your face remains visible. Decide whether distressed edges are necessary; clothing you plan to wear again may be better left intact.
The page's ghost preset uses tattered Victorian clothing and a cool blue glow. The glow is an image effect, not something you need to recreate literally. Preview a ghost look and choose the wearable details that carry the idea.
10. Skeleton: clothing print or makeup as the main feature
Wardrobe: Dark base clothes with a bone-print garment or applied bone shapes. You can focus on a shirt rather than a full bodysuit if that suits the event better.
Preparation: Decide whether the outfit or the face design does most of the work. A detailed skull design requires more preparation than a bone-print top. Check the placement of the print in the actual garment, especially if you will layer a jacket over it.
The skeleton preset pairs skull face paint with a bone-print bodysuit. Preview the skeleton direction to see whether you want a bold or restrained version before choosing the physical pieces.
11. Devil: a small accessory with a clear color story
Wardrobe: Red, black, or a mixture of both; a horn headband; and an optional tail. A dark everyday outfit with a red accent can work without a dedicated costume set.
Preparation: Check how the headband feels and how the tail attaches. Keep the look coherent by repeating one accent color rather than adding several unrelated props.
The preset uses small red horns, a tail, and ember-like lighting. Choose the accessories for your own setting rather than trying to reproduce the entire background. Preview a devil look if you are deciding how much red to include.
12. Couple looks: coordinate one shared element
Wardrobe: Start with two comfortable outfits, then connect them through a palette, texture, or paired role. Angel and devil is one option; matching vampires, two scarecrows, or ghost pirates can be less contrasting.
Preparation: Agree on the theme together, including which person wears which role. Coordination does not require identical garments. Each person should be able to remove a prop without losing the shared idea.
The studio's 2 People mode uses separate selfies and offers 12 paired presets. Only upload photos of people who agreed to appear. Preview a paired costume; for a fuller discussion of pairs, read the couples Halloween costume ideas guide.
Turn an attractive idea into a wearable outfit
Shortlist a few looks that use your available clothes, then check the missing pieces. If a preview inspires a long cape or hanging fabric, examine the actual garment carefully. The U.S. Consumer Product Safety Commission's costume guidance advises keeping costumes short enough to prevent trips and falls.
Try sitting, walking, and taking off the outer layer in the real outfit. Keep the shop listing beside your preview to check what is included. For upload and comparison instructions, the Halloween costume try-on tutorial explains the workflow. The page also offers an optional 5-second video after a photo is ready, if you want a digital invitation or post.
FAQ
Which costume ideas are easiest to adapt from everyday clothes?
Witch, vampire, scarecrow, and devil are practical starting points if you already own dark layers, plaid, or red accents. Choose one recognizable accessory first. What is easiest depends on your wardrobe, rather than a universal preparation time.
Which looks need more preparation?
Detailed Day of the Dead or skeleton makeup, mummy wrapping, and large angel wings need more planning than a simple hat or cape. Choose the amount of detail you are comfortable preparing and maintaining through the event.
How can I narrow down solo themes?
Compare candidates using the same photo, then judge the palette, silhouette, and pieces you would need. Favor a look that answers your event requirements. A preview cannot confirm fit or the availability of the pictured accessories.
Do two people need identical outfits for a coordinated costume?
No. A shared color or related character role can connect different outfits. Agree on the theme and use separate, permitted selfies for the paired preview. Both people should approve their appearance and the final choice.
Choose the look you can enjoy wearing
Pick a theme that fits your evening and your wardrobe, then preview your Halloween costume idea. Keep the parts you like, simplify the rest, and check the real outfit before the event.