Fashion Influencer Photos With AI: A One-Selfie Guide
To create fashion influencer photos with AI, open ClipTrend.ai’s Fashion Influencer studio, upload one clear selfie of a consenting adult, pick a look, and select Generate Image. Repeat with complementary looks to build a small lookbook. As of October 14, 2026, the studio offers eight presets, Describe it, 4:5 outfit photos, and an optional five-second video. Review the pictures before sharing, and identify the outfit and scene as AI-made.
Updated October 14, 2026 · By the ClipTrend.ai Editorial Team
Disclosure: ClipTrend.ai offers the tool described here. The cover is an AI-made planning illustration, not a product result. Outfit descriptions below are suggested inputs, not reports of generated examples.
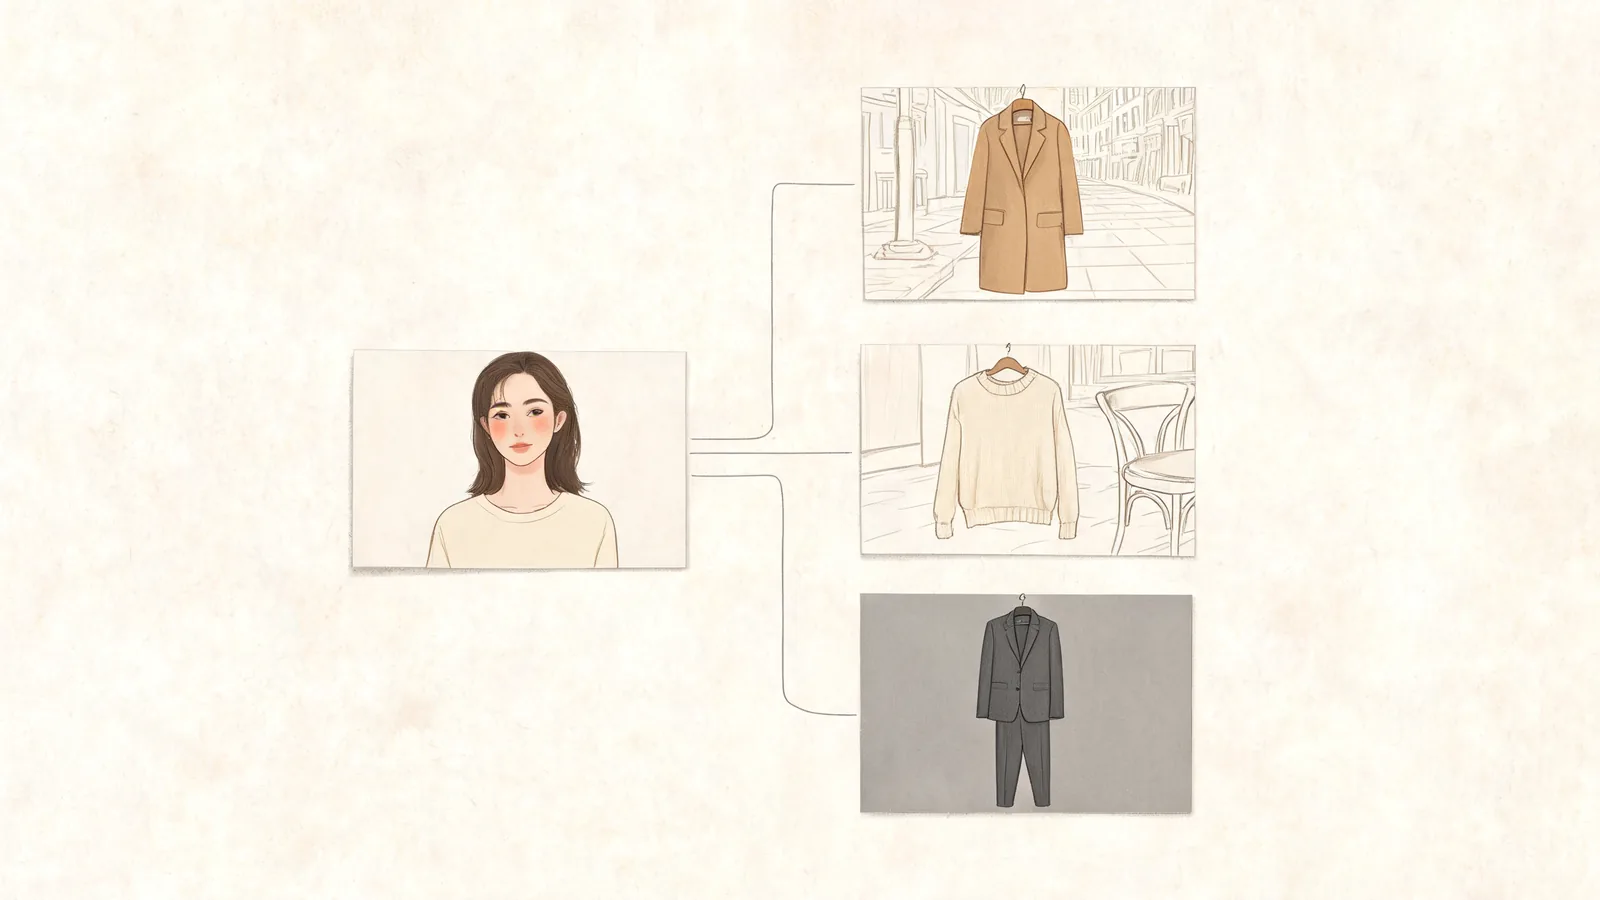
1. Give your mini lookbook one purpose
Choose the question your photos will answer before choosing a preset. You might want to compare relaxed and tailored silhouettes, plan a neutral capsule wardrobe, or explore a visual theme for a personal style account. Three pictures with one purpose are easier to assess than eight unrelated scenes.
For a first set, write a short brief: “Warm neutrals, practical layers, three different settings.” Then choose a street scene, a quieter cafe scene, and a simple backdrop. You are planning a sequence yourself; the studio does not automatically assemble a lookbook or decide its order.
Keep a distinction between styling ideas and clothes you own. An imagined coat can help you think about a silhouette, but the picture cannot tell you whether a particular garment fits, feels comfortable, or matches its store description. If those are your questions, inspect the actual item and try it on.
For the broader meaning of the term and when generated outfit imagery is useful, read the AI fashion influencer explainer.
2. Upload a clear adult selfie
Use a front-facing photo of one adult with a face you can easily recognize. Choose even light, visible eyes, and enough detail to compare the source with the result. Avoid a group photo, heavy face filter, sunglasses, or hair hiding most of the face. A straightforward phone portrait is a useful starting point.
Use your own photograph or obtain the pictured person’s agreement to this specific use. Permission to share an ordinary photo does not necessarily mean permission to place someone in an invented outfit or setting. If you are making a set for another adult, agree on the intended style and where it may be shared before uploading.
Choose a plain background without unrelated people or personal details. Keep the original for comparison; the goal is to explore styling around the adult you uploaded.
The studio is designed to use that person as its reference. Treat recognizable identity as something to check in every result, rather than assuming every facial detail will be identical.
3. Pick a look that answers your brief
The eight presets combine clothes, surroundings, and lighting. Their names describe different kinds of fashion pictures, rather than a list of exact garments available for purchase. Use the page’s own input-and-result demo to see how the workflow is presented before choosing.
| Look in the studio | A useful role in a small set | Detail to inspect |
|---|---|---|
| Street style | An outdoor opening image with layered clothing | Coat edges, footwear, and the walking pose |
| OOTD mirror selfie | A casual outfit-of-the-day concept | Phone position and mirror reflection |
| Runway walk | A theatrical, tailored styling idea | Silhouette and the implied event |
| Cafe lifestyle | A relaxed companion to an outdoor shot | Seated pose and hands near the table |
| Editorial studio | A focused image with fewer background distractions | Clothing shape and facial detail |
| Vintage thrift look | A more colorful or retro direction | Fabric patterns and layering |
| Luxury shopping street | A polished city concept | Unbranded bags and background details |
| Minimalist neutrals | A quiet finish for a neutral-color set | Separation between similar fabric tones |
Start with the preset closest to your goal. For a neutral capsule idea, Minimalist neutrals gives you a simpler comparison point than a busy thrift-store scene. For a more expressive personal account, Vintage thrift look and Editorial studio offer different visual directions to consider.
A runway background is an invented scene. Do not describe it as a show you attended or a professional booking you completed. The same applies to shopping bags and cafe settings: they are visual elements, not evidence of a purchase or visit.
4. Use Describe it for a specific outfit idea
Choose Describe it when the presets miss the pieces or setting you have in mind. Write a compact description of the clothing, colors, and place. The studio accepts a description under 400 characters; you do not need a long photographic specification.
A suggested starting input is: “Olive overshirt over a cream tee, straight dark trousers, simple shoes, outside a quiet bookstore in soft daylight.” Another is: “Terracotta knit, charcoal wide-leg trousers, plain grey studio background, relaxed standing pose.” Both describe unbranded clothes and a readable scene.
Name the element you care about most first. If you are comparing jackets, lead with the jacket and keep the rest uncomplicated. Adding several patterns, multiple accessories, dramatic lighting, and a busy background makes the result harder to evaluate even if the picture looks attractive.
The page works from a selfie and words or a preset. It does not offer a garment-upload workflow here. Describing a particular item does not establish exact fabric, stitching, sizing, or product fidelity.
5. Generate one photo and review it at full size
Select Generate Image after checking the source and look. Inspect the completed still before making the rest of the set. Open it large enough to see the face, clothing boundaries, hands, footwear, and any reflection.
Begin with the person. Does the face remain recognizable? Are age, skin tone, hair, and expression appropriate? If the person does not feel accurately represented, reject the picture. A stylish background does not compensate for a face they would not want to share.
Next, check the outfit. Look for unexpected lettering, logos, merged layers, strange closures, or a bag strap that stops halfway. Examine mirror geometry and the relationship between the hands and nearby objects. These are review targets, not claims that a particular demo contains defects.
Finally, consider what the scene implies. An image may be visually acceptable but unsuitable for a caption about a real day out. Save it as an outfit concept rather than presenting it as documentary evidence. When checking a clothing idea, compare color and silhouette without assuming the simulated drape predicts real fit.
6. Build a coordinated three-photo sequence
Once you have an acceptable first picture, reuse your original selfie for two complementary looks. Keep a small set of visual choices consistent: a limited palette, similar levels of formality, and the same purpose. Separate generations can still vary in face, proportions, lighting, and garments.
For a warm-neutral set, your planned sequence could be Street style as the opening, Cafe lifestyle as the middle, and Minimalist neutrals as the finish. For a bolder direction, you could pair Vintage thrift look with Editorial studio, then describe a restrained third outfit. These are proposed combinations, not sample results.
The photos are 4:5. If you crop them for another use, check that the face, shoes, or outfit detail you want to discuss remains visible. Plan the final presentation yourself; an outfit image alone does not create or manage a social account. You can explore other creative workflows from ClipTrend.ai’s homepage.
7. Write captions that explain the image honestly
Let the caption say what the picture is and why you made it. “AI-made outfit concept: testing warm neutrals for autumn” is clear. “Imagined cafe styling, based on my selfie” provides context without implying that the scene happened. Add a personal opinion about the combination if it is yours.
Avoid a fictional diary caption such as “Today’s cafe outfit” when you did not wear those clothes or visit that setting. An AI label and an accurate caption work together. A small disclosure does not make an otherwise misleading story useful to readers.
As of October 14, 2026, TikTok’s AI-generated content guidance requires labeling realistic AI-generated images, audio, and video. Check the current controls on the platform where you post. Keep the explanation close to the image, especially if people could reasonably mistake it for a real photograph.
8. Add motion only after approving the still
The optional five-second video is a separate next step. Use it when a short moving fashion concept serves your post. A still may be enough for comparing silhouettes or arranging a lookbook, so there is no need to animate every image.
Watch the whole clip before sharing. Recheck the face, hands, clothing boundaries, and background throughout the movement. Motion can change how convincing those details feel. Do not use a clip that adds an unwanted expression or makes the outfit difficult to read.
Label the video’s scene as AI-made too. A short clip is still an imagined depiction, and it cannot demonstrate how an actual garment behaves on your body.
Frequently asked questions
Do I need to photograph the whole outfit first?
No. This workflow starts with one clear adult selfie, then uses a preset or outfit description. It creates an imagined styled photo rather than documenting clothes you already wore. Check the result for recognizable facial features and suitable clothing.
How many looks should my first lookbook contain?
Start with one approved picture and add up to two complementary looks. Three is an editorial planning choice, not an automatic studio bundle. Keep the palette and purpose consistent, and omit any result that does not belong.
Can I reproduce a garment from a shopping page?
This studio does not provide a garment-upload control. Words can describe an outfit idea, but the generated picture cannot establish an exact match, size, fit, material, or construction. Use the seller’s actual photographs and garment information for purchase decisions.
Can I post the pictures as ordinary outfit photos?
Present them as AI-made outfit concepts and make the caption accurate about the invented scene. Only depict adults who agreed to the use, and follow the current labeling rules of your publishing platform.
Make your first look easy to judge
Choose one clear selfie and one styling goal in the Fashion Influencer studio. Review the first photo before expanding the set, then share the outfit idea with an honest caption.