AI Witch: Turn Your Photo Into a Witch Step by Step
To turn your photo into an AI witch, open ClipTrend.ai's AI Witch page, upload a clear selfie, leave Witch selected, and press Generate Image. You get a costume portrait with your face visible under a black hat. Check the picture before downloading it; a five-second vertical video is optional. For a witch-and-warlock pair, choose 2 People and supply a separate selfie of each person.
Updated October 13, 2026 · By the ClipTrend.ai Editorial Team
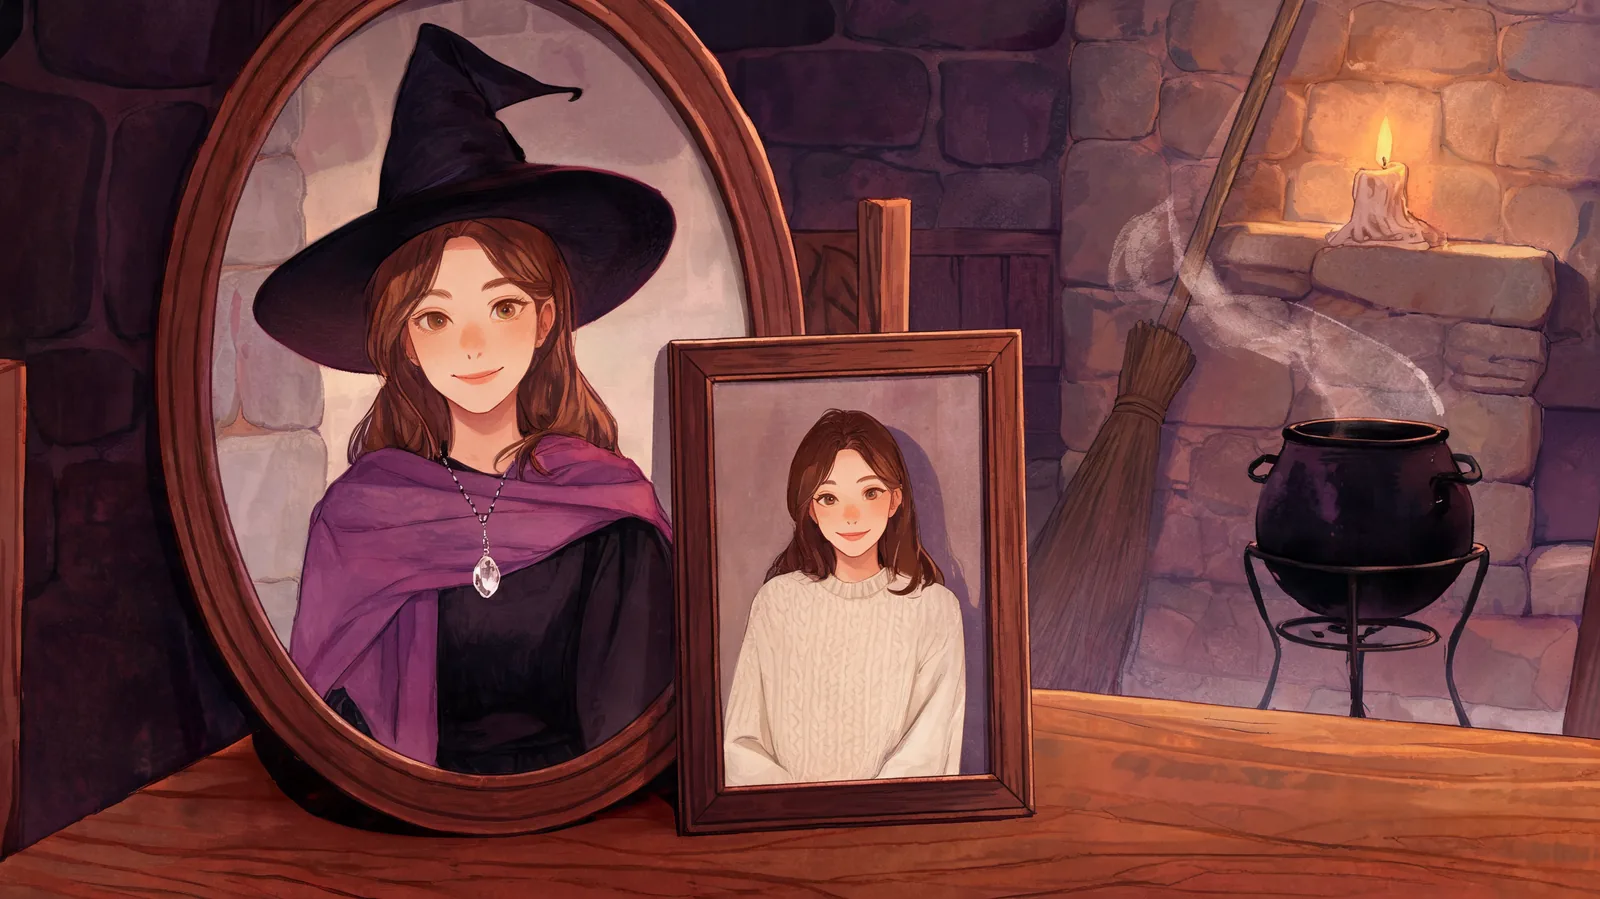
Disclosure: ClipTrend.ai offers the tool described here. The cover illustration represents the idea of a costume transformation; it is not a result generated by the studio.
1. Prepare a selfie that leaves your face and hair visible
Start with an upright, front-facing photograph of one person. Your eyes, nose, mouth, and hairline should be easy to distinguish. A head-and-shoulders selfie works; you do not need to photograph yourself wearing a witch costume first.
Choose even light and leave some space above your head. The intended costume includes a wide hat, so a source cropped tightly across the forehead gives you less of the person to compare afterward. Keep your hair visible rather than tucked entirely behind a hood or hidden by an existing hat.
For example, a straightforward window-lit selfie in an ordinary shirt is a more useful starting point than a party photograph with several faces, a tilted head, and strong colored lighting. Avoid sunglasses, motion blur, and a hand over your cheek. These are photo-selection tips, not a guarantee that a particular photograph will produce a perfect result.
Use your own photograph or get the subject's agreement before uploading theirs. Permission to create a costume portrait and permission to post it publicly are separate decisions. If you are making invitations for friends, ask about both.
2. Open the Witch page and compare its demonstration
The AI Witch page opens with Witch already picked in 1 Person mode. Its demonstration shows a woman from a cafe selfie dressed as a witch in a candlelit cottage, holding a broom beside a cauldron. Look at that demonstration to judge the intended style.
As of October 13, 2026, the studio makes a photograph first. The optional video follows that photo; you do not need a moving clip to complete the process. This makes the still portrait a useful stopping point for an avatar, invitation, or costume concept.
The witch effect comes from the outfit, makeup, props, and surroundings. It is designed to keep the person's face and age recognizable, without swapping in another face or turning the person into an older character. Still inspect the generated likeness rather than assuming every detail will be preserved perfectly.
3. Upload the photograph and keep the classic preset
Add your selfie in the upload area and confirm that the preview shows the right person. Keep Witch selected for the classic costume: a tall, wide-brimmed black hat, long dark dress, purple shawl, dark lipstick, crystal pendant, and broom. The setting is a cozy cottage with candles and a bubbling cauldron.
These details describe the preset's direction. They are not a promise that every fold, accessory, or background object will look identical across pictures. Your first review should focus on whether the person is recognizable and the costume reads clearly.
You can choose among 12 solo and 12 couple presets, use Upload a costume, or select Describe it for a different outfit direction. A photograph of a costume you are considering can serve as a visual reference; a description can specify its clothing and colors. Neither route certifies a real garment's sizing or reproduces every construction detail.
Keep a custom description focused. For instance, “A modest forest witch in a dark green dress, black pointed hat, and wool shawl, with the whole face visible” gives a clear clothing direction. This is an example request, not a claim about an output we made. Leave out gore and sexualized costumes.
4. Generate the still picture before choosing video
Press Generate Image after checking the source preview and costume selection. The page describes the photo as taking about a minute. Allow for variation in waiting time; that estimate is not a deadline.
Read the current Generate controls before submitting. They show the credits required for your selection. If you change the mode or later add video, check the corresponding control again rather than assuming the same allowance applies.
Wait for the picture you requested and examine it before starting a new one. If the result needs improvement, change one useful input at a time. Replacing a shadowed selfie with a clearer source is easier to assess than simultaneously changing the photograph, outfit, and setting.
5. Check the face, hat, and broom, then download
Put the result next to your original photograph. Look at the shape of the eyes, smile, jaw, and hairline. The face should remain uncovered: a hat brim should frame the portrait rather than hide the eyes. Dark lipstick belongs to the costume, but it should not make the mouth look structurally different.
Inspect the rest of the picture at full size. A convincing face can sit beside an awkward hand, a bent pendant, or a broom that merges into clothing. Those details matter on a printed invitation even if they disappear in a tiny profile picture.
Use this short acceptance check:
- Can someone who knows the subject recognize them?
- Are both eyes visible beneath the hat?
- Do any visible hands, jewelry, and props look coherent?
- Does the picture suit the audience and the subject's sharing preferences?
Download the picture you are happy with. For a profile image, test a small circular crop before choosing it. For an invitation, keep event details in a separate layout so the portrait does not have to carry the date, address, or RSVP instructions.
6. Make the witch-and-warlock version with two selfies
Switch to 2 People for a pair. Upload one clear photograph for Person 1 and another for Person 2. The page assigns Person 1 to the warlock on the left and Person 2 to the witch on the right, so place the photographs in the intended order.
The warlock direction uses a hooded dark robe with silver embroidery and a staff. The witch wears the black hat, dark dress, and purple shawl. Their setting is a decorated living room with candles, pumpkins, and spell books. You do not need a photograph of the two people standing together.
Check both likenesses separately, and let each person approve the result. If you want a whole party of witches, make separate solo or couple portraits; the page's people modes cover one or two subjects at a time.
For clothing combinations to discuss with your partner, see the witch costume ideas guide. It focuses on assembling outfits rather than operating the photo tool.
7. Optionally turn the approved portrait into a video
Once the photo is ready, you can make a five-second vertical clip. The options are Standard · 480p and HD · 768p with sound. Choose based on the output you want, and read the credits shown beside that option before continuing.
Review the moving result as carefully as the still. Watch the face throughout the clip, along with the hat edge, shawl, and any visible hands. If you choose HD, listen to the sound before sharing. A strong opening frame does not establish that every frame or the audio suits your post.
Keep the still if your goal is a costume mood board. Use the clip when motion helps the invitation or social post. You can explore other photo and video tools from ClipTrend.ai, but the Witch workflow itself begins on its dedicated page.
Use the portrait without confusing a concept with a real outfit
A generated portrait can help you decide whether you like a tall hat, purple layer, or dark makeup. It cannot tell you whether a real hat stays in place, a dress lets you climb stairs, or a fabric feels comfortable. Check those things with the physical costume.
If you recreate the candlelit scene for a gathering, use flameless lighting around flowing clothing. Health Canada's Halloween guidance recommends battery-powered candles instead of open flames. Label a shared costume preview as an AI concept where someone might otherwise mistake it for a photograph of an outfit you already own.
FAQ
Do I need to wear a hat in the source selfie?
No. Start with a clear photograph that shows your face and hair. The Witch preset adds the costume hat and other outfit details, so an existing hat or hood is unnecessary.
Will AI Witch change my age or replace my face?
The tool's intended transformation keeps your face and age recognizable while changing the costume and setting. It does not offer face swapping or an aging effect in this workflow. Check the actual portrait before accepting it.
Can I upload one photograph of a couple?
For the witch-and-warlock mode, use two separate selfies, one in each person's upload area. Person 1 becomes the warlock and Person 2 becomes the witch. Both people should agree to the transformation and its use.
What can I do if the costume reference is interpreted loosely?
Use a reference with the important garment details visible, or describe the few features that matter most. Treat the result as an outfit concept. It does not prove exact fabric, measurements, or physical fit.
Is the five-second video required?
No. You can download the photo and stop there. Video is an optional next step, with Standard 480p or HD 768p with sound available after the photo is ready.
Make your witch portrait
Have your selfie ready? Make your witch portrait on ClipTrend.ai, check the face and costume, and keep the version you want to share.