AI Skeleton: How to Get Skull Face Paint on Your Photo
To make an AI skeleton photo, open ClipTrend.ai's AI Skeleton studio, upload one clear, front-facing selfie, leave Skeleton selected, and press Generate Image. The look adds black-and-white skull face paint and a bone-print bodysuit on a foggy night street, while aiming to keep your face recognizable. Save the picture as a makeup reference or continue to an optional five-second video. For two people, upload a separate selfie for each person.
Updated October 12, 2026 · By the ClipTrend.ai Editorial Team
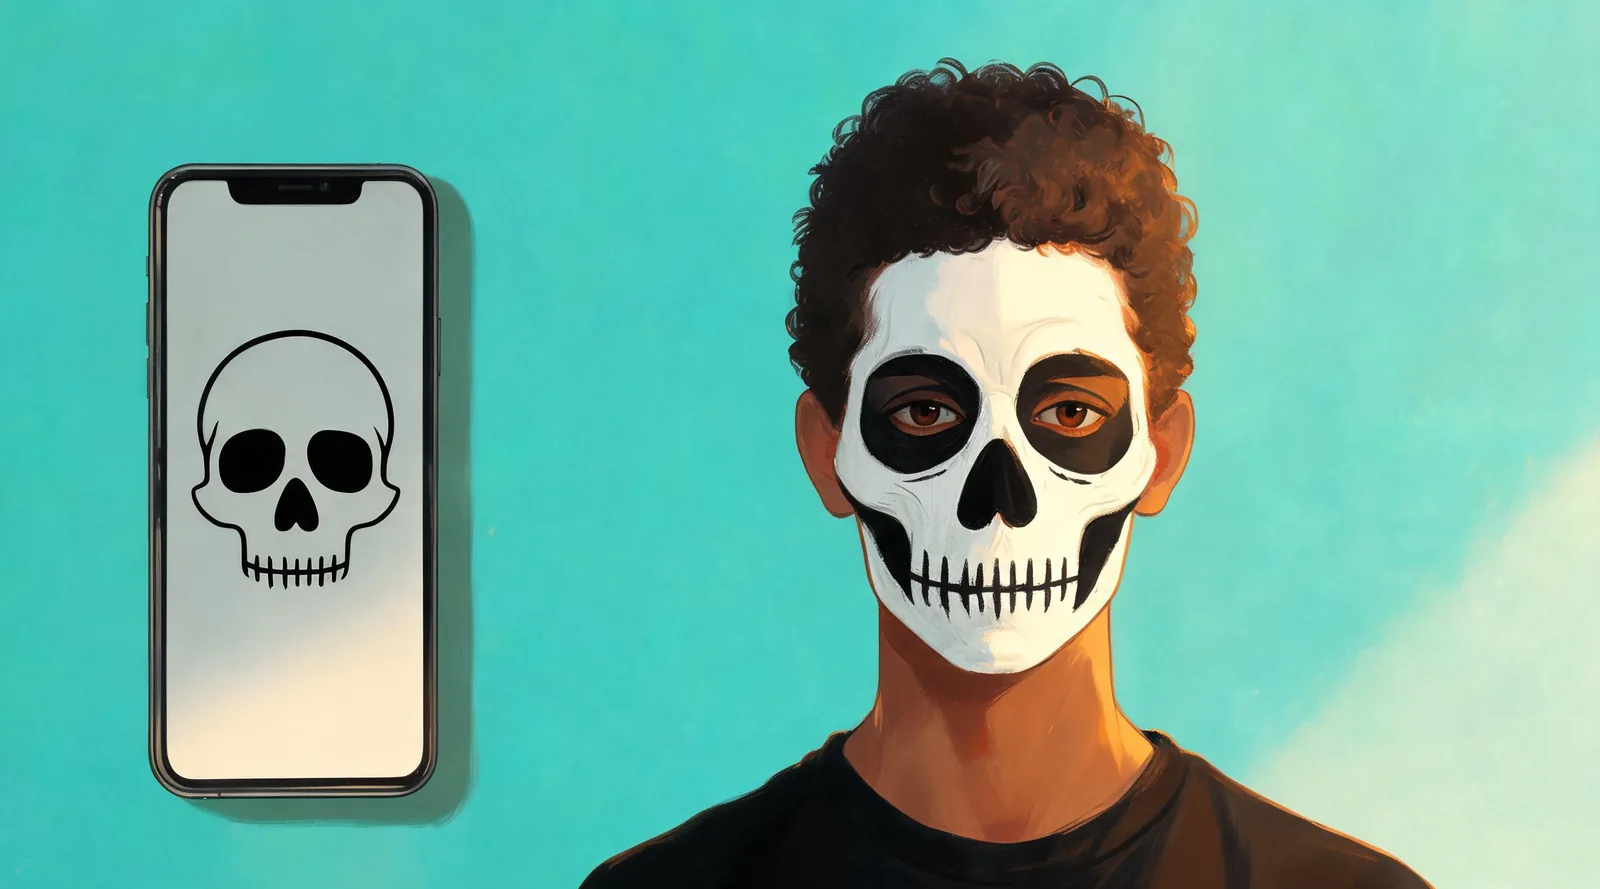
Disclosure: ClipTrend.ai provides the studio described here. The cover is an editorial illustration, not an example generated by the studio.
1. Choose a selfie that makes the face easy to read
Start with a photo of yourself or someone who has agreed to appear in the picture. Ask separately before sharing the finished portrait. A friend agreeing to help you choose a costume does not automatically mean they want that picture on a public party invitation.
Use a single-person photograph for the solo version. Face the camera, keep both eyes visible, and choose even lighting rather than a strong shadow across half the face. Include the whole head and some space around the shoulders. You can wear ordinary clothes: the preset supplies the costume direction.
Avoid sunglasses, a hand over the mouth, motion blur and heavy beauty filters. Skull paint puts dark shapes around the eyes and lines across the lips, so those areas need to be visible in the source. If your only selfie is dim or blurred, taking another photograph is more useful than adding detailed instructions to compensate.
You do not need to paint your face first. An unpainted face also makes the later comparison easier: you can tell whether the generated makeup follows your features or obscures them.
2. Open the Skeleton page and add your photo
As of October 12, 2026, the page starts with Skeleton selected in 1 Person mode. Upload the chosen selfie and check its preview. Make sure it is upright and shows the intended person before generating anything.
This is a photo transformation. The studio uses your own face as the reference for a costume portrait; it does not swap faces. It also is not a live camera overlay that tracks your movements while you record. You generate the still image first, then decide whether you want animation.
The default is a useful starting point because its makeup, clothing and setting are already defined. If your goal is simply to see skull paint on your face, there is no need to select a different costume or write a prompt.
3. Know what the default skull look includes
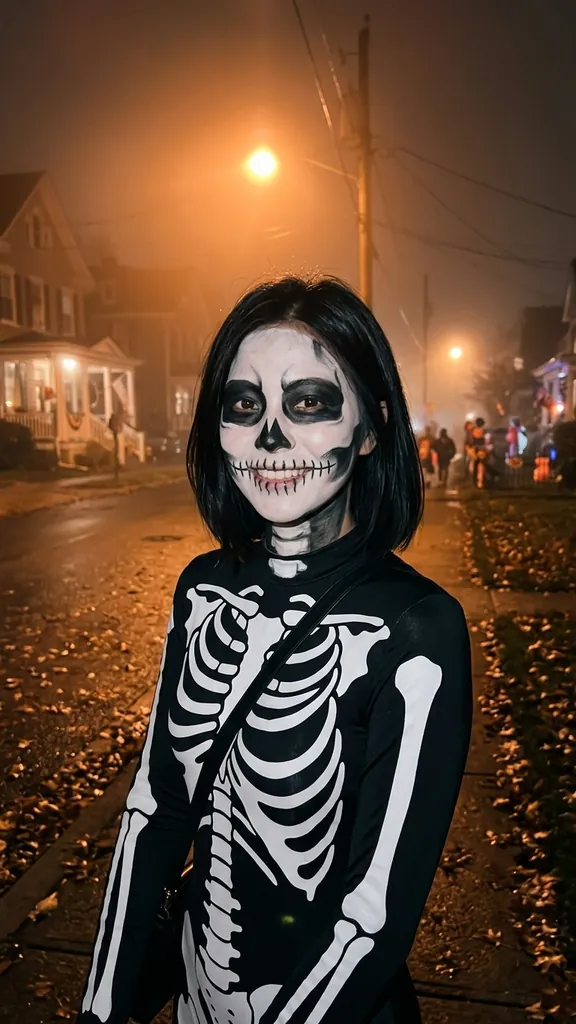
The Skeleton preset calls for crisp black-and-white skull face paint drawn over the person's own face. Dark shading surrounds the eyes, the nose is shaded black, and painted tooth lines run across the lips. A black bodysuit printed with white bones completes the costume, against a foggy street under orange lamps.
The intended effect is theatrical makeup on a recognizable person. The painted teeth should be markings over the lips rather than a replacement mouth. Your eyes, expression and face shape should remain readable beneath the design. Generated details can vary, so treat these as the look's direction and inspect the result yourself.
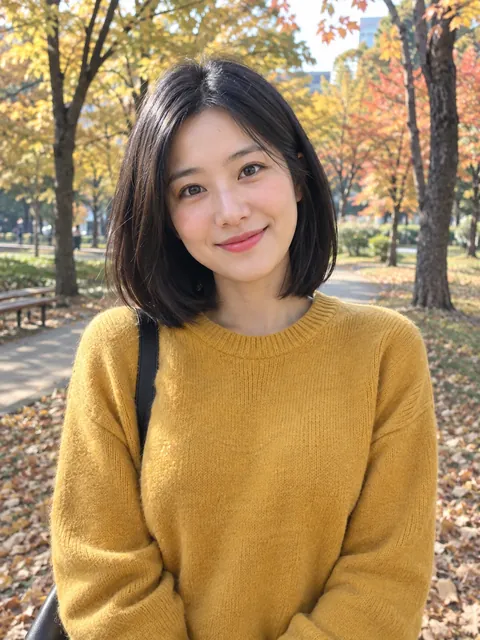
For the studio's actual demonstrations, see its input photograph, Skeleton demonstration portrait and demonstration clip. These links show the page's own examples. Your selfie, expression and framing can produce a different composition.
When to change the costume direction
The shared studio offers 12 single-person and 12 couple presets, alongside Upload a costume and Describe it. These are alternatives to the default Skeleton direction. A costume reference can help you explore an outfit; a description can request a particular visual style.
For a custom idea, use one clear direction, such as: “Black crew-neck outfit with white bone-print sleeves, simple skull face paint, face fully visible.” Keep the person fully clothed and avoid gore or sexualized costumes. A request for half-face makeup or another variation is a custom direction, not an extra built-in Skeleton preset, and exact reproduction is not guaranteed.
If you mainly need to decide between full skull, half skull or a smaller painted area, the skeleton face paint ideas guide compares the practical choices before you generate a reference.
4. Generate Image and review the portrait closely
Confirm the photo and selected preset, read the current credits beside the Generate control, and click Generate Image. The studio estimates a photo in about a minute. That is an approximate wait; an individual request or a busy service can take longer.
When the picture arrives, compare the face with the original before judging the outfit. Look at the spacing of the eyes, the nose, the mouth and the overall face shape. Does it still look like the intended person? A striking background is less useful if you cannot recognize yourself.
Then inspect the paint. Tooth markings should follow the mouth area, dark sockets should not hide the eyes, and the hairline should remain plausible. Check any visible hands and the edges where the neckline meets the face. Enlarge the picture if the preview makes these details hard to see.
Before saving, check that:
- The person is recognizable and comfortable with the portrayal.
- The black-and-white areas read as painted makeup.
- Eyes, lips, hair and any visible fingers have sensible shapes.
- Clothing is complete and there is no unwanted content.
- The image will suit its intended use, such as a personal reference or a party post.
If the face looks unfamiliar, first review the source photo for blur, cropping or strong filtering. If a custom description produces a cluttered outfit, shorten it to the essential clothing and makeup details. Another generation can differ, but repeated attempts do not promise a perfect likeness.
5. Save the photo as a reference for real paint
Download the still image when you are happy with it. Keep your original selfie too, so you can compare your natural features with the placement of the painted shapes. For a makeup session, display the reference beside the mirror or share it with the person doing the painting.
Use the picture to plan three areas: the eye shading, the dark nose shape and the painted teeth. Notice where each begins and ends relative to your own features. A reference can help you communicate the overall look without asking a painter to reproduce every tiny generated line.
For example, if the portrait has many narrow tooth marks, you might choose fewer, broader marks for real paint. If the dark cheek area is large, ask whether a smaller shape would better preserve your expression. These are practical adaptations, not a requirement to copy the digital portrait exactly.
A preview cannot test skin tolerance, makeup wear or how an outfit fits. For real cosmetics, follow the product label, including eye-area restrictions and removal instructions. The FDA's novelty makeup guidance explains why face-paint directions matter. The image helps with visual planning; real products still need their own checks.
6. Use two separate selfies for a skeleton couple
Switch to 2 People for a shared portrait. Upload one clear selfie for Person 1 and another for Person 2, with each person's agreement. The photographs can be taken separately; you do not need a couple photo as the input.
The Skeleton couple option gives both people black bone-print bodysuits and crisp skull face paint, with a foggy street setting. Person 1 is placed on the left. Check both upload previews and review both faces in the finished image rather than approving the whole portrait after checking only yourself.
For a shared makeup reference, agree on what should match. You might keep the same black-and-white palette while simplifying tooth lines differently for each face. Matching costumes do not require identical paint placement. Two friends can use this option too; it does not require a romantic pairing.
7. Add a video only after approving the photo
The optional video starts from the completed costume photo. Choose a still image you already like, since animation is not a way to repair unfamiliar facial features or confused makeup.
The studio offers a five-second vertical clip, with Standard · 480p and HD · 768p with sound choices. Standard continues in the Image to Video tool; HD is the option labeled with sound. Check the chosen control and review the resulting clip before sharing it.
A still photo is usually the more convenient reference for a makeup artist because it holds the design in one position. A short video can be useful for a social post or digital invitation. Keep the still image even if you animate it, and inspect moving details around the eyes and mouth before publishing.
FAQ
Do I need a skeleton costume in the original photo?
No. Start with a clear selfie in ordinary clothes. The Skeleton preset supplies skull face paint, a bone-print outfit and the foggy street direction. You can also provide a costume reference or description when you want a custom look.
Is this a face swap or a skull mask?
It is neither. The studio uses your photo to create a costume portrait with paint drawn over your own face. Your features are meant to remain recognizable, although you should check the generated result before saving or sharing it.
Can two people use photos taken in different places?
Yes. Choose 2 People and upload one separate selfie per person. Each photograph should show a clear face, and both people should agree to the transformation and any intended sharing.
Can I download the photo without making a video?
Yes. Photo generation is the first step, and video is optional. Save the still image if you only need a costume portrait or a reference for real face paint.
Will real makeup look exactly like the preview?
No exact match is guaranteed. A digital image does not measure paint texture, application skill, skin response or wear. Use it to discuss the design, then adapt it to the cosmetics and techniques you actually use.
Make your reference photo
Start with one well-lit selfie in ClipTrend.ai's AI Skeleton studio, review the face and paint placement, and save the still image before deciding whether to animate it.