AI Vampire: How to Turn Your Photo Into a Vampire
To create an AI vampire photo, open ClipTrend.ai's AI Vampire studio, upload a clear selfie, keep Vampire selected, and click Generate Image. The preset adds a black cape, gothic makeup and small fangs while aiming to keep you recognizable. Check the finished portrait, then download the photo or choose an optional five-second video. For a vampire couple, use 2 People and upload one selfie each.
Updated October 12, 2026 · By the ClipTrend.ai Editorial Team
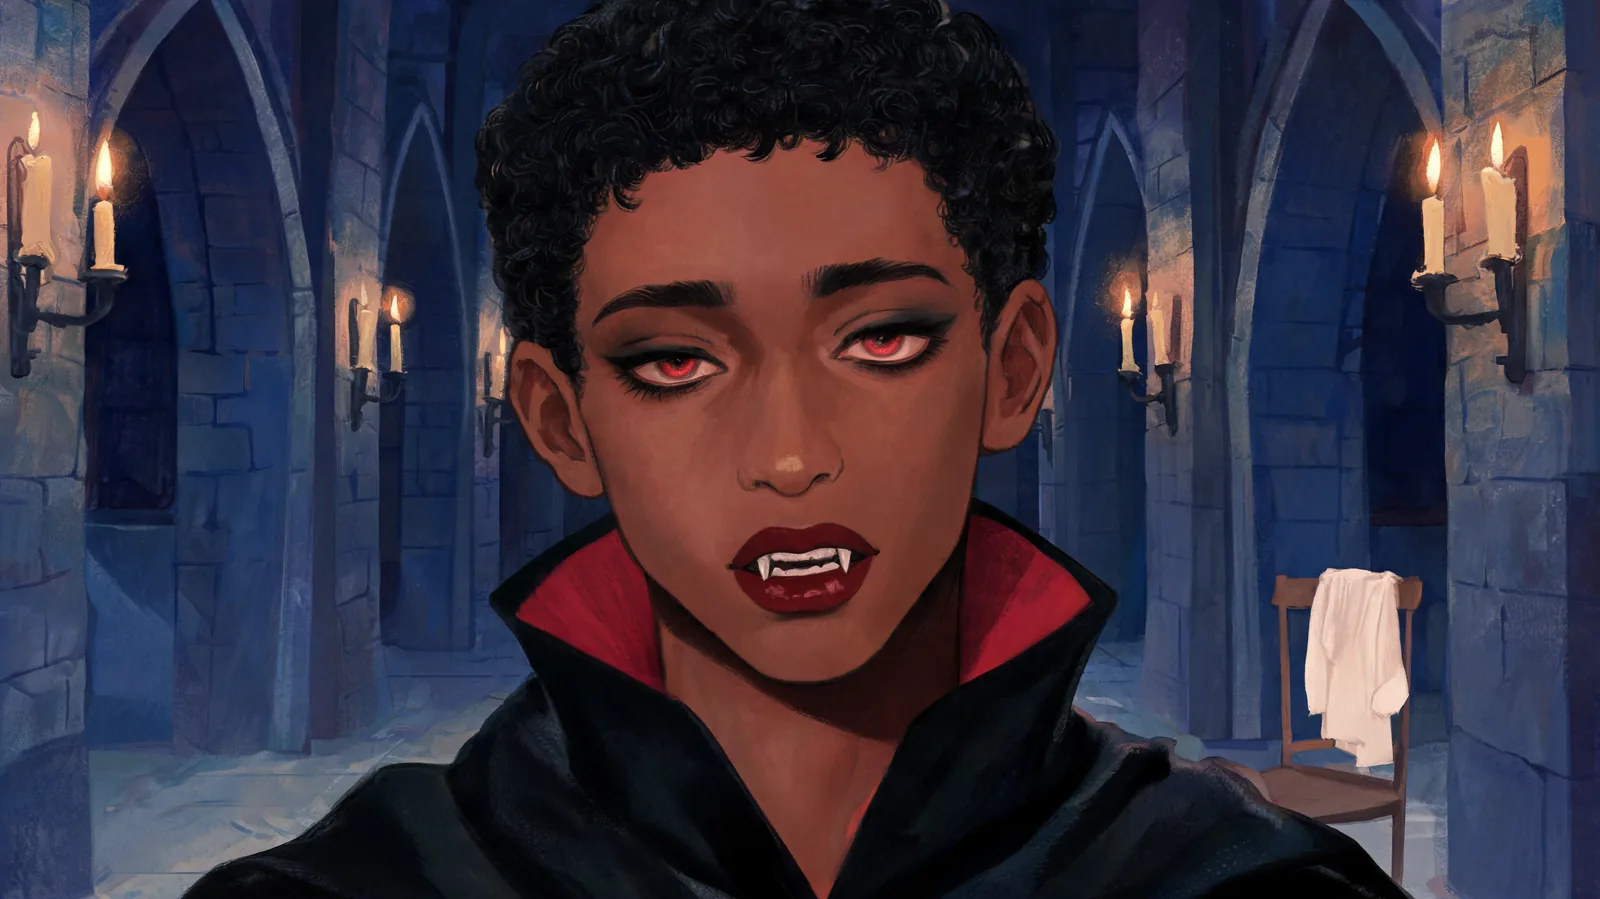
Disclosure: ClipTrend.ai provides this studio. The cover is an editorial illustration, not a sample result from the tool.
1. Start with a clear, front-facing selfie
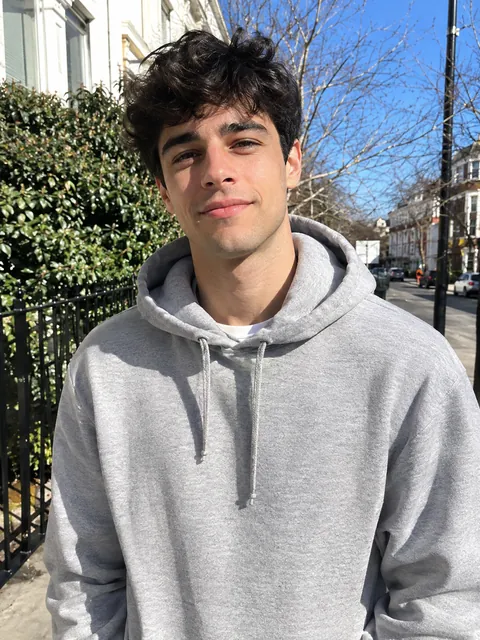
You can begin in everyday clothes. The Vampire preset supplies the outfit and setting, so there is no need to buy a cape or put on fangs before uploading. Choose a head-and-shoulders photo with enough room around your hair and neckline for a costume portrait.
Face the camera in even light. Make sure your eyes, nose and mouth are easy to see. Sunglasses, a hand over your mouth, very dark lighting and strong beauty filters make it harder to assess whether the finished image looks like you. If the source is blurry, retake it rather than asking the transformation to recover missing detail.
Upload yourself or someone who has agreed to appear in the image. Permission to edit a photo and permission to share the finished picture are separate conversations. If you are making a party invitation with a friend, agree on both before starting.
Use a single-person source for the solo mode. A crowded group shot leaves more ambiguity about which face matters. You can create a two-person result from separate selfies later; you do not need to crop two people out of one shared picture.
2. Open the page and check 1 Person mode
As of October 12, 2026, the AI Vampire page opens with the solo Vampire preset selected. In 1 Person mode, add your selfie under Upload your photo. Check the upload preview before moving on: it should show the intended face clearly and upright.
This is a still-photo workflow. You are not recording a live camera effect, uploading a video, or swapping your face onto another person's body. The studio creates a costume image using your photo as the person reference. The aim is a recognizable transformation, although generated features still need inspection.
For a first attempt, use the default preset. That keeps the choices simple and gives you a defined look to judge. If you start by changing the costume, the lighting and the makeup all at once, it becomes harder to decide which direction actually suits you.
3. Understand what the Vampire preset adds
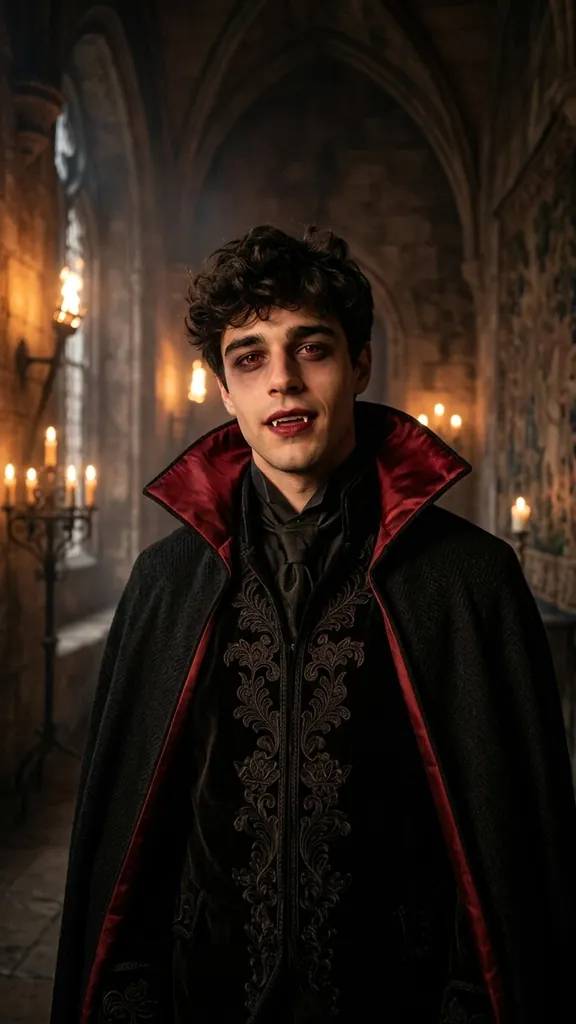
The solo Vampire look is elegant rather than gory. Its costume direction includes a high-collared black cape with deep red lining over a dark velvet outfit. The makeup calls for smoky eyes, dark red lips, two small fangs and a faint red glow in the eyes, against a candle-lit gothic castle hall.
Your skin tone is meant to stay unchanged. You do not need white face paint to make the concept read as a vampire. The cape, collar, makeup and teeth supply the visual cues, with no blood. Your face should remain uncovered and recognizable; check that in the output rather than assuming every detail will be preserved perfectly.
The page's own input selfie, vampire demonstration portrait and short demonstration video show the intended transformation. These are the studio's demo assets, not pictures made for this guide. Your expression, framing and generated details can differ.
When to use a costume reference or description
The studio offers 12 single-person and 12 couple presets. It also lets you Upload a costume or Describe it. Those choices are useful when you want to explore clothing beyond the default vampire outfit.
For instance, you might describe a fully clothed vampire wearing a burgundy coat rather than a cape. Or upload a costume photo to explore its general visual style. That is a custom direction, not an additional built-in Vampire preset. It also does not guarantee a faithful reproduction of a particular garment, its fit or its fabric.
Keep a description focused on visible clothing: collar shape, main color, outer layer and one makeup detail. Avoid contradictory directions such as a completely hidden face plus a recognizable portrait. Do not request gore or sexualized costumes.
4. Generate Image, then review the face first
Check the selfie and preset, read the credits shown beside the Generate control, and press Generate Image. The page estimates a photo in about a minute. Treat that as an approximate wait, not a guaranteed completion time; a busy service or an individual request can take longer.
Once the result appears, compare it with your source before getting distracted by the gothic background. Look at the eyes, nose, mouth and face shape. Then inspect the fangs: they should look like two small costume details rather than distorted teeth. The red eye glow should not make the face unreadable.
Use this short check before downloading:
- You recognize the person immediately.
- The face and skin tone look consistent with the source.
- Teeth, eyes, hairline and any visible hands have plausible shapes.
- The cape and collar do not merge into the face.
- The scene has no blood or unwanted content.
- The person pictured is happy with this version.
A good costume cannot compensate for an unfamiliar face. If the result is hard to recognize, improve a dim, cropped or filtered source photo first. Another attempt may help, but identical inputs do not promise an identical picture. If a custom wardrobe looks confused, simplify the clothing direction instead of stacking more instructions onto it.
5. Add another selfie for a vampire couple
Switch to 2 People when you want a shared portrait. Upload one photo for Person 1 and another for Person 2. Separate photographs are supported, so you can make the picture even when you are not in the same room. Check the order: Person 1 is placed on the left and Person 2 on the right.
The couple preset has its own wardrobe. Person 1 wears a high-collared black cape with red lining over a dark suit. Person 2 wears a long burgundy velvet gown or coat with lace cuffs. Both have smoky eyes, dark red lips and small fangs, in a candle-lit gothic manor hallway.
Ask each person to inspect their own face. Matching clothing is only half the decision: a combined image is not ready to share if one face looks right and the other does not. This option also works for two consenting friends; a shared costume portrait does not require a romantic pairing.
If you are still choosing between a formal cape pair and something more casual, the vampire couple costume ideas guide compares practical wardrobe directions. Those ideas are suggestions you can describe or reference, rather than a list of extra presets.
6. Decide whether the photo needs animation
For a profile picture, printed invite or outfit mood board, the still portrait may be all you need. Download it after you have checked the details. Generating a video is optional and comes after the photo, so you can stop here without adding motion.
The studio offers a five-second vertical video. Standard · 480p takes the photo into Image to Video; HD · 768p with sound is the higher-resolution option in the studio. Read the displayed credits for the choice you are about to use. The photo's approximate wait does not establish how long a video will take.
| Your purpose | Useful choice | Review before sharing |
|---|---|---|
| Avatar or invitation | Finished photo | Face clarity and the crop at its final size |
| Simple animated portrait | Standard 480p video | Face consistency and clothing movement throughout |
| Short clip with sound | HD 768p with sound | Motion, facial details and the audio |
Watch a completed clip from start to finish. A strong opening frame does not rule out a distorted mouth or collar later. Listen to any generated sound before sending it to someone else. If animation makes a convincing portrait less convincing, share the still image instead.
Use the portrait to plan a real costume
A vampire preview can help you decide whether you like a tall collar, a red accent or a darker lip color on yourself. It cannot tell you whether a cape will catch under your chair, whether boots are comfortable or whether a garment will fit. Use the image as a mood board, then check those practical questions with the real items.
Try one decision at a time. For example, compare a red-lined cape with a burgundy coat while keeping the rest of the outfit simple. Once you choose an outer layer, check the neckline and makeup. This gives you a shopping direction without treating an invented outfit as an exact product photograph.
For real makeup, follow the product label. The FDA's novelty makeup guidance advises using products intended for skin and respecting restrictions around the eyes. A digitally glowing eye does not require a physical glowing accessory.
FAQ
Can I make an AI vampire photo without wearing a costume?
Yes. Start with an ordinary clear selfie and leave Vampire selected. The preset supplies the cape, makeup, small fangs and gothic setting. You do not need a costume photograph unless you choose the separate reference option.
Does the vampire filter replace my face?
The tool uses your photo for a recognizable costume transformation; it does not swap in a different person's face. Generated details can still vary. Inspect your eyes, mouth, face shape and skin tone before saving or sharing the result.
Do two people need to upload a photo taken together?
No. In 2 People mode, upload a clear selfie for Person 1 and a separate selfie for Person 2. Both must agree to the use of their photos and approve the combined result before it is shared.
Is a vampire video required after the photo?
No. You can download the finished photo on its own. If you want animation, the next choice is an optional five-second vertical video, with Standard 480p or HD 768p with sound available.
Why does my vampire portrait look different from the demo?
The demo illustrates the page's intended style. Your source photo, expression and generated details affect your result. Use a well-lit selfie, choose a clear costume direction and check the finished face rather than expecting an exact copy of the demonstration.
Make your first vampire portrait
Have a clear selfie ready, begin with the selected preset, and decide whether the face and costume work before adding animation. Open the AI Vampire studio to make your portrait. You can find more photo and video workflows on ClipTrend.ai.