AI Video First and Last Frame: How to Control Both Ends
AI video first-and-last-frame control lets you provide the opening image and a target closing image, then ask the model to generate the motion between them. It is useful for product turns, planned transitions, loops, and shots that must land on a specific composition. The two frames still need compatible subjects, geometry, lighting, crop, and a physically plausible path.
Last updated: August 10, 2026 · ~9 min read
Ordinary image-to-video uses only the first frame and invents the ending. A “Video + last frame” export merely returns the ending after generation; it does not condition the result.
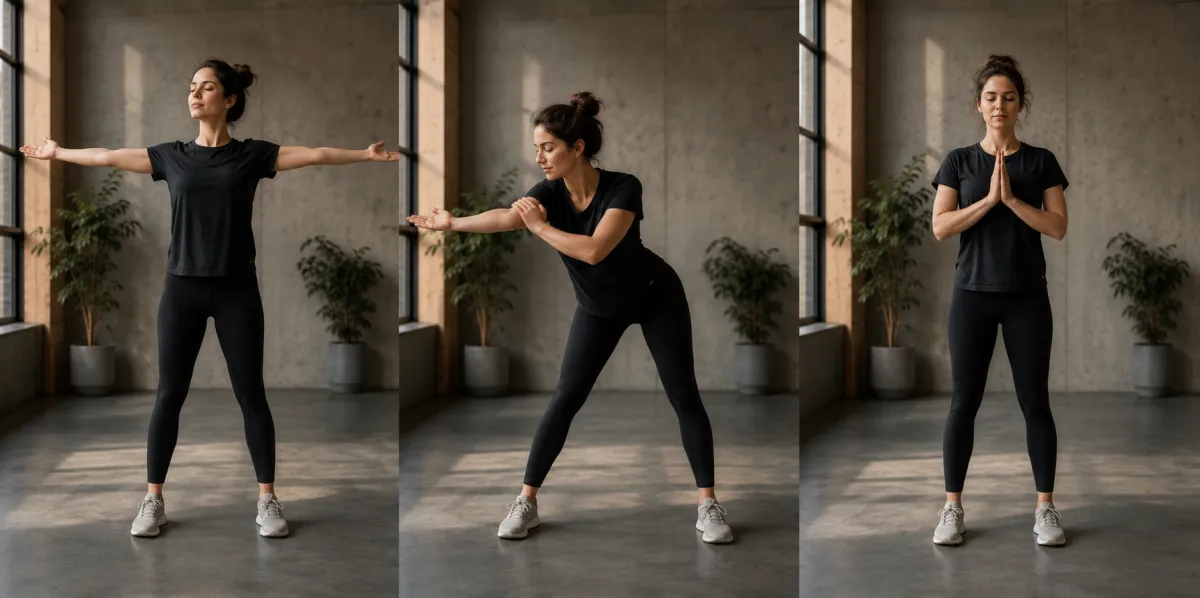
Conceptual endpoint-planning visual, not a claimed model output: compatible compositions give the transition a plausible path.
Three AI video first and last frame features to distinguish
Before generating, identify which control the model supports.
| Feature | What you provide | What the model does | Best use |
|---|---|---|---|
| First-frame image-to-video | One opening image | Animates forward and invents the ending | Natural motion from a strong source |
| First-and-last-frame generation | Opening image plus target closing image | Builds motion that attempts to connect both endpoints | Planned landings, transitions, loops |
| Return generated last frame | Opening image or prompt; export toggle | Generates normally, then returns the final frame as a separate asset | Continuity planning for the next shot |
Video + last frame gives you the frame the model produced; it does not let you prescribe that frame.
On ClipTrend, the Wan 2.7 model page exposes explicit first-and-last-frame image-to-video. Seedance also has an endpoint mode, while other models may offer a tail image or only return the generated ending. Check the live selector first.
When AI video first and last frame control is right
Use endpoint control when the ending is part of the brief.
Use cases include:
- A product starts front-facing and ends at a three-quarter hero angle.
- A room begins in daylight and ends in an approved evening treatment.
- A character starts in one pose and lands in another compatible pose.
- A camera move begins wide and ends on a prepared close composition.
- A logo-free abstract scene needs to finish on a clean title-card background.
- A looping background ends close to its opening geometry.
- Two storyboard panels need a generated bridge.
It is a poor fit for unrelated scenes, exact typography, or endpoints that change the person, product, camera, and lighting at once.
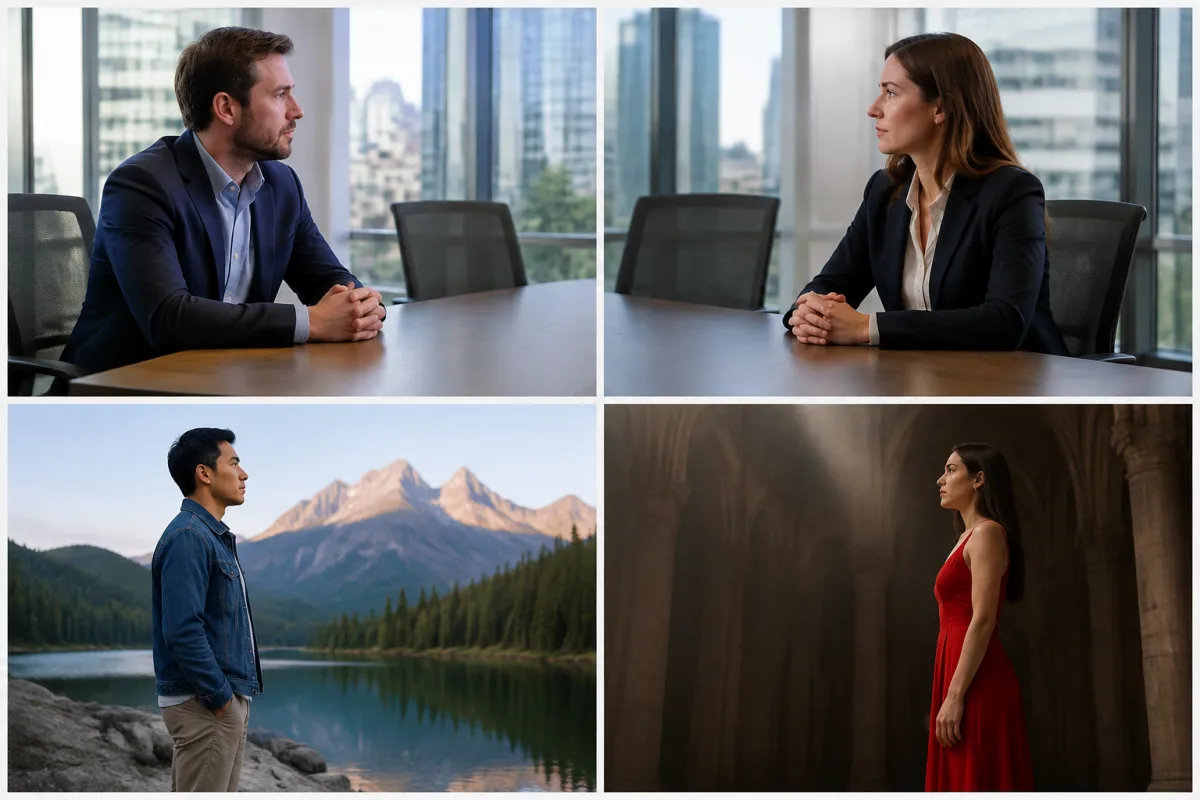
Conceptual continuity check, not a claimed model output: compatible endpoints reduce the amount of visual invention between them.
Prepare an AI video first and last frame pair
Make it possible for the model to explain how frame A becomes frame B.
Keep subject identity stable
Use the same person, character, product, room, or object. For an adult portrait, match face, hair, clothing, accessories, and body proportions. For a product, match silhouette, materials, color, closures, and verified label area.
If the last frame changes the jacket, hairstyle, bottle cap, or furniture, expect a morph rather than natural movement.
Match aspect ratio and pixel dimensions
Use the same aspect ratio and preferably the same dimensions. A 9:16 opening and 16:9 ending force the model to invent a crop and motion together.
Preserve camera logic
A transition needs a camera path: wide to close through a push-in, or front product view to three-quarter through a small orbit.
A front view cannot naturally become top-down without a crane or cut. For a short duration, choose closer viewpoints.
Keep light and color explainable
Lighting can change with a reason and enough time. A cool office becoming a fiery sunset in five seconds will usually read as a glitch.
Leave motion space
If the subject touches every edge, there is no room to move. Use a crop that contains the path.
The best first frame guide covers source clarity in detail. Apply the same standard to both endpoints.
The AI video first and last frame prompt formula
Use six parts:
Opening anchor + transition action + camera path + continuity constraints + timing + final landing
A reusable template is:
Begin exactly from the uploaded first frame. Over [duration], [subject action or environmental change]. Camera [one physically plausible move]. Keep [identity, product, wardrobe, geometry, palette, lighting rules, and background] consistent throughout. Avoid [visible failure modes]. Finish exactly on the uploaded last-frame composition, with motion settling during the final moment.
Describe the path. “Transition smoothly” gives the model no production logic.
Recipe 1: product turntable
First frame: front view of an unbranded product on a clean surface.
Last frame: matching three-quarter view at the same scale and lighting.
Begin exactly from the first product frame. The product rotates slowly clockwise by a small angle while the camera remains at the same height. A soft highlight moves across the surface and the shadow shifts naturally. Keep product silhouette, cap, material, color, label area, table, background, and scale consistent. Avoid warping, extra products, changed packaging, or readable text. Finish exactly on the supplied three-quarter last frame and let the rotation settle.
This is easier than a 360-degree spin because less geometry must be invented.
Recipe 2: wide-to-close camera move
First frame: wide scene with one clear subject.
Last frame: prepared medium or close view from the same axis.
Start from the wide first frame. Camera makes one slow, steady dolly-in toward the adult subject while the subject remains mostly still and makes one subtle natural breath. Preserve facial identity, hair, clothing, body proportions, room layout, lighting direction, and color. Avoid a digital zoom look, background melting, face drift, or new objects. Land exactly on the supplied close last frame with the camera motion easing to a stop.
The frames must share perspective. Cropping the first image digitally to make the last frame may look plausible, but a different lens or camera height can create a visible warp.
Recipe 3: pose-to-pose movement
First frame: adult subject standing with arms relaxed.
Last frame: same adult subject in a compatible three-quarter pose.
Begin at the supplied first pose. The adult subject shifts weight naturally, takes one small step, and turns into the target three-quarter pose. Camera stays mostly locked with a slight stabilised drift. Keep face, hair, fully clothed outfit, accessories, body proportions, hands, lighting, and background consistent. Avoid body reshaping, wardrobe changes, extra limbs, or fast motion. End exactly at the supplied last pose and hold it briefly.
Large pose changes expose hidden anatomy and clothing. Keep the action modest, use an authorized adult image, and inspect hands and garment intersections through the whole clip.
Recipe 4: daylight-to-evening room
First frame: approved room in daylight.
Last frame: same room and camera position with approved evening lighting.
Start from the daylight room frame. Over the shot, daylight outside softens toward evening while the practical lamps gradually turn on. Camera makes a very slow push-in. Keep walls, windows, furniture, floor lines, decor, camera height, and room layout fixed. Avoid new furniture, warped architecture, changing window shapes, people, or readable text. Finish exactly on the supplied evening frame with stable warm light.
If the endpoints show different furniture or viewpoint, fix the images first. A prompt cannot make a discontinuous room layout believable.
How far apart should the frames be?
Use the smallest endpoint difference that still communicates the intended event.
| Endpoint difference | Typical difficulty | Better planning choice |
|---|---|---|
| Small expression or light change | Lower | Short duration, mostly locked camera |
| Product angle or modest pose change | Moderate | Clear rotation or body path |
| Wide shot to close shot | Moderate | Same axis and consistent perspective |
| Day to night | Moderate to high | Longer duration and fixed geometry |
| Different wardrobe plus different pose | High | Split into two tests or prepare a closer last frame |
| Unrelated scene, person, and camera | Very high | Use an edit or a deliberate cut instead |
If the difference is too large, move the frames closer or split the story into several shots.
Choose duration from the amount of change
Duration should reflect the path. A slight product turn can be short; a wide-to-close move needs more time. Extra duration does not fix incompatible frames.
Write a beat plan:
- Opening hold long enough to read frame A.
- Main transition begins.
- The largest motion happens in the middle.
- Camera and subject approach frame B.
- Final motion settles before the last frame.
With fixed durations, adjust the endpoint distance rather than stuffing in more action.
Troubleshooting AI video first and last frame failures
The model ignores the last frame
Confirm you used endpoint conditioning, then make the last frame closer in identity, crop, and geometry. Simplify the path to one motion.
The clip reaches the last frame with a sudden jump
The endpoint difference is too large for the duration, or the prompt does not describe how to arrive there. Increase duration when available, move the endpoints closer, and ask motion to settle before the final moment.
The subject morphs in the middle
Compare face, hair, wardrobe, object design, scale, and lighting between the endpoints. Correct any mismatch. A model cannot preserve identity when the two supplied images disagree about it.
The camera path bends or warps
Use endpoints from the same camera axis and height. Replace “dynamic cinematic camera” with one move: push-in, lateral slide, small orbit, tilt, or locked frame.
The final frame matches, but the clip is unusable
Watch the entire transition for anatomy, product geometry, continuity, speed, and safety. Correct endpoints do not excuse a broken middle.
Which ClipTrend model should you start with?
For explicit start-and-end conditioning, the current Wan 2.7 lane is designed around first-and-last-frame image-to-video and supports longer options up to its live model limits. Seedance also offers first-and-last-frame and broader reference workflows in the current generator. Other models may use a tail-image field or provide a generated last frame for the next shot.
Choose from the live interface rather than an old comparison table. Confirm:
- Two independent endpoint upload slots are visible.
- Aspect ratio and duration match the planned assets.
- The model accepts the exact mode you intend.
- The displayed cost is acceptable before generation.
If you already have a clip and need to continue it, video extend may be the more natural workflow. Endpoint-conditioned generation builds a new clip between images; extension starts from existing motion.
Frequently asked questions
What is AI video first-and-last-frame generation?
It is a video-generation mode where you supply an opening image and a target closing image. The model generates motion that attempts to connect both compositions while following a prompt.
Is “return last frame” the same as end-frame control?
No. Return-last-frame gives you the final frame created by the model after generation. End-frame control lets you upload the closing image before generation and condition the motion toward it.
Do the first and last frames need the same aspect ratio?
Yes, they should use the same aspect ratio and preferably the same dimensions. Matching crop, subject scale, and camera logic reduces unnecessary invention and makes the transition easier to control.
Can first-and-last-frame AI make a seamless loop?
It can help by aligning the endpoint appearance, especially when the first and last images match. A true seamless loop also needs compatible motion direction and speed at the join, so review and trim the result in an editor.
Related guides
- Open the AI image-to-video generator →
- Generate with Wan 2.7 first-and-last-frame control
- Choose a better first frame
- Write image-to-video prompts
- Use camera movement prompts
- Extend an existing AI video
Give the model a believable path
AI video first-and-last-frame control works best when both images could genuinely belong to one shot. Match the subject, crop, geometry, and light; describe one physical transition; and review the entire middle, not only the endpoints. Start with the current endpoint-capable model and make the first test smaller than the final ambition.