How to Remove an Object With an AI Photo Editor
To remove an object with an AI photo editor, upload the original photo, identify the object by its appearance and location, and ask for the space to be filled with the surrounding background. State what must stay unchanged. In ClipTrend.ai's AI Photo Editor, this is a written editing request; inspect both the repaired area and the rest of the photo before downloading.
By the ClipTrend.ai Editorial Team · October 12, 2026
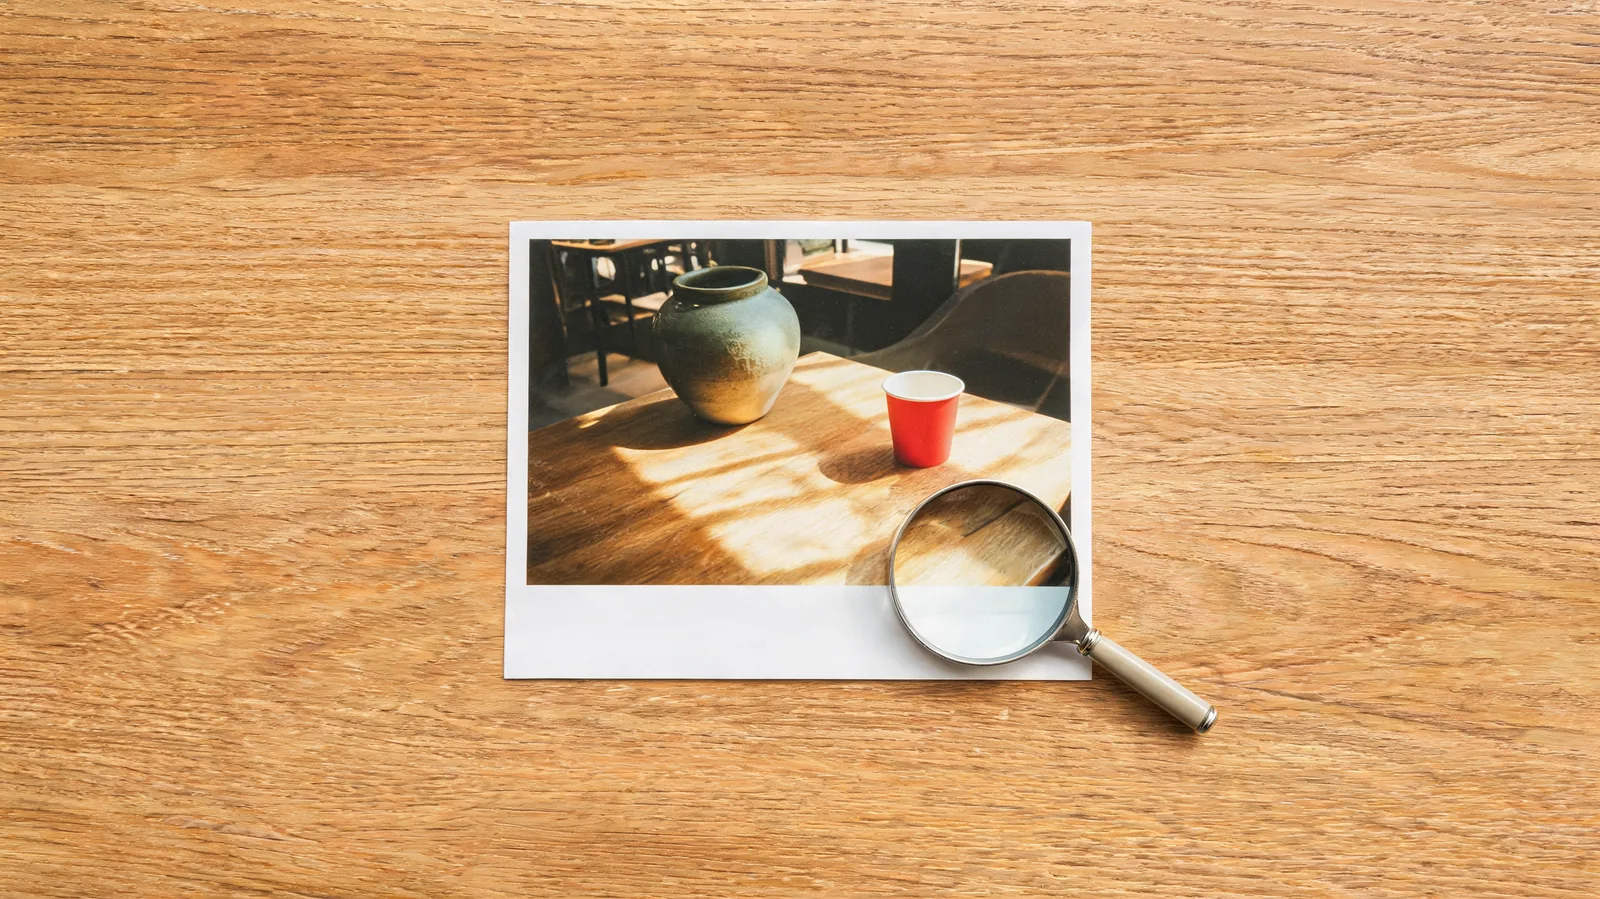
The cover is an editorial illustration, not a before-and-after result. This tutorial describes prompt-guided editing as of October 12, 2026. It does not assume a brush or masking control, and a request to preserve the subject is an instruction rather than a guarantee.
Decide whether removal is the right edit
Start by asking what the object does in the picture. A stray paper cup on an otherwise clean table is a reasonable cleanup target. A hand holding that cup, a reflection in a mirror, or a large object hiding the main subject makes the repair harder to judge.
Removal asks the editor to invent what could plausibly occupy the covered space. It cannot recover the actual scene behind an object from information the photograph never captured. A convincing patch can still be factually wrong.
Use this workflow for a creative image where that reconstruction is acceptable. If a photo needs to document what was present, keep the original and avoid removing meaningful content. For a product listing, reject a repair that changes the product's condition, shape, or included accessories. The goal is a cleaner composition without misleading the viewer.
Our first-image guide covers creating a new scene. Here, one distracting object should disappear from an existing photo while the useful parts remain recognizable.
1. Choose a clear source photo and keep an original copy
Work from the best version you have, rather than a screenshot of an already compressed social post. Check that the object's edge and the nearby background are visible. Blurred edges make the repair harder to judge.
Keep the original for comparison and restarts. Save each accepted variation under a new filename.
On the current AI Photo Editor page, the selected Nano Banana 2.1 option accepts JPEG, PNG, or WebP references up to 20 MB each. The page allows multiple references, but begin with only the photo you want to edit. Extra examples can complicate a task that needs one specific source and one specific change.
Choose an aspect ratio that matches the photo when a fixed matching option is available. A ratio change can introduce reframing as well as removal, which makes the comparison harder. For an unusual source shape, inspect the output crop carefully rather than assuming every border is preserved.
2. Identify one object precisely
Describe the object with a noun, a distinguishing feature, and its position. “The small red paper cup at the lower-right edge of the table” is more useful than “the unwanted thing.” If there are several cups, say which one to remove and which one to keep.
Request one removal first. Combining it with relighting or a new background makes an unwanted change harder to diagnose.
Also consider the object's traces. A removed cup with a surviving cup-shaped shadow looks unfinished. A removed bottle may leave a reflection. Name those traces when they belong to the target, while preserving the shadows and reflections of the objects that remain.
For example, ask to remove the paper cup and its contact shadow while keeping the vase and the vase's shadow. This establishes a boundary in words; it does not create a pixel-level selection.
3. Describe the replacement area and the details to preserve
A good removal prompt has three parts: the target, the replacement surface, and the protected details. Describe the replacement as the continuation of what surrounds it. If the cup sits on oak, ask for continuous oak grain with matching perspective and light.
Use this template with your own photo:
Remove [specific object and location], including [its shadow or reflection, if applicable]. Fill the space with a natural continuation of [surrounding surface or background], matching its texture, perspective, and lighting. Preserve [main subject, framing, and important details]. Do not add a replacement object or change the overall style.
Here is a complete example for a cafe tabletop:
Remove the small red paper cup near the lower-right edge of the oak table, including the cup's contact shadow. Continue the surrounding oak grain naturally with the same perspective and soft window light. Preserve the large ceramic vase, its shape and shadow, the table edge, the background, and the camera framing. Do not add another cup or change the colors of the photo.
For a room photograph, describe the wall, floor, or fabric. For a portrait background, identify the distraction and protect the person's face and body.
4. Check the selected model, size, and credit quote
The AI Photo Editor offers reference inputs, a prompt field, aspect ratios, and resolutions for the selected editing model. As of October 12, 2026, Nano Banana 2.1 is selected on the page and shows 1K, 2K, and 4K options. The initial 1K quote shows 3 credits. Read the live quote after any change before submitting.
Use the first edit to check whether the target is understood and the repair is plausible. Inspect a larger output separately; more detail does not fix a mistaken edit.
Sign in and confirm you have enough credits. Submit once, wait for the result, and review it before deciding on another request. Do not assume an unsatisfactory creative result means a free retry. The request's displayed credit cost should guide your decision to continue.
5. Inspect the repair and the unchanged subject
First view the whole photo at the size where you will use it. Has the composition improved, and is the target actually gone? Then zoom in to inspect the repaired surface and compare the result with the original.
| Area to inspect | What to look for | When to reject the result |
|---|---|---|
| Removed object's footprint | Continuous texture and plausible lighting | Smears, repeated patterns, or a new object |
| Nearby lines | Straight table edges, tiles, and architectural details | Bent lines or a jump in perspective |
| Shadows and reflections | Only the target's traces removed | Floating shadows or missing shadows from retained objects |
| Main subject | Same face, silhouette, color, and important details | Identity drift or altered product features |
| Frame and background | Suitable crop and stable composition | Missing borders, added elements, or a different scene |
Check patterned surfaces carefully. A patch may look acceptable in a small preview but break a tile grid at full size. For a product image, compare labels and material texture. For a portrait, compare eyes, hair edges, jewelry, and clothing even when the removal happened elsewhere.
Download only after the result passes both checks: the repair looks plausible, and the rest of the picture still serves its original purpose.
6. Revise one instruction if needed
If the editor removes the wrong object, make the location more precise. If it replaces the cup with a different cup, strengthen the instruction to leave an empty continuation of the tabletop. If a shadow survives, identify it separately from shadows you want to retain.
Restart from the original for a repair that changed the main subject. Repeatedly editing a flawed output can carry those changes forward. Keep the successful part of your prompt and revise the instruction linked to the actual failure.
A revision might read:
Remove only the red paper cup beside the lower-right table edge and its small contact shadow. Leave that area empty, showing continuous oak tabletop. Keep the ceramic vase and its shadow exactly as in the reference. Do not replace the cup with another object.
“Exactly as in the reference” communicates your intention, but you still need to compare the result. If the same important feature keeps changing, stop spending credits on similar requests and choose a more controlled editing method.
When a brush, clone tool, or crop is a better choice
A prompt-based edit is useful when you can name the object and explain the surrounding scene clearly. A brush-based editor is useful when you need to define the affected region yourself. A small distraction close to a valuable edge or logo may benefit from that control.
Adobe's Lightroom guidance for Generative Remove uses a brush selection and advises including the object's shadow. That is a different interaction from this ClipTrend.ai tutorial. It illustrates why the object and its traces need attention, but those Lightroom controls are not steps to follow in ClipTrend.ai.
A crop may be enough when the distraction is near the border and removing that border does not damage the composition. For a small mark on a predictable surface, a clone or healing tool may provide more direct control. If the object hides a critical product detail or someone's hand, another source photo can be a better solution than an invented repair.
FAQ
Can I remove an object without painting a mask?
You can request removal through a written prompt in ClipTrend.ai's AI Photo Editor. Identify the target and replacement background clearly. This workflow does not rely on a brush or masking control, and you must inspect the result.
Will the rest of the photo remain identical?
That is not guaranteed. Tell the editor what must stay unchanged, then compare the full image and important details with the original. Reject changes to identity, product features, or meaningful scene content.
Why does a shadow remain after the object disappears?
The request may not have identified the shadow as part of the removal. Name the target's shadow or reflection while preserving those belonging to retained objects, then inspect the new result.
Should I upload several reference photos?
For one-object removal, start with the single photo you want to edit. Additional references are useful only when they supply necessary information and their roles are clearly explained.
What if the result keeps changing my subject?
Restart from the original with a narrower instruction. If the important detail still changes, use a controlled brush or clone workflow, crop the distraction when suitable, or choose another source photo.
Try one focused edit
Open the AI Photo Editor with one clear source photo and one removal request. Keep the original beside the result while you review both the repaired background and the subject you wanted to preserve.