Real Estate Photo to Video: Make Property Clips With AI
A real estate photo to video workflow should make a listing feel easier to explore, not fake a walkthrough the property never had. ClipTrend can help turn strong property photos into short AI video clips, but the best results come from restrained camera motion, stable room details, and clean final frames.
Last updated: July 9, 2026
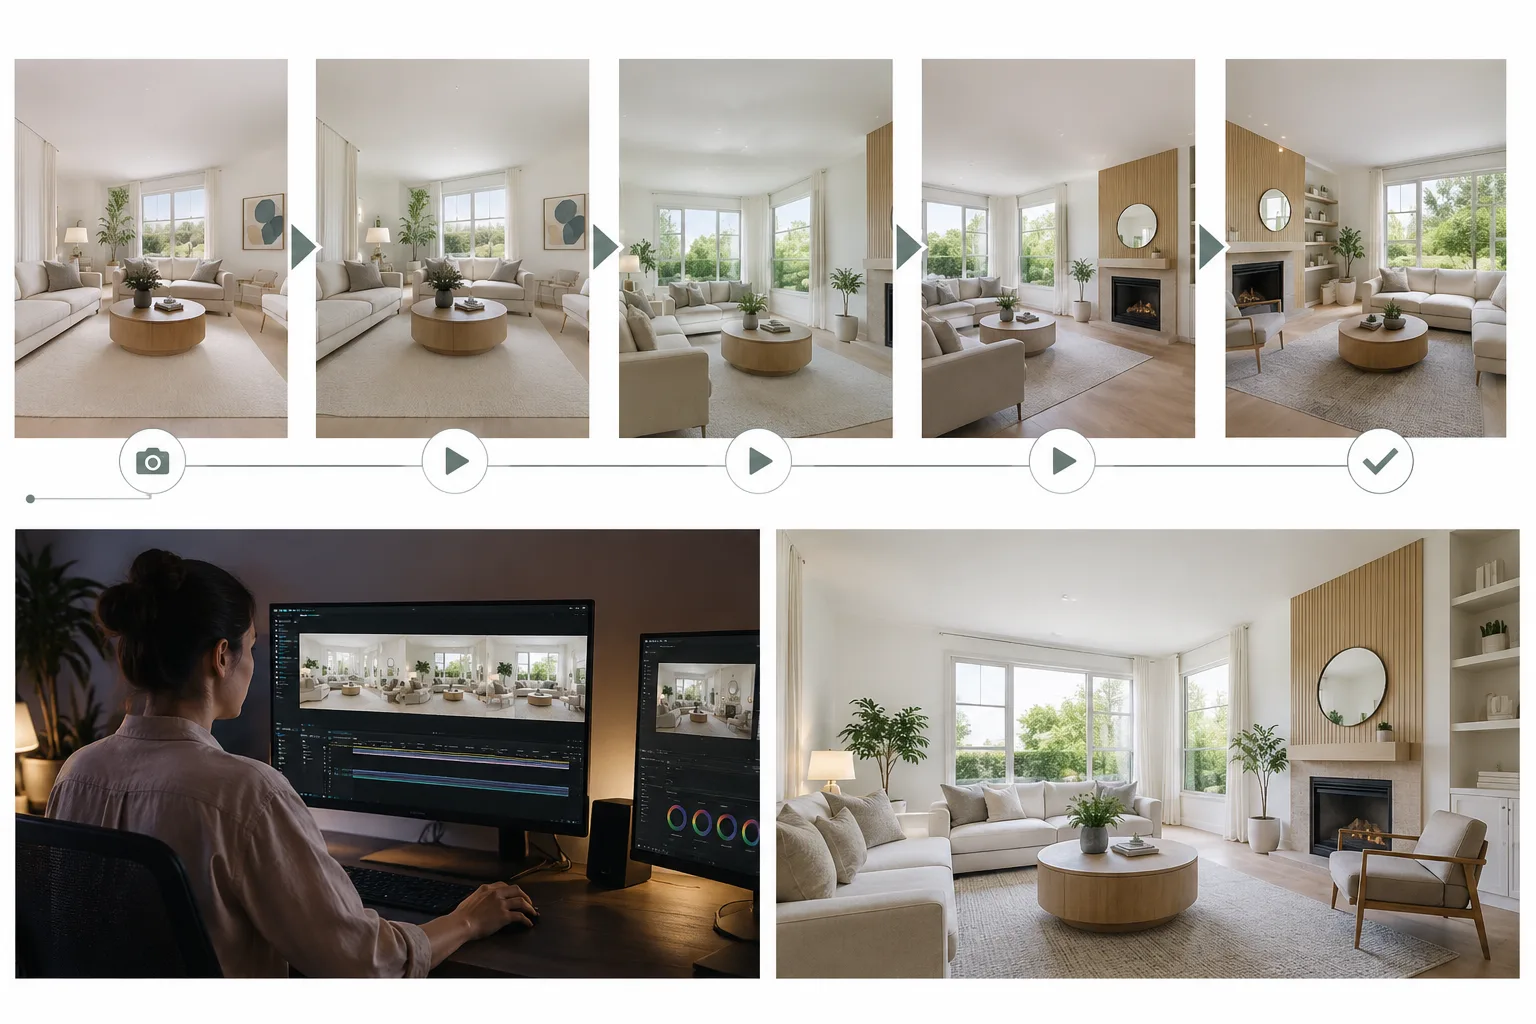
Start with one strong room photo, then add one camera move that makes the space easier to read.
Real estate teams often have good still photos before they have video. A listing may include a hero living room, kitchen, primary bedroom, exterior, and patio shot. Those photos can become short social clips, listing teasers, or ad creatives when the motion is subtle and honest.
The goal is not to invent a new house. The goal is to help viewers notice the space.
Use an AI video generator for this only when the source photo already represents the room honestly. The tool should add camera motion, not change layout, scale, furniture, or views.
Quick answer
To turn a real estate photo into an AI video:
- Choose a bright, stable room photo.
- Use one camera move: slow push-in, pan, tilt, or gentle dolly.
- Keep walls, windows, furniture, floor lines, and room layout stable.
- Avoid readable signs, fake room additions, moving furniture, or changing views.
- Generate short clips for each key room.
- Edit the clips together with captions and listing details afterward.
Use an AI image to video generator for the motion, then add address, price, agent info, and disclaimers in an editor. In real estate, the AI video generator should stay focused on one stable room photo at a time.
Pick the right property photo
The source photo matters more than the prompt.
Good real estate inputs have:
- Straight vertical lines.
- Bright but not blown-out windows.
- A clear room subject.
- Minimal clutter.
- Visible floor, wall, and ceiling relationships.
- No tiny text that must stay readable.
- No people reflected in mirrors or windows.
Risky inputs include extreme wide-angle distortion, dark rooms, messy countertops, mirrors with reflections, and photos where furniture overlaps in confusing ways. If a still image already feels warped, the video will usually amplify the problem.
Choose the right camera move
Real estate video does not need dramatic motion. It needs orientation.
| Camera move | Best for | Watch out for |
|---|---|---|
| Slow push-in | Living room, kitchen, exterior hero | Can exaggerate wide-angle distortion |
| Side pan | Open-plan rooms, patios, long counters | Can warp vertical lines |
| Gentle tilt | High ceilings, staircases, exterior | Can invent ceiling details |
| Small dolly | Hallways, entryways, room reveals | Can make furniture slide |
| Static light shift | Luxury details, staged interiors | Can feel too subtle if photo is flat |
Start with the simplest move. If the room looks stable, test a second version.
This is where an AI video generator can help listing teams move faster: test one slow push-in, one pan, and one static-light version, then keep only the clip that preserves the room best.
Prompt formula
Use this structure:
Use the uploaded real estate photo as the first frame. Create a short horizontal or vertical video. Main camera motion: [one move]. Keep [walls, windows, furniture, floor, ceiling, layout] stable. Avoid [new furniture, warped lines, changing room size, readable text, people, reflections]. End on [clean room frame].
Example for a living room:
Use the uploaded living room photo as the first frame. Create a short horizontal property video. Camera slowly pushes in toward the seating area. Keep the sofa, windows, rug, coffee table, wall art, floor lines, and room layout stable. Avoid adding furniture, warping walls, changing window shapes, readable text, or people. End on a clean wide living room frame.
Example for a kitchen:
Use the uploaded kitchen photo as the first frame. Create a short vertical listing clip. Camera makes a gentle side pan across the island and cabinets. Keep cabinet lines, appliances, counters, lights, floor, and window stable. Avoid changing layout, adding objects, or distorting straight lines. End on a bright kitchen hero frame.
Build a room sequence
Do not make one photo carry the whole listing. Create short clips from several stills:
- Exterior or entry.
- Living room.
- Kitchen.
- Primary bedroom.
- Bathroom or special feature.
- Patio, view, or neighborhood detail.
Each clip should be short and stable. The finished video comes from editing the sequence, not from asking one still photo to become a full walkthrough.
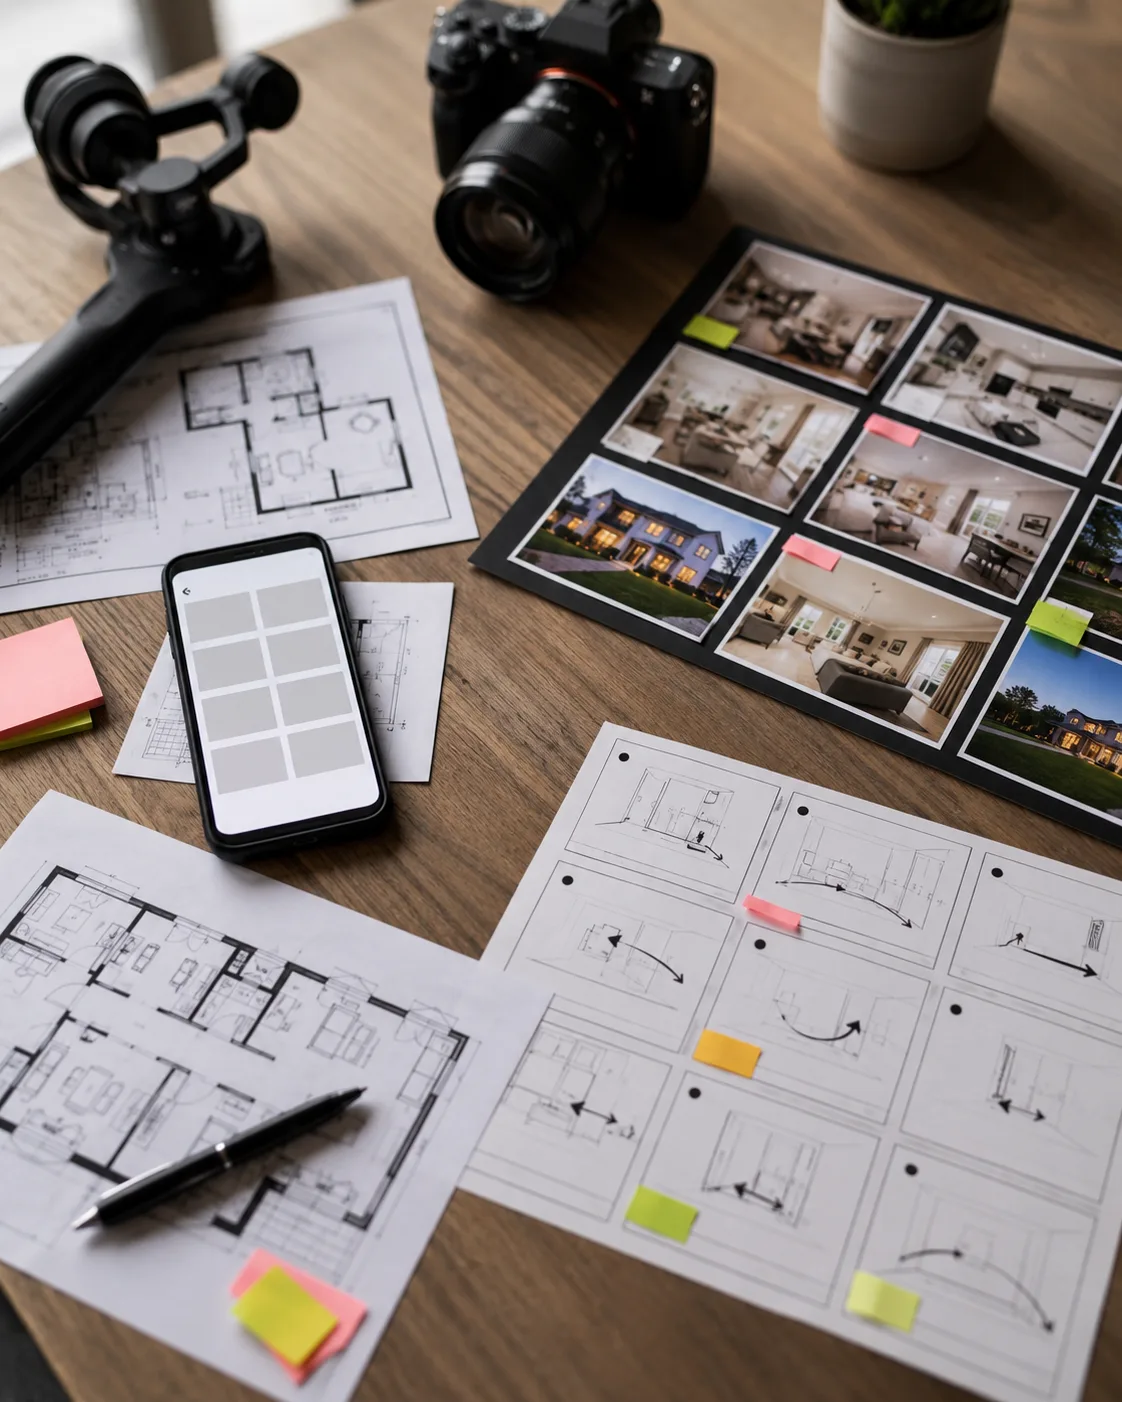
Plan the room order first, then generate one clean motion clip per listing photo.
What to add after generation
Keep exact listing details out of the AI render. Add these later:
- Price.
- Address.
- Agent name.
- Brokerage details.
- Open house time.
- Legal disclaimers.
- Captions.
- Map pins.
- Brand marks.
Generated video can make small text unstable. Editing tools keep those details clear.
Think of the AI video generator as the motion layer, not the listing-information layer. Exact sale details belong in your editor where they stay readable and compliant.
QA checks for property clips
Watch every frame and check:
- Are walls and windows straight?
- Did the room layout stay the same?
- Did furniture move or multiply?
- Did mirrors create strange reflections?
- Did the floor or ceiling bend?
- Does the final frame still look like the original room?
- Would a buyer feel misled?
That last question matters. Real estate video should improve attention, not exaggerate the property.
When templates help
Use AI video templates when you want repeatable listing formats: hero clip, room reveal, feature highlight, social teaser, or before/after staging concept. Use custom prompts when each room needs a specific camera move.
For paid ads, pair the property clip with the AI video ads workflow: one visual hook, one benefit, one CTA, and one clean ending.
Common mistakes
Avoid:
- Asking for a full walkthrough from one image.
- Adding people who were not in the original photo.
- Inventing rooms or views.
- Requesting exact readable signs.
- Moving furniture dramatically.
- Using a distorted wide-angle photo as the first frame.
If the clip warps, reduce motion before changing tools.
When an AI video generator keeps warping straight lines, the best fix is usually a cleaner input photo or a simpler camera move, not a longer prompt.
Final checklist
Before posting a real estate AI video:
- Use truthful source photos.
- Keep one camera move per clip.
- Protect room layout and straight lines.
- Add listing text after generation.
- Review for misleading changes.
- Export in the correct aspect ratio for the platform.
A strong property clip should make the viewer understand the room faster. If it makes the room look different, regenerate with a simpler motion.
FAQ
Can AI turn real estate photos into videos?
Yes, if the still photos are clean and the prompt uses restrained motion. Use one camera move per room and review carefully for layout changes.
Is AI real estate video okay for listings?
It can be useful for social teasers and listing marketing, but avoid misleading changes. Keep room layout, fixtures, furniture, and scale honest.
What is the safest camera move for a property photo?
A slow push-in or very gentle pan is usually safest. Fast movement and heavy parallax are more likely to warp walls, windows, and furniture.