AI Image to Video Generator for Short Social Clips
An AI image to video generator works best when you treat the photo as the first frame of a short scene, not as a magic button. ClipTrend can help you turn a still image into motion, but the quality depends on the photo you choose, the motion you ask for, and the way you review the final frame. If you want to turn photo into video results that feel stable, start smaller than your imagination.
Last updated: July 8, 2026
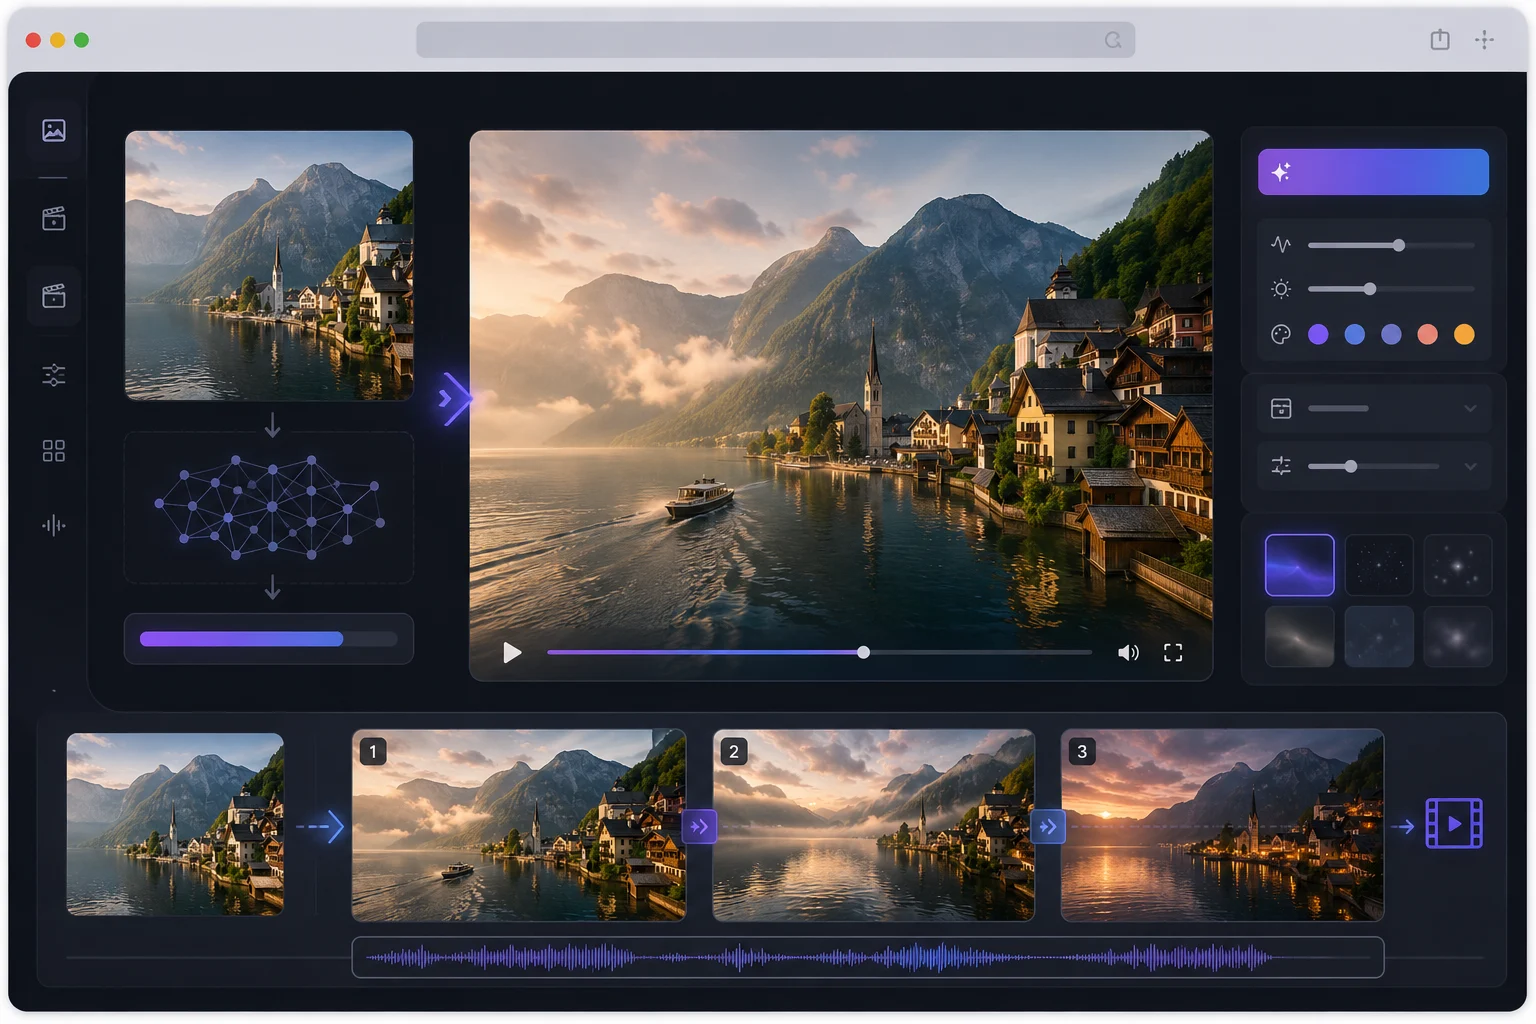
Start with one strong image, then define one main motion and one final frame.
Most people fail on the first image-to-video test because the prompt asks for too much. They upload one photo and ask for a full story, a camera move, a facial expression change, background action, new objects, text, product details, and a perfect ending. The model tries to satisfy everything and the clip becomes unstable.
The better workflow is smaller: choose a stable image, describe one motion, protect the details that must not change, and review the result like an editor.
Quick answer
To turn a photo into a short AI video:
- Pick a sharp image with a clear subject.
- Decide what should move: subject, camera, background, or light.
- Write one prompt with one main action.
- Protect identity, product shape, outfit, or key objects.
- Generate a short clip.
- Keep the cleanest take and cut weak frames.
An AI image to video generator is strongest for simple motion: a slow push-in, a product turn, hair moving in wind, steam rising, a subject looking toward camera, a light sweep, or a background drifting slightly.
Choose the right photo
The photo is not just an input. It is the anchor.
Good source images have:
- One clear subject.
- Enough resolution to preserve details.
- Visible hands, face, product edges, or object shape.
- Simple lighting.
- A background that will not fight the motion.
- A composition that already looks like a first frame.
Risky images have:
- Multiple overlapping people.
- Hidden hands or cut-off limbs.
- Tiny product labels that must stay readable.
- Busy backgrounds.
- Strong blur.
- Heavy filters or warped lenses.
If the still image is weak, the video has to invent too much. A better photo beats a longer prompt.
Pick one motion lane
There are four common motion lanes for image to video AI. The same lanes apply whether you call the tool an AI image to video generator, an AI video generator, or a photo animation tool.
| Motion lane | Best for | Example |
|---|---|---|
| Camera motion | Portraits, product shots, travel photos | Slow push-in, orbit, pan |
| Subject motion | People, pets, objects | Blink, smile, turn, lift, float |
| Background motion | Landscapes, food, lifestyle scenes | Rain, steam, lights, wind |
| Light motion | Product ads, fashion, cinematic clips | Reflection sweep, sunset glow |
Choose one lane first. A portrait can handle a slow push-in and a blink. A product photo can handle a light sweep. A food photo can handle steam. Asking for all of them at once raises the chance of warping.
A prompt formula that works
Use this structure:
Use the uploaded image as the first frame. Create a [duration/aspect ratio] video. Main motion: [one action]. Camera: [one move]. Keep [identity/product/outfit/background] stable. Avoid [warping, extra objects, unreadable text, sudden scene changes]. End on [clear final frame].
Example for a portrait:
Use the uploaded portrait as the first frame. Create an 8-second vertical video. The subject looks gently toward camera while hair moves slightly in a soft breeze. Camera slowly pushes in. Keep face identity, outfit, skin tone, and background stable. Avoid extra people, distorted hands, or sudden lighting changes. End on a steady close portrait.
Example for a product:
Use the uploaded product photo as the first frame. Create a 6-second vertical product clip. A soft studio light sweeps across the bottle while the camera slowly pushes in. Keep bottle shape, cap, color, label area, and background stable. Avoid readable text changes or extra objects. End on a clean centered pack shot.
What not to put in the AI render
An AI video generator is not the best place for exact copy, prices, disclaimers, small logos, subtitles, or final brand typography. Add those in an editor after the clip is stable. That separation matters for image to video AI because the visual render should focus on motion, not tiny text.
Keep outside the render:
- Prices.
- Sale badges.
- Legal disclaimers.
- Tiny label text.
- Platform captions.
- Voiceover text.
- Exact logos if they must be perfect.
The generator gives you motion. Your editor gives you control.
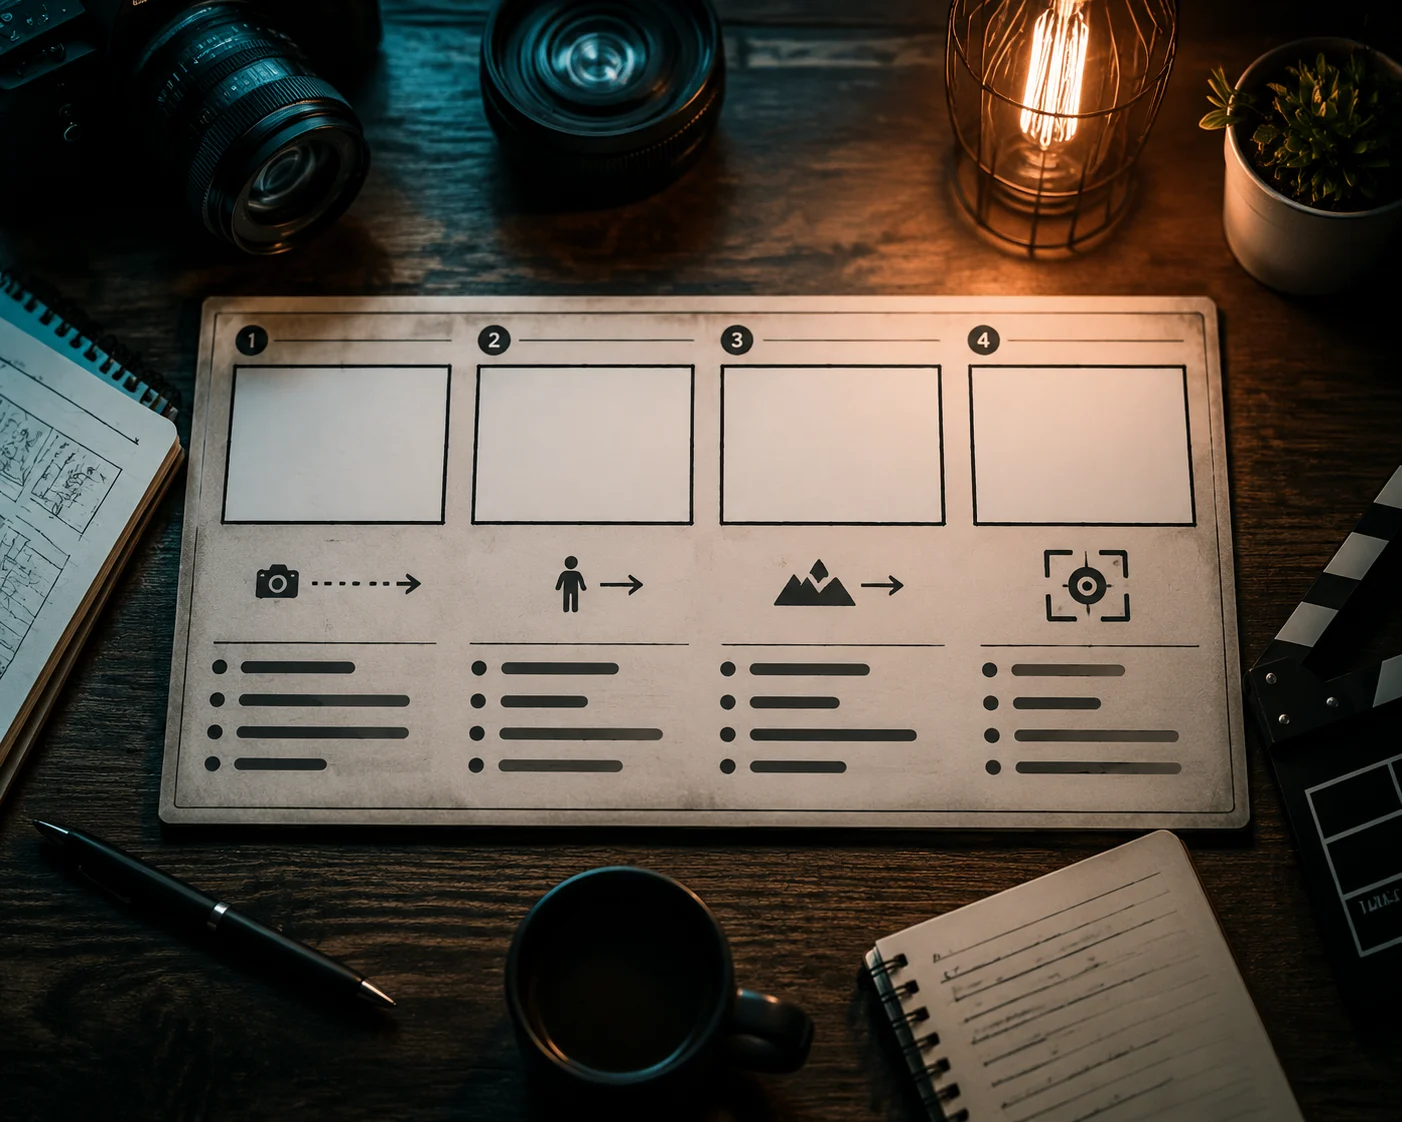
Plan motion in small blocks: camera, subject, background, and final frame.
QA the first render
Do not judge only the prettiest second. Watch the full clip and check:
- Does the subject stay recognizable?
- Does the product shape stay stable?
- Do hands, eyes, teeth, or edges warp?
- Does the background change too much?
- Does the final frame look usable?
- Would you post it without hiding the last second?
If the clip is close, shorten the motion. If the identity drifts, protect fewer changes and ask for less movement. If the product shape changes, use a cleaner source photo and a more restrained prompt.
When to use templates
Blank prompts are flexible. Templates are faster when you need a repeatable format.
Use ClipTrend templates when:
- You are making social clips quickly.
- You want a proven visual structure.
- You are testing many hooks.
- You do not want to design the whole scene.
Use a custom image-to-video prompt when:
- The photo has a specific subject.
- Product shape must stay stable.
- The desired motion is unusual.
- You are making a hero clip.
Many creators start with templates, then create one custom clip for the post that matters most.
Best first tests
Try these before attempting a complex scene:
- Portrait: tiny push-in and natural blink.
- Product: light sweep and subtle camera push.
- Food: steam and slight table-level push-in.
- Travel photo: slow pan with moving clouds or water.
- Fashion photo: fabric movement and soft camera drift.
- Pet photo: tiny head turn and background motion.
One good short clip is more useful than a messy long one. If your first AI video generator test works, make a second version with the same photo and only one changed motion detail.
Frequently asked questions
What is an AI image to video generator?
An AI image to video generator takes a still image and creates a short video by adding motion, camera movement, lighting change, or subject action. The best results use a clear source photo and one controlled motion idea.
Can I turn any photo into a video?
You can try almost any photo, but not every photo will work well. Sharp images with one clear subject perform better than cluttered, blurry, or heavily cropped images.
How long should an image-to-video clip be?
For first tests, 5 to 8 seconds is usually enough. Short clips are easier to control, easier to edit, and less likely to drift.
Should I add text inside the AI video prompt?
Usually no. Generate the visual first with the AI video generator, then add captions, offers, or exact typography in an editor where the text stays crisp.
Related guides
- ClipTrend AI video generator -> - start from a photo and create motion.
- AI video templates
- How to animate a photo with AI
- How to make realistic AI videos
Start with one photo
Upload one clean image, choose one motion lane, and make the first render small. The fastest way to get better image-to-video results is not a longer prompt. It is a clearer first frame and a calmer motion plan.