Product Launch Video Template: Build a Short Clip
A product launch video template is useful when it gives your existing product photos a clear sequence: show the product, reveal one detail, show it in context, then leave room for a real call to action. Start with AI video templates only after you know what the launch needs to communicate in its first few seconds.
Last updated: July 12, 2026 - about 6 min read
Quick answer
Build a short launch clip from four beats: hero product, one close detail, one proof of use or context, and a stable end frame. Use a single template or a small set of matching shots. Do not ask a generated video to create product features, text, reviews, or claims that you cannot verify.
The goal is not to make a trailer for everything the product does. It is to make the first promise easy to understand.
Start from the product photo you already trust
The first image should make the product recognizable before motion begins. Use a clean hero photo with the product large enough in the frame, readable edges, and simple light. If a label, texture, or finish matters, capture it in a separate real detail photo rather than hoping a single generated shot preserves every tiny mark.
| Launch beat | Best source image | Useful motion |
|---|---|---|
| Hero | Clean full product view | Slow push-in or light sweep |
| Detail | Close material or feature photo | Small camera move, stable object |
| Context | Product in a real use setting | Gentle hand or environmental motion |
| End frame | Clean product or real graphic | Locked composition for editor-added CTA |
This structure gives a product launch video template a job. It also makes it easier to reuse the same thinking for a new color, bundle, or seasonal version later.
Make the first second legible
The opening should answer: what is this? Do not begin with a fast effect that hides the product. A simple product-centered shot is often stronger than a busy transition because it gives the viewer a reason to stay for the reveal.
- Choose the single benefit or feeling the launch should lead with.
- Select a template whose motion exposes, rather than covers, the product.
- Review the first frame at phone size before you make more versions.
If the product is still hard to recognize, change the source image or choose a quieter template. More motion is rarely the fix.
Use generated motion for mood, not proof
Generated motion can add a camera push, a soft reflection, or a sense of energy. It should not be the only evidence for a product claim. Add real specifications, price, availability, testimonials, and legal language in the final edit or caption after they have been checked.
For example, a bottle can appear in a clean outdoor scene, but the clip should not imply an unverified performance claim. A skin-care product can have a visual mood shot, but the copy must not promise an outcome the brand cannot support.
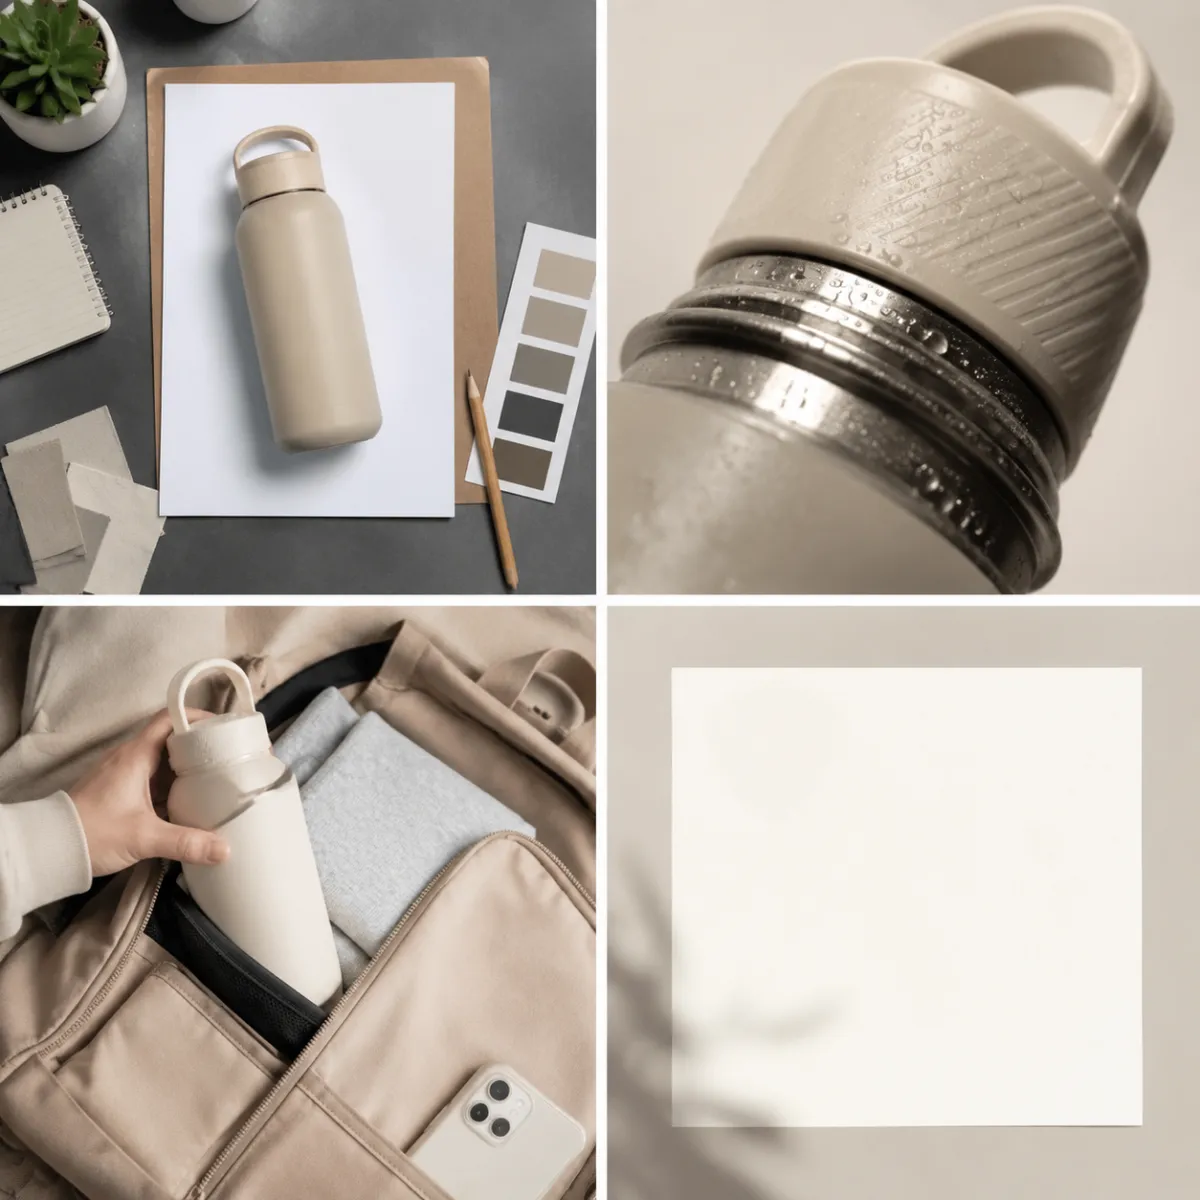
Build the sequence around one product fact you can substantiate, then add exact copy in the editor.
Plan for the publishing surface
Vertical clips need clear space above and below the product for captions and interface elements. Wide clips need a composition that can support a website hero or product-page placement. Do not assume one crop will work everywhere.
Use the same visual system across a launch, but change the source, detail, or setting enough that each post has a reason to exist. A teaser can emphasize the silhouette. A follow-up can show a material detail. A third clip can show the product in use.
Review before you publish
Check every frame against the original product photos. Look for changed logos, incorrect materials, extra parts, unstable hands, and product proportions that no longer make sense. If the clip invents something material, discard it or replace it with verified footage.
FAQ
What should a product launch video template include?
A clear product opening, one meaningful detail, one contextual beat, and an ending that leaves room for a real next step. Keep it short enough that every frame has a purpose.
Can AI video templates replace product photography?
No. They can extend good source photos with motion and pacing. Your core product images and factual claims still need to be accurate and verified.
How many product photos do I need?
Start with two or three: a clean hero, a detail, and a context photo. That is enough to make a short sequence without relying on the model to invent missing information.
Browse ClipTrend AI video templates after you have a clean hero image and a single launch message to lead with.